Mail Settings
Your customers will receive emails from the step of creating an account until the final app build. In Mail Settings, you can customize the email information to reflect your brand, removing any mention of FluxBuilder or InspireUI. This white-label solution ensures that users quickly identify the emails as originating from your business.
Video guide:
Manual guide:
Go to your Admin page (refer to Introduction). On the left menu, select Mail Settings
1. Sender Information
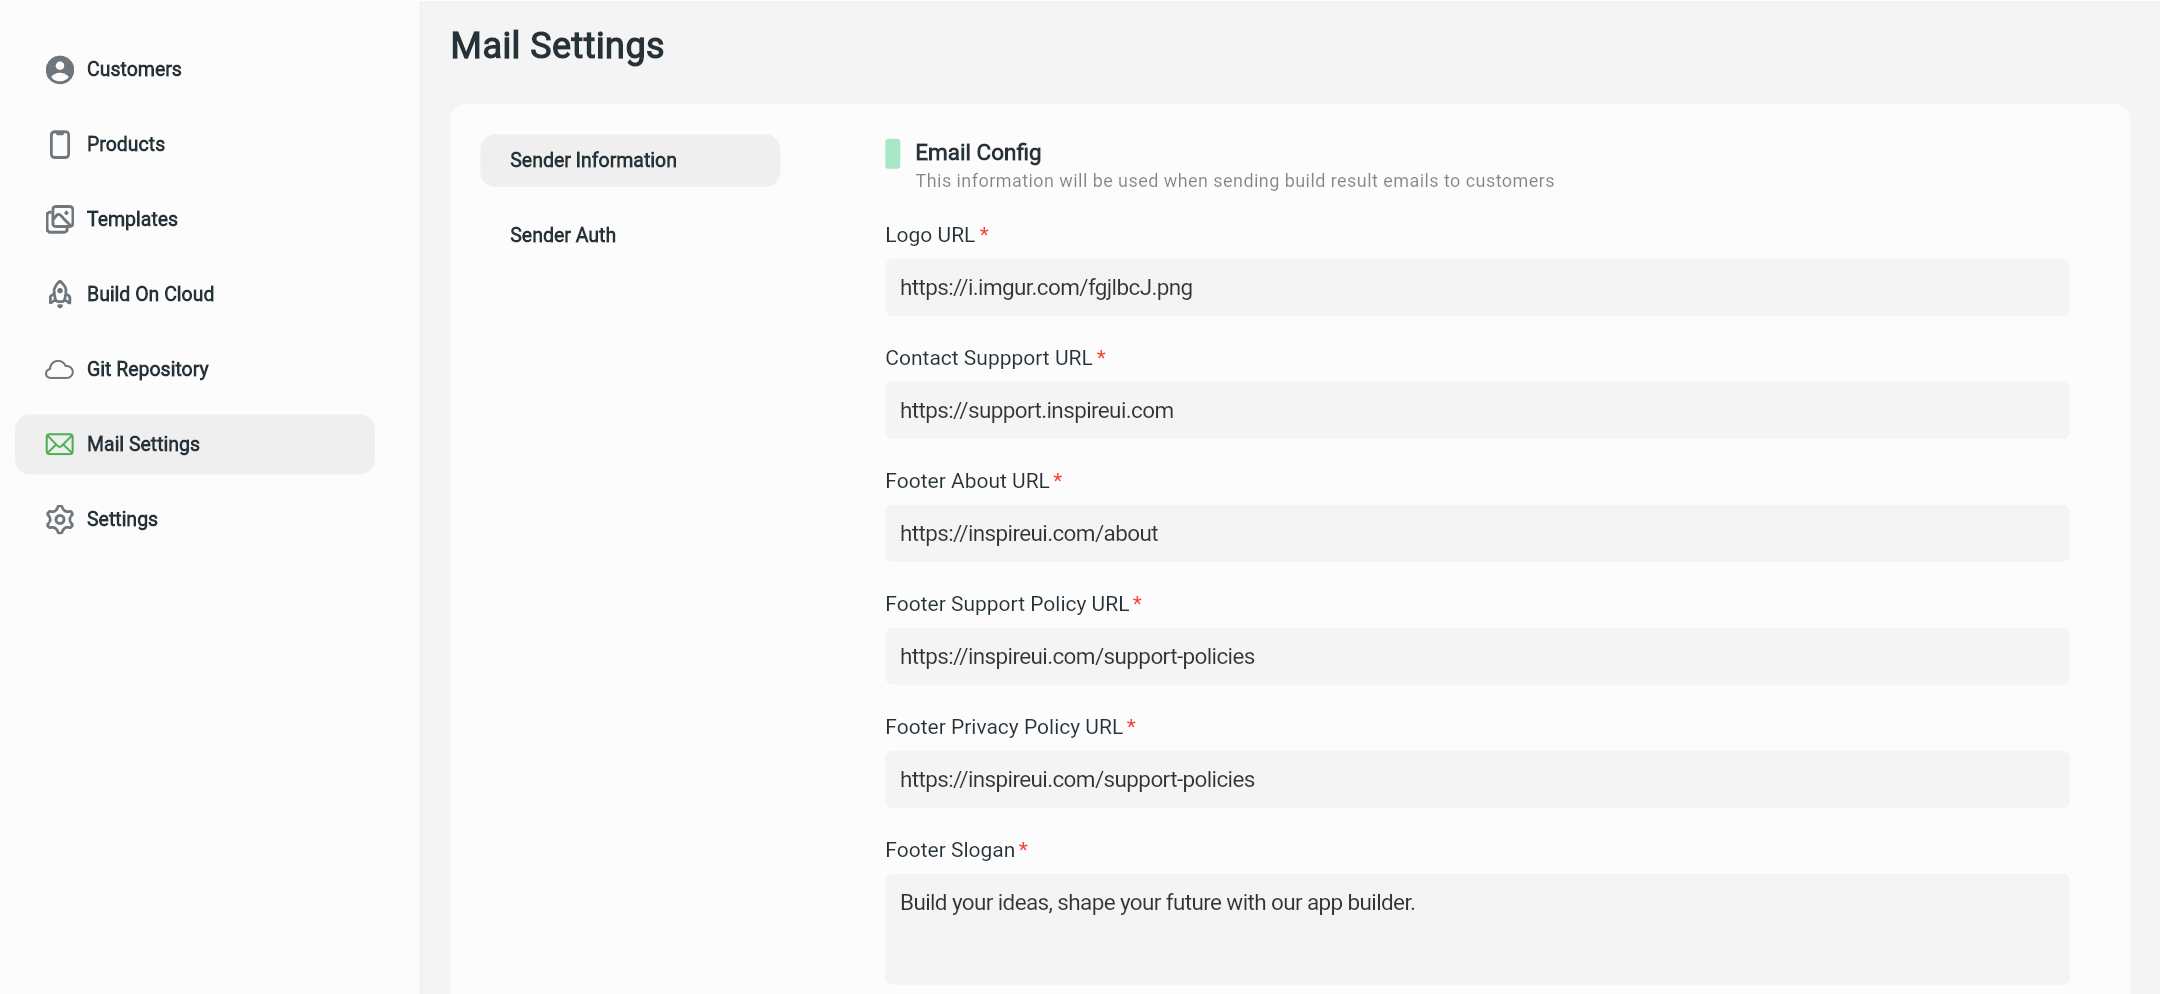
Configure this screen to display the Logo image and some information of your business in the Footer position of the email, including:
- Logo URL: input the Logo image link to show the Logo Image in the email.
- Contact Support URL: input the link to your Support page. When customers click on the "Contact Support" button in the failed build email, they will be redirected directly to this page.
- Footer About URL: input the link to the page containing your business information.
- Footer Support Policy URL: input the link to the page containing your Support Policies.
- Footer Privacy Policy URL: input the link to the page containing your Privacy Policy.
- Footer Slogan: provide a brief description of the business.
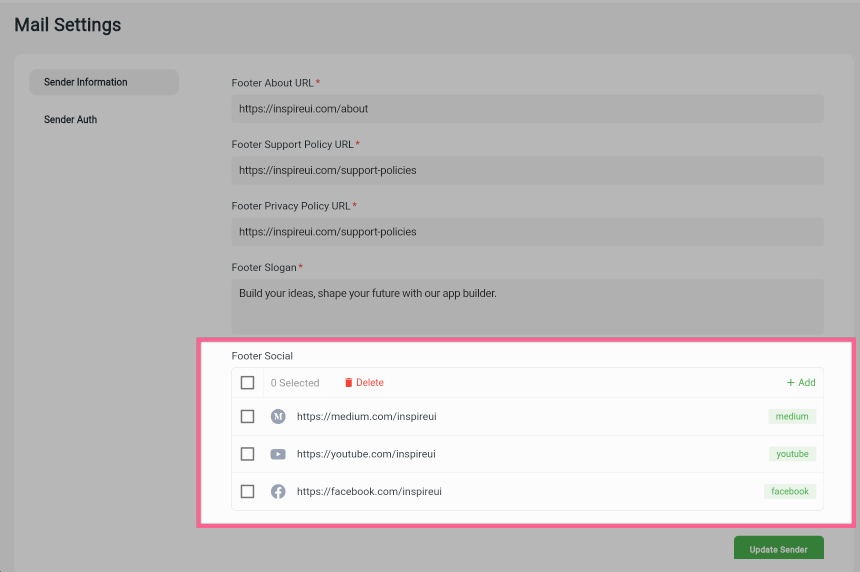
- Footer Social (Optional): add the links to the sender's social media profiles, such as Facebook, Twitter, and LinkedIn, etc.
- Click the [Update Sender] button to save.

2. Sender Auth
Sender Authentication is an optional configuration.
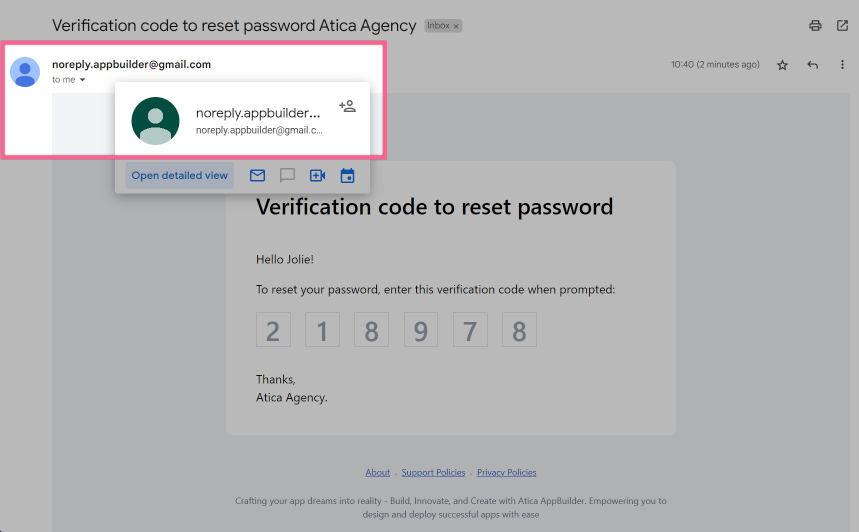
In case the Agency do not edit the Sender Auth, the build result email will be sent to customers under the default email noreply.appbuilder@gmail.com as this image:
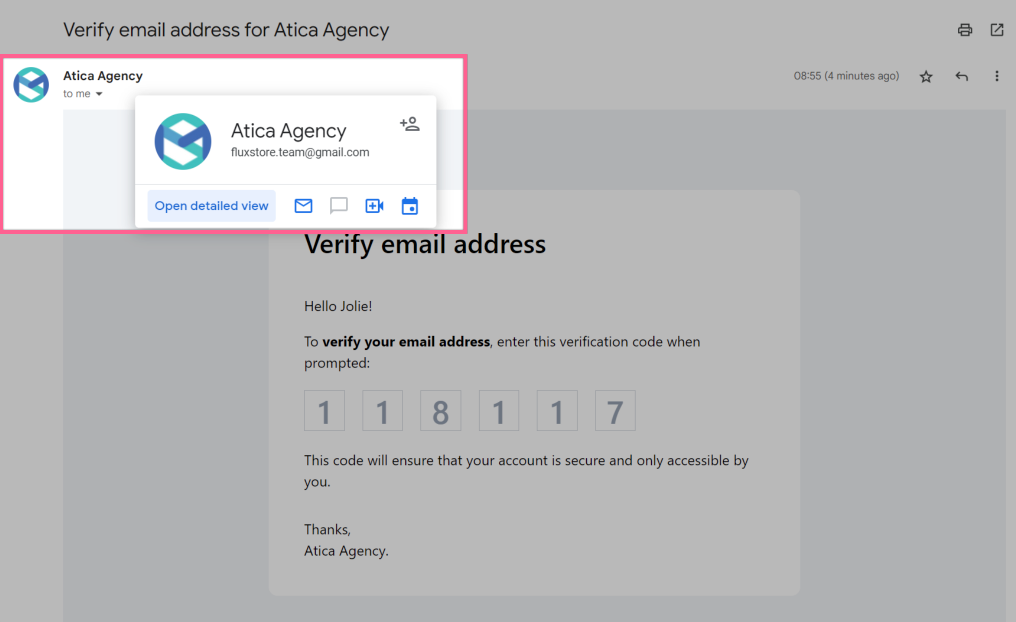
Agency can edit the Sender Auth to change the account in the email to their own email:
Sender Auth require using SMTP Transport. SMTP is also the protocol used between different email hosts, so it’s truly universal. Almost every email delivery providers support SMTP based sending, even if they mainly push their API based sending.
On the Sender Auth screen, the agency is required to fill in all fields as below:
- Service: select the Service of their email.
- SMTP User: input the email of the admin which belongs to the selected Service
- SMTP Pass: input the SMTP password of their Service. To get the SMTP, the agency should refer to their Service guide.
- From: Input the Sender name with email as this format:
sender name <email> - Click the [Update] button to save.
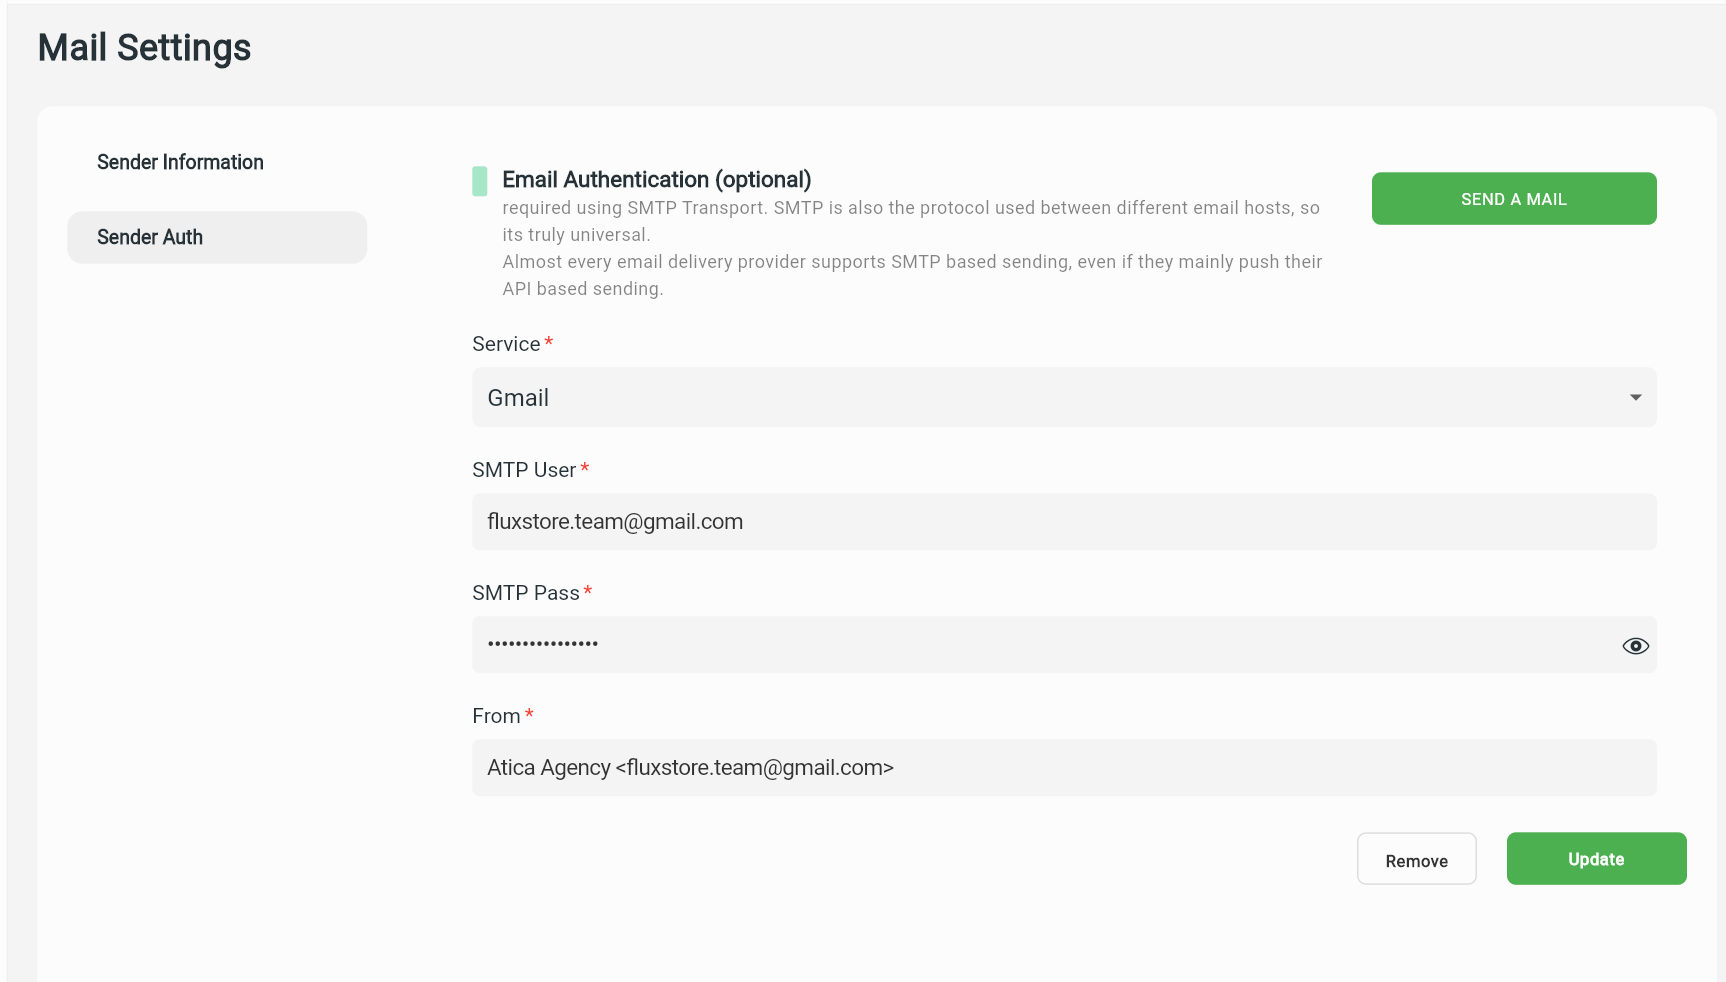
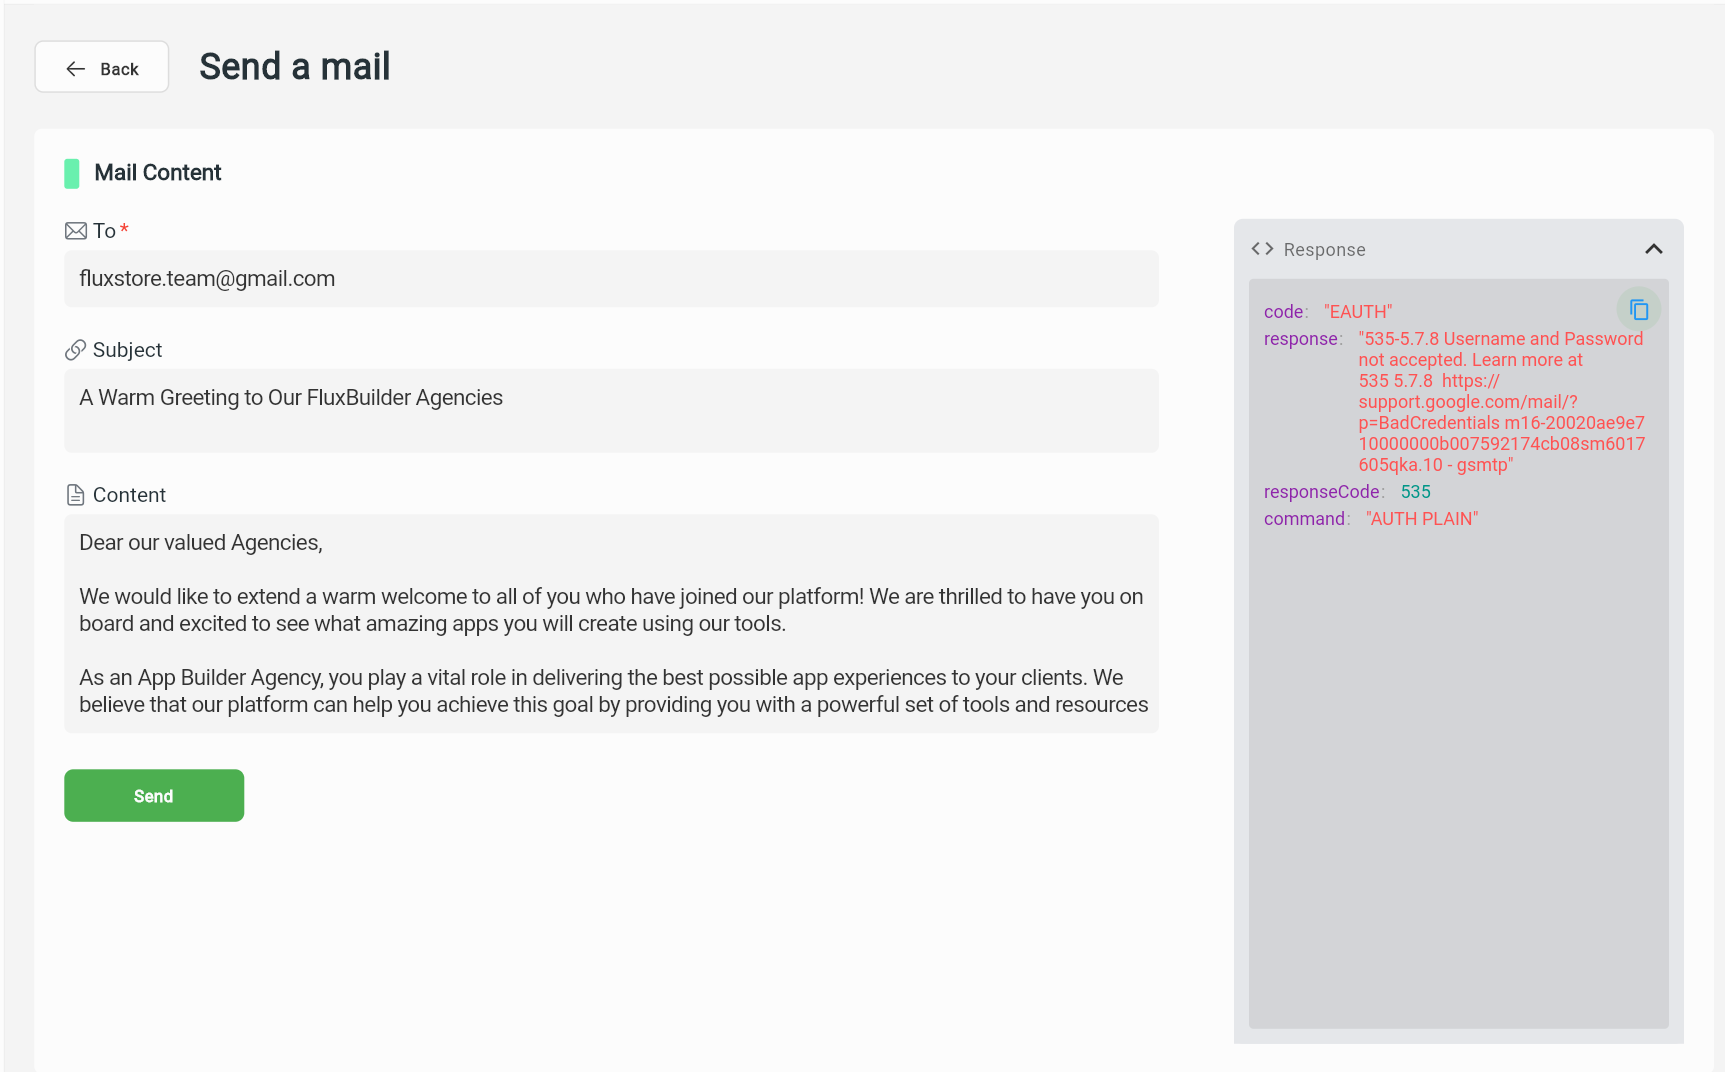
Important Note: If the Sender Auth is invalid, there will be no email sent to customers. Thus, it is important to do [SEND A MAIL] to check the Sender Auth.
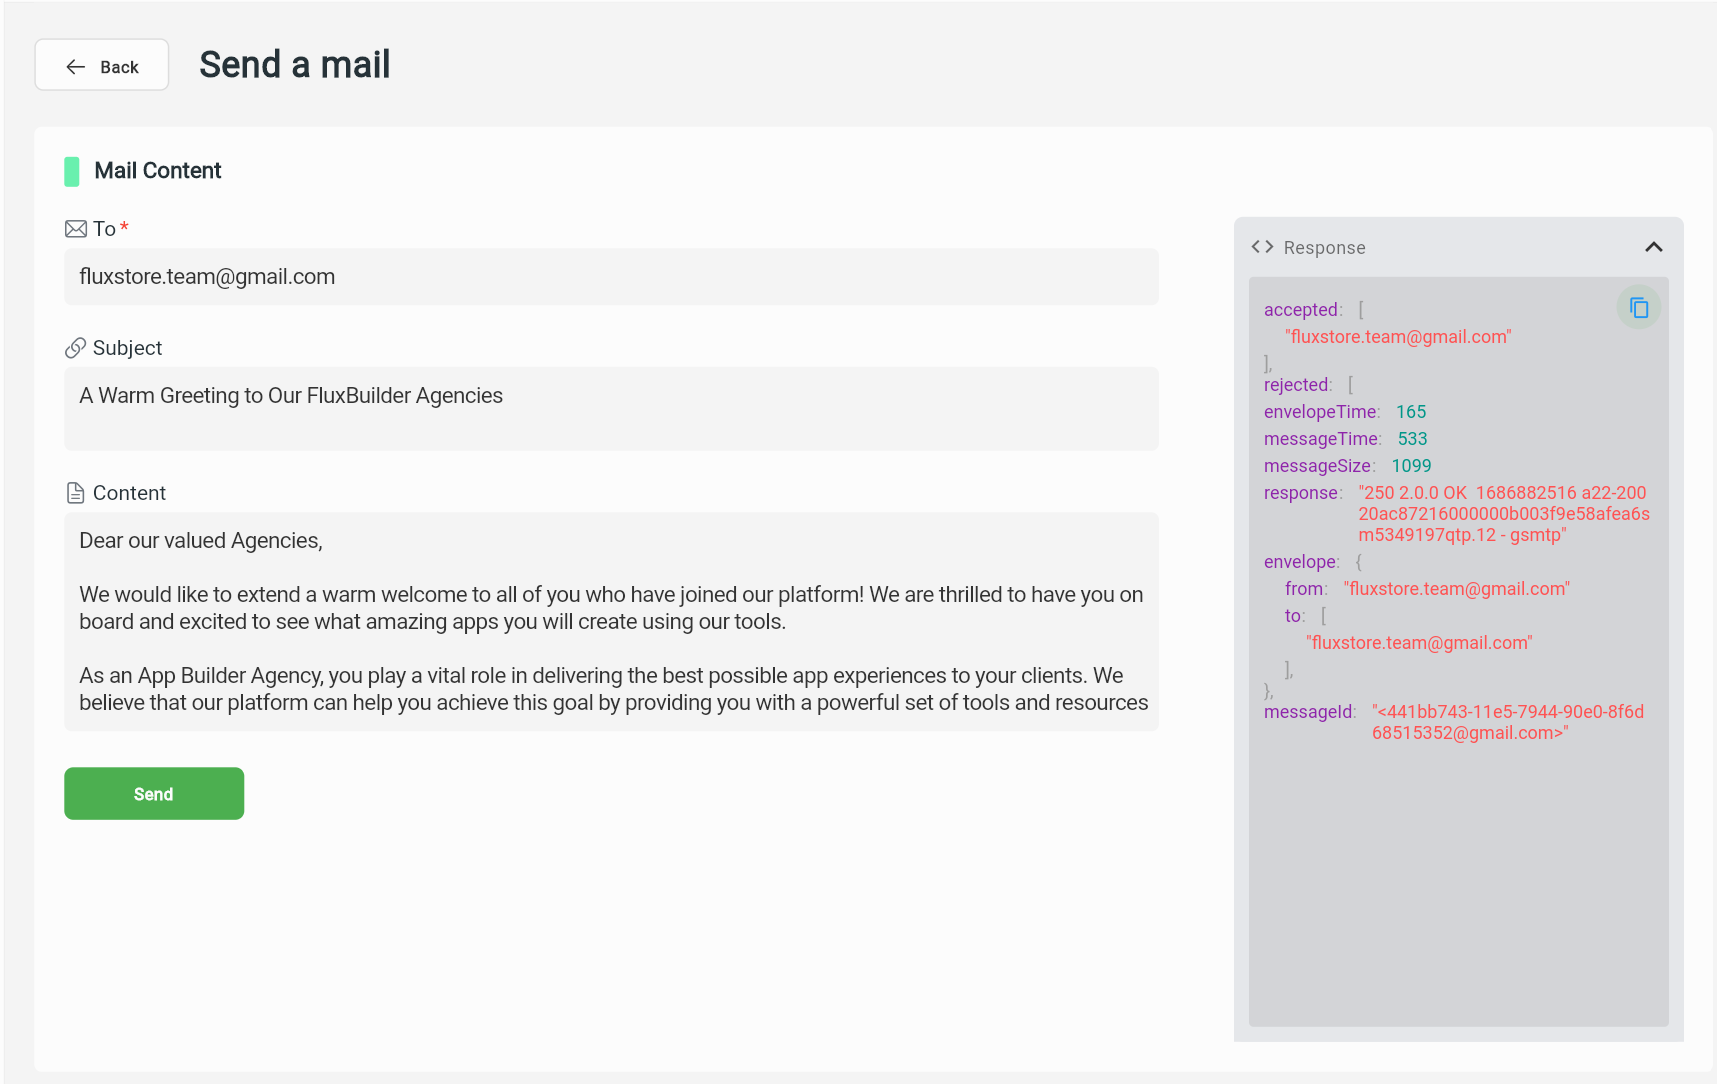
After creating the Sender Auth successfully, you should send the first email to check if the email will be sent successfully with the correct information:
- Click the SEND A MAIL button on the Sender Auth screen
- Input the recipient's email, Subject, and Content of the email
- Click the Send button
- Check the Response log to make sure your email has been sent successfully
- Open the receipt email in the Recipient email.