Settings
In this section, you can configure all information for your App Builder, such as: name, color, logo, show or hide blog, products on Dashboard, billing, etc.
Video guide:
Manual guide:
Go to your Admin page (refer to Introduction). On the left menu, select Settings.
1. App Builder Config
Select the App Builder Config item to configure basic information for your App Builder:

App Builder Name: enter your app builder’s brand/name show on your App Builder page.Background Image: click the Edit icon to upload your App Builder’s image (which shows on the Login screen).Main Colorof your App builder (which will change all the color of all features available on your App Builder). Let select the color that show off your style and attract the users.Light LogoandDark Logo: the logo of your App Builder. You can upload the 2 separate logos for Light Theme and Dark Theme.Preview Logois the default logo of mobile apps which will display on the simulator while customers configure their app design. (Customers can upload their own logos).
Remember to upload your Preview Logo, otherwise, our FluxStore logo will display instead.
Allow Customer to Submit Build: turn on to show AutoBuild feature on your App Builder, so your customers can build mobile apps. When you disable this option, your customers can edit UI, configure app features, and save to cloud, but they can not build apps, only you (admin) can build apps for them.Allow Guest User: enable so that users can view the Showcase and Blog on your App Builder without login. Disable this option to display a Login screen that requires users to login before using your App Builder.Hide All Description: turn on to hid all guide links in your App Builder.Feature Config: in case you want to apply your own env.dart (features configuration files) to all apps, click the Choose File button to upload your own env.dart
After completing, click the Update App Config button to save all.
2. Onboarding
Select the OnBoarding item to configure the Dashboard screen of your App Builder.
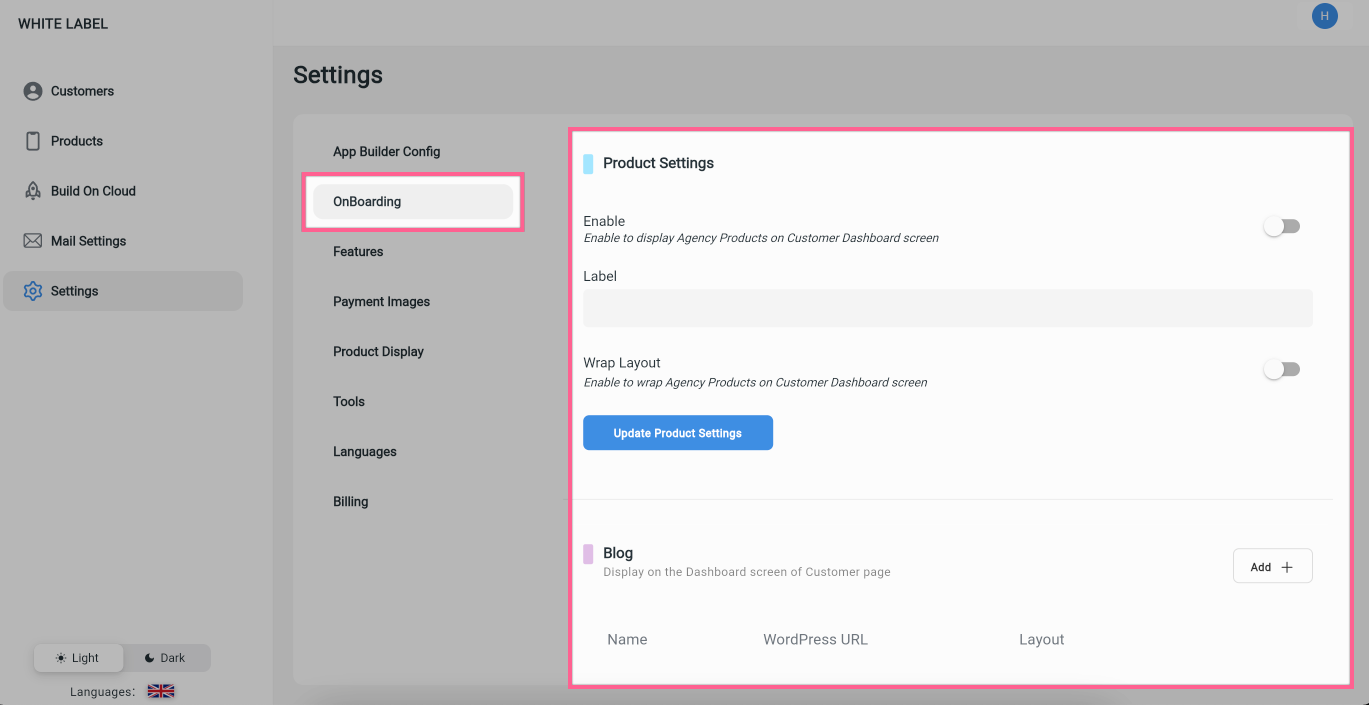
🏆 Product Settings is setting for Products.
Enable: turn on this option in case you would like to present your existing stunning design apps on the Dashboard screen of your App Builder. If you have configured your Products, turn on this option; else turn it off.Label: enter a string, e.g. “Flutter Apps”Wrap Layout: enable to display full of your Products/Apps on one page. If not, some products will be hidden and users need to scroll horizontally on the list to see the rest.
After completing, click the Update Product Settings button to save.
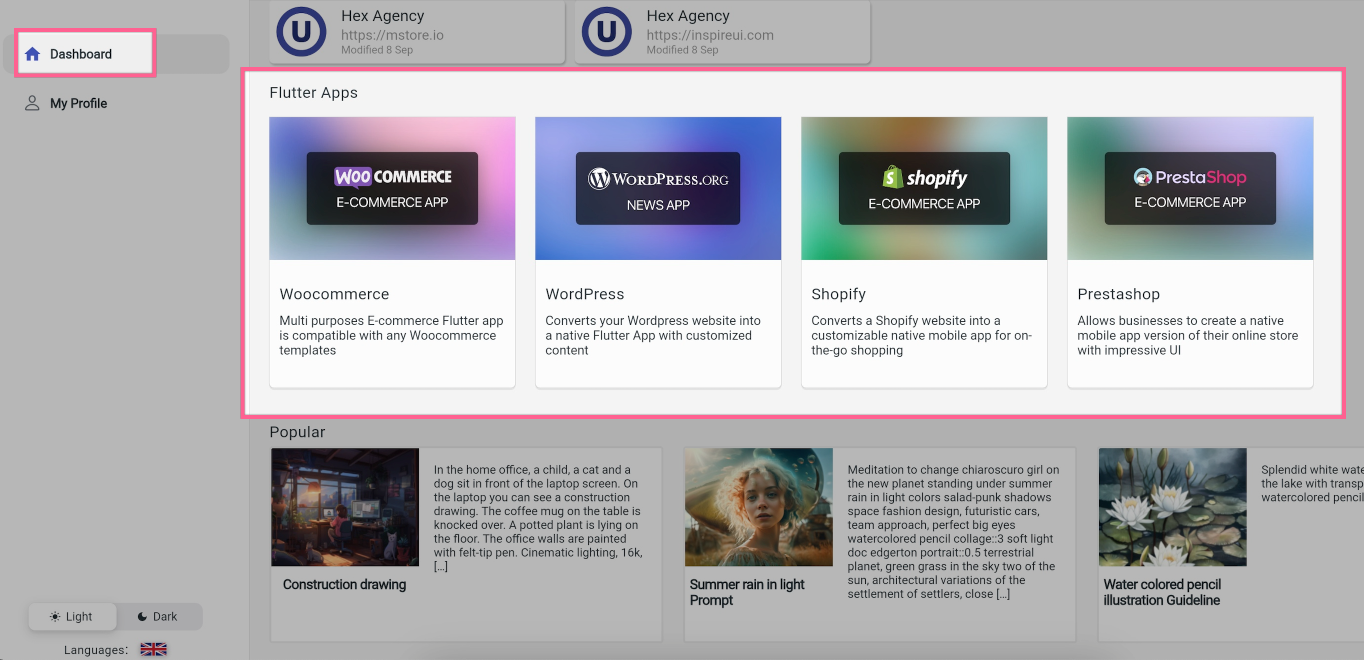
It will show like this on your App Builder page:
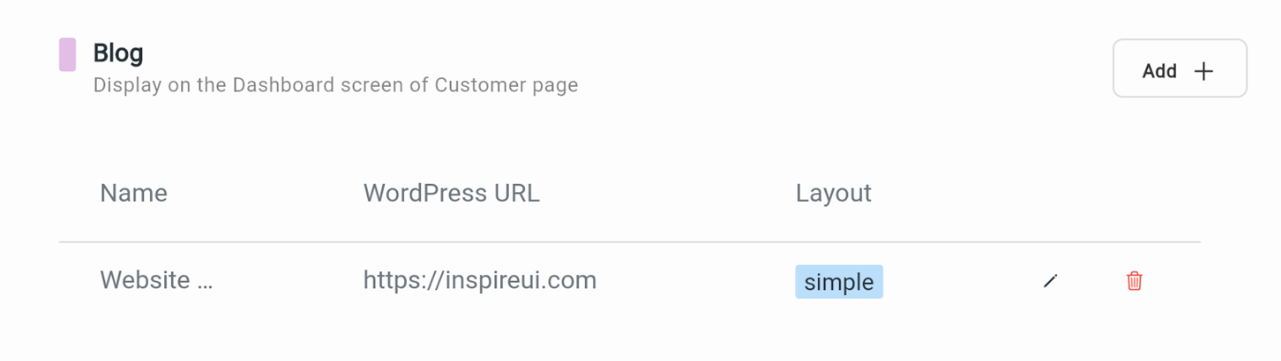
🏆 Blog: if you want to show your blogs or news on your WordPress website to display on the Dashboard screen of App Builder, follow these steps:
- Click Add +
- Input Name (label) and your Wordpress URL
- Select Layout:
simple
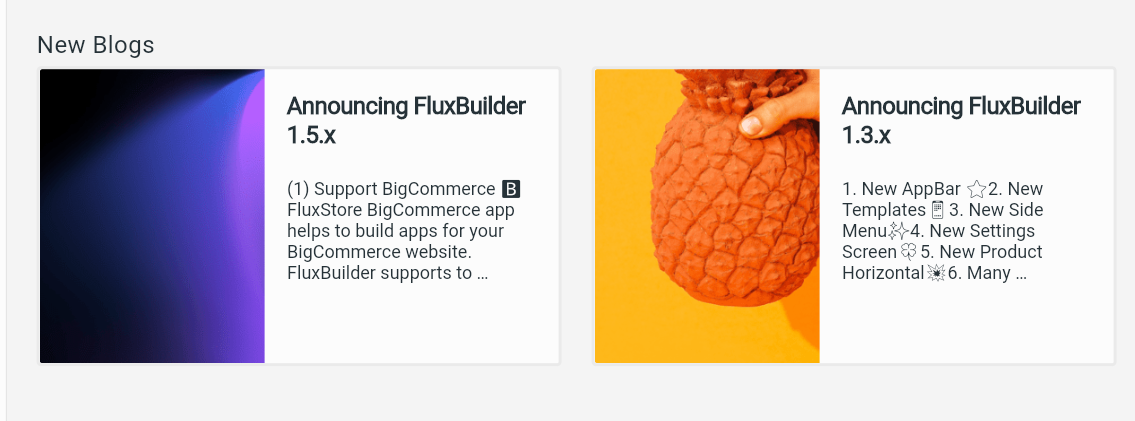
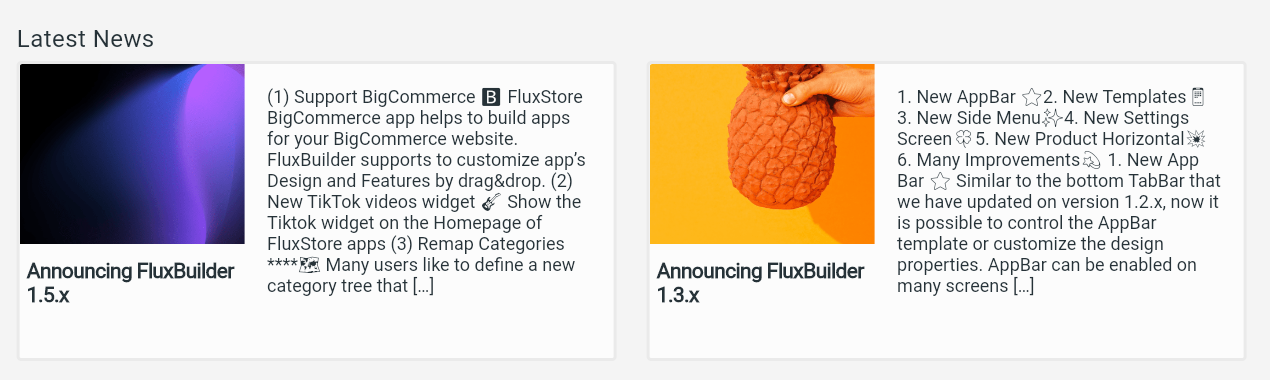
titleLeft
Enable Skeleton to show skeleton while loading blogs on screen

Click ADD
You can configure each existing blog by clicking the Edit button and remove it by clicking the Delete button
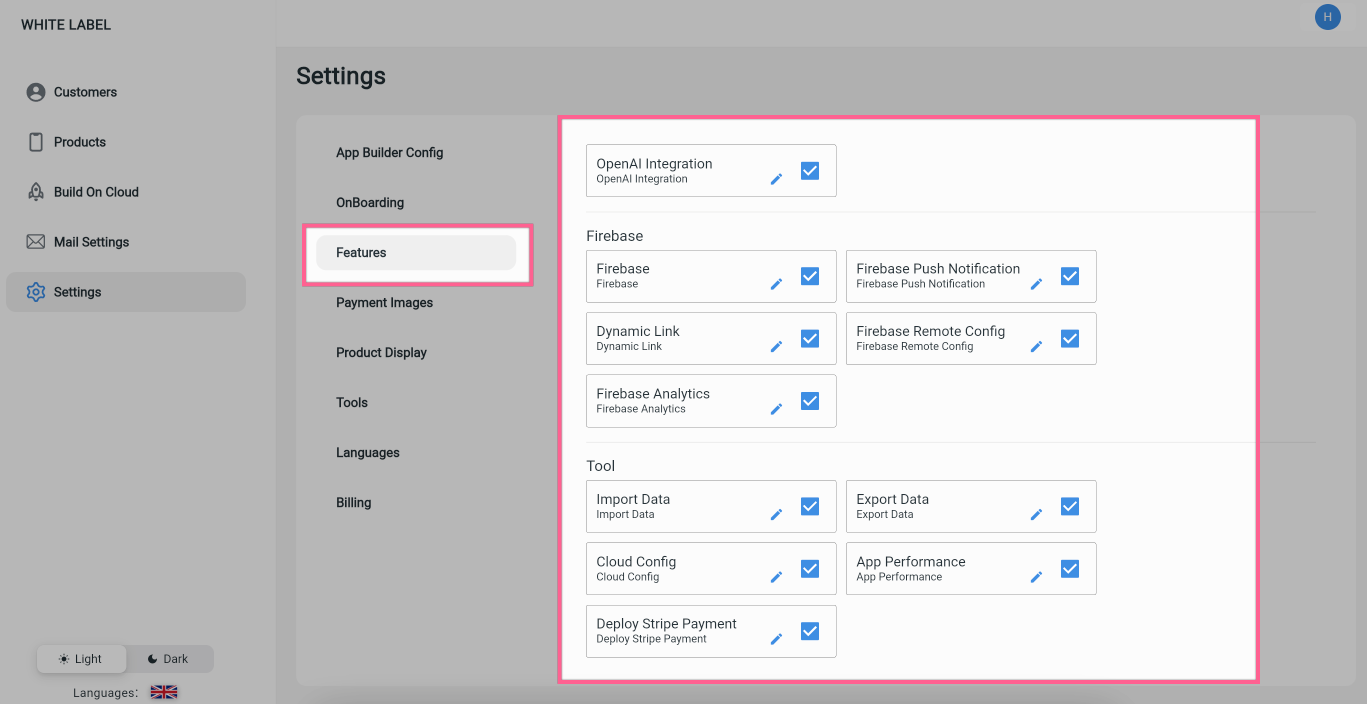
3. Features
Ability to show or hide some special features of apps. These features show in the Features section on your App Builder. By default, all available features will display.
4. Payment Images
You can allow or disallow users from editing the image of payment methods in mobile apps.
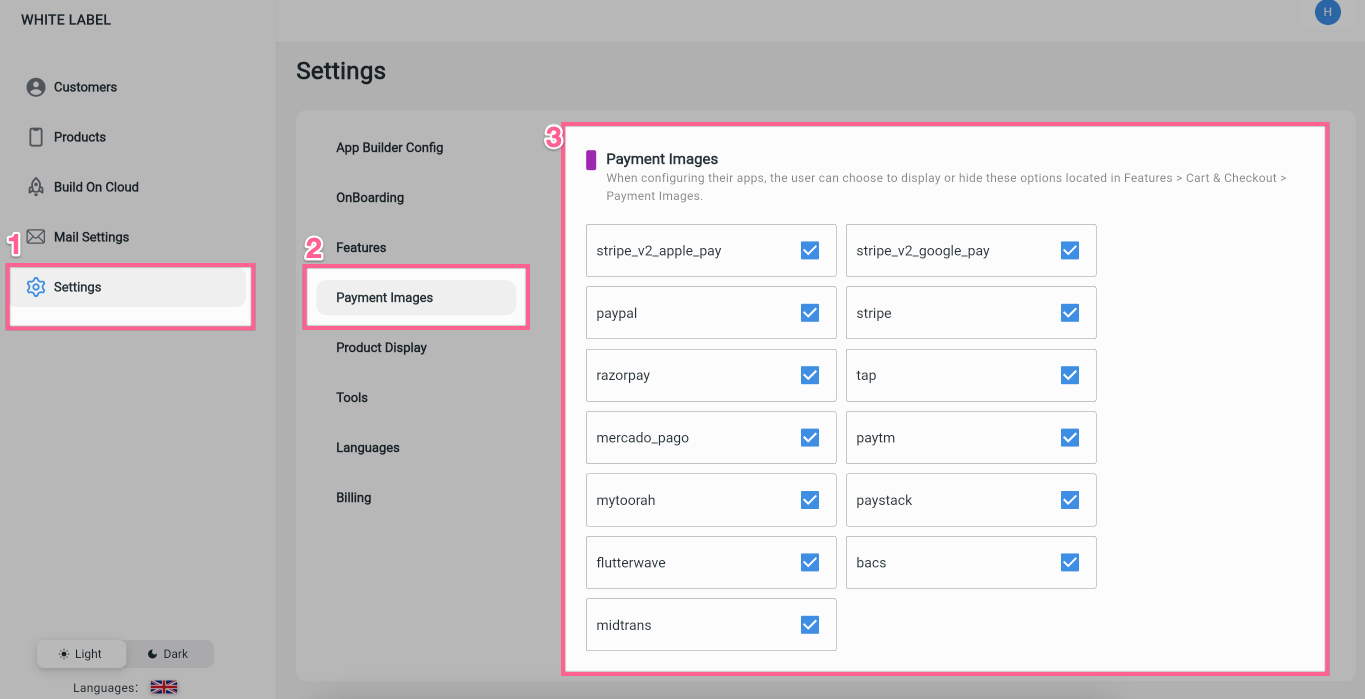
(Show or hide items on Features > Cart & Checkout > Payment Images screen in your App Builder).
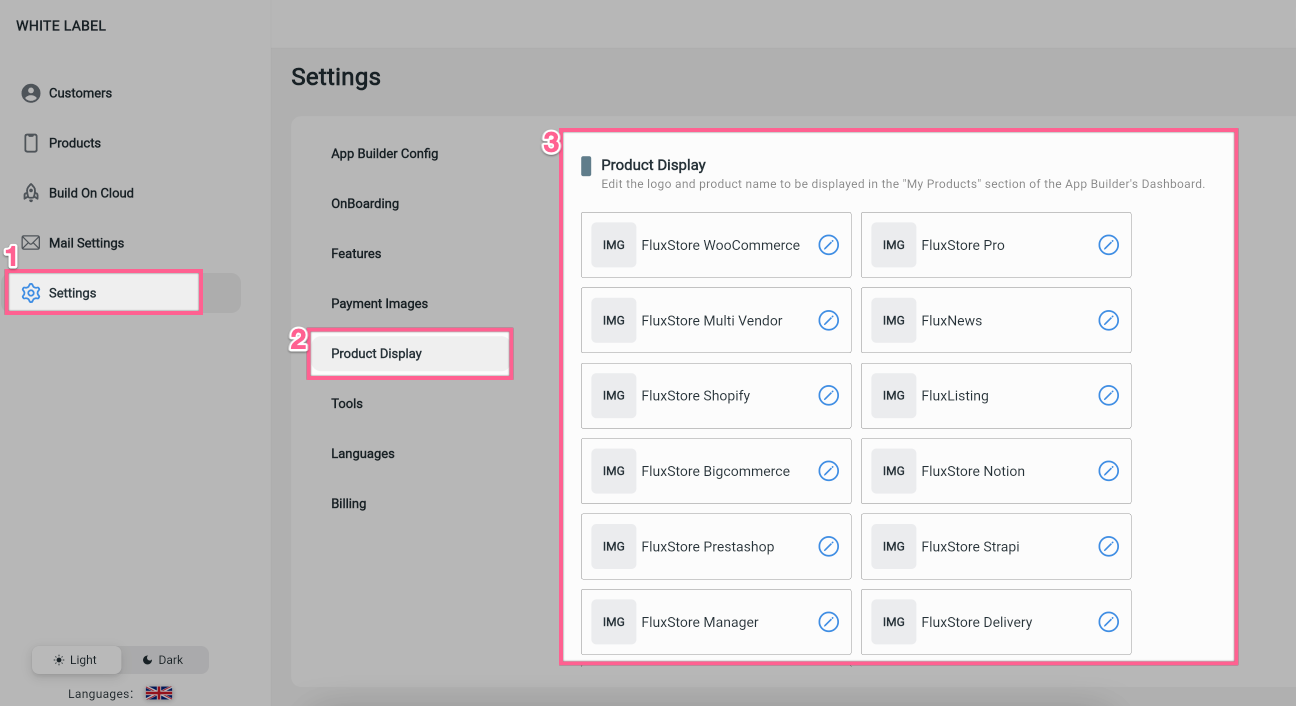
5. Product Display
Flexible option to edit the name and logo of clients’ Apps on the Dashboard screen of your App Builder.
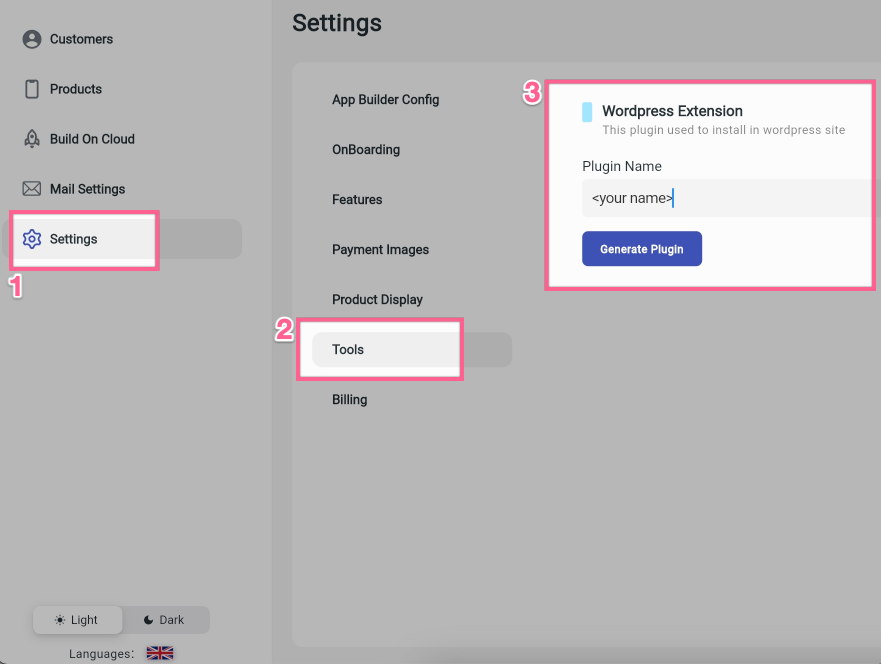
6. Tools
This part helps to create the White-label MStore API.
As your experience with FluxStore apps, you will know MStore API plugin which supports most of the app Features. If you want to create your own API from the MStore API (change the “MStore API” name into your own API name), you can:
- Go to Settings > Tools.
- Enter string to
Plugin Nameand clickGenerate Pluginto get it.
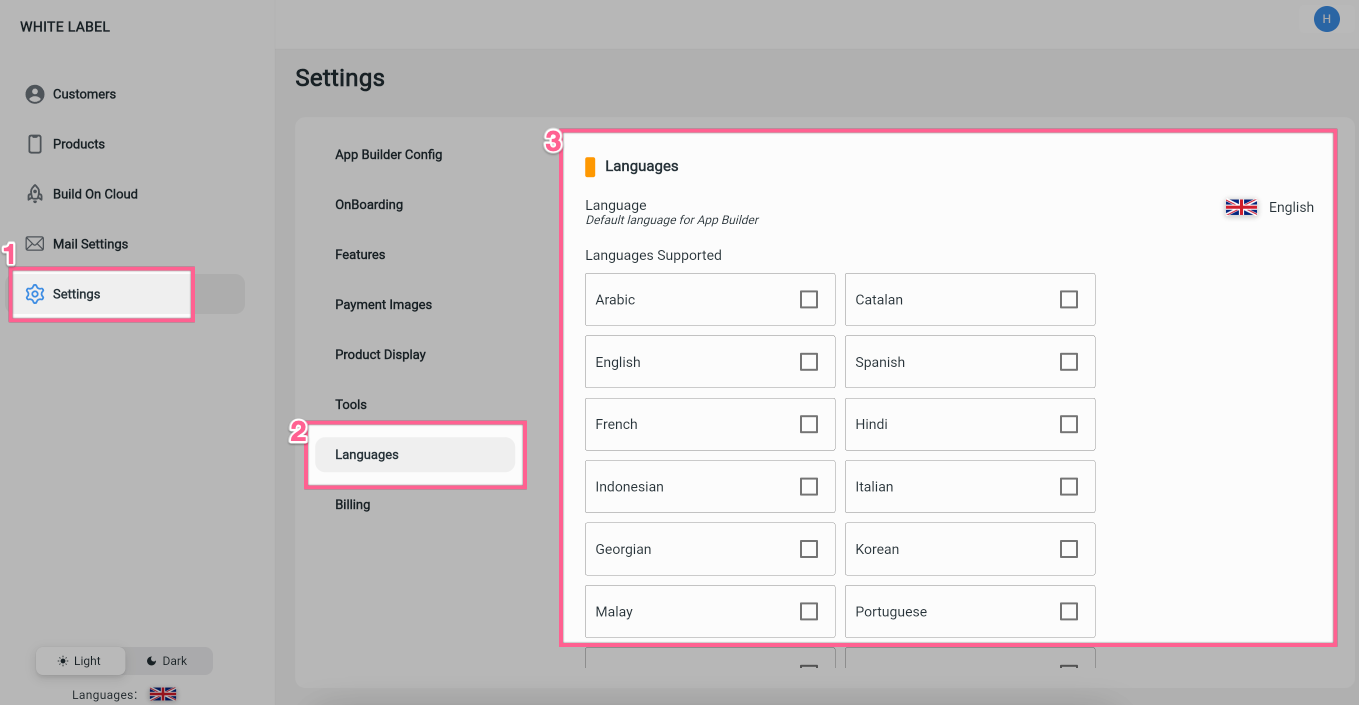
7. Languages
Language: set the default language of your App Builder.Languages Supported: enable to display the Languages drop-down list on your App Builder, allowing users to change the App Builder language.
8. Billing
Instead of opening FluxBuilder to manage your subscription, you can open Billing to do that.
Click the Cancel button on Billing screen to discard the next payment. You will have access to your subscription until the end of the current billing cycle. After that, your apps will be locked until you reactivate your plan.