Product & Content Management
1. Media
Upload and manage all images and assets used in your app
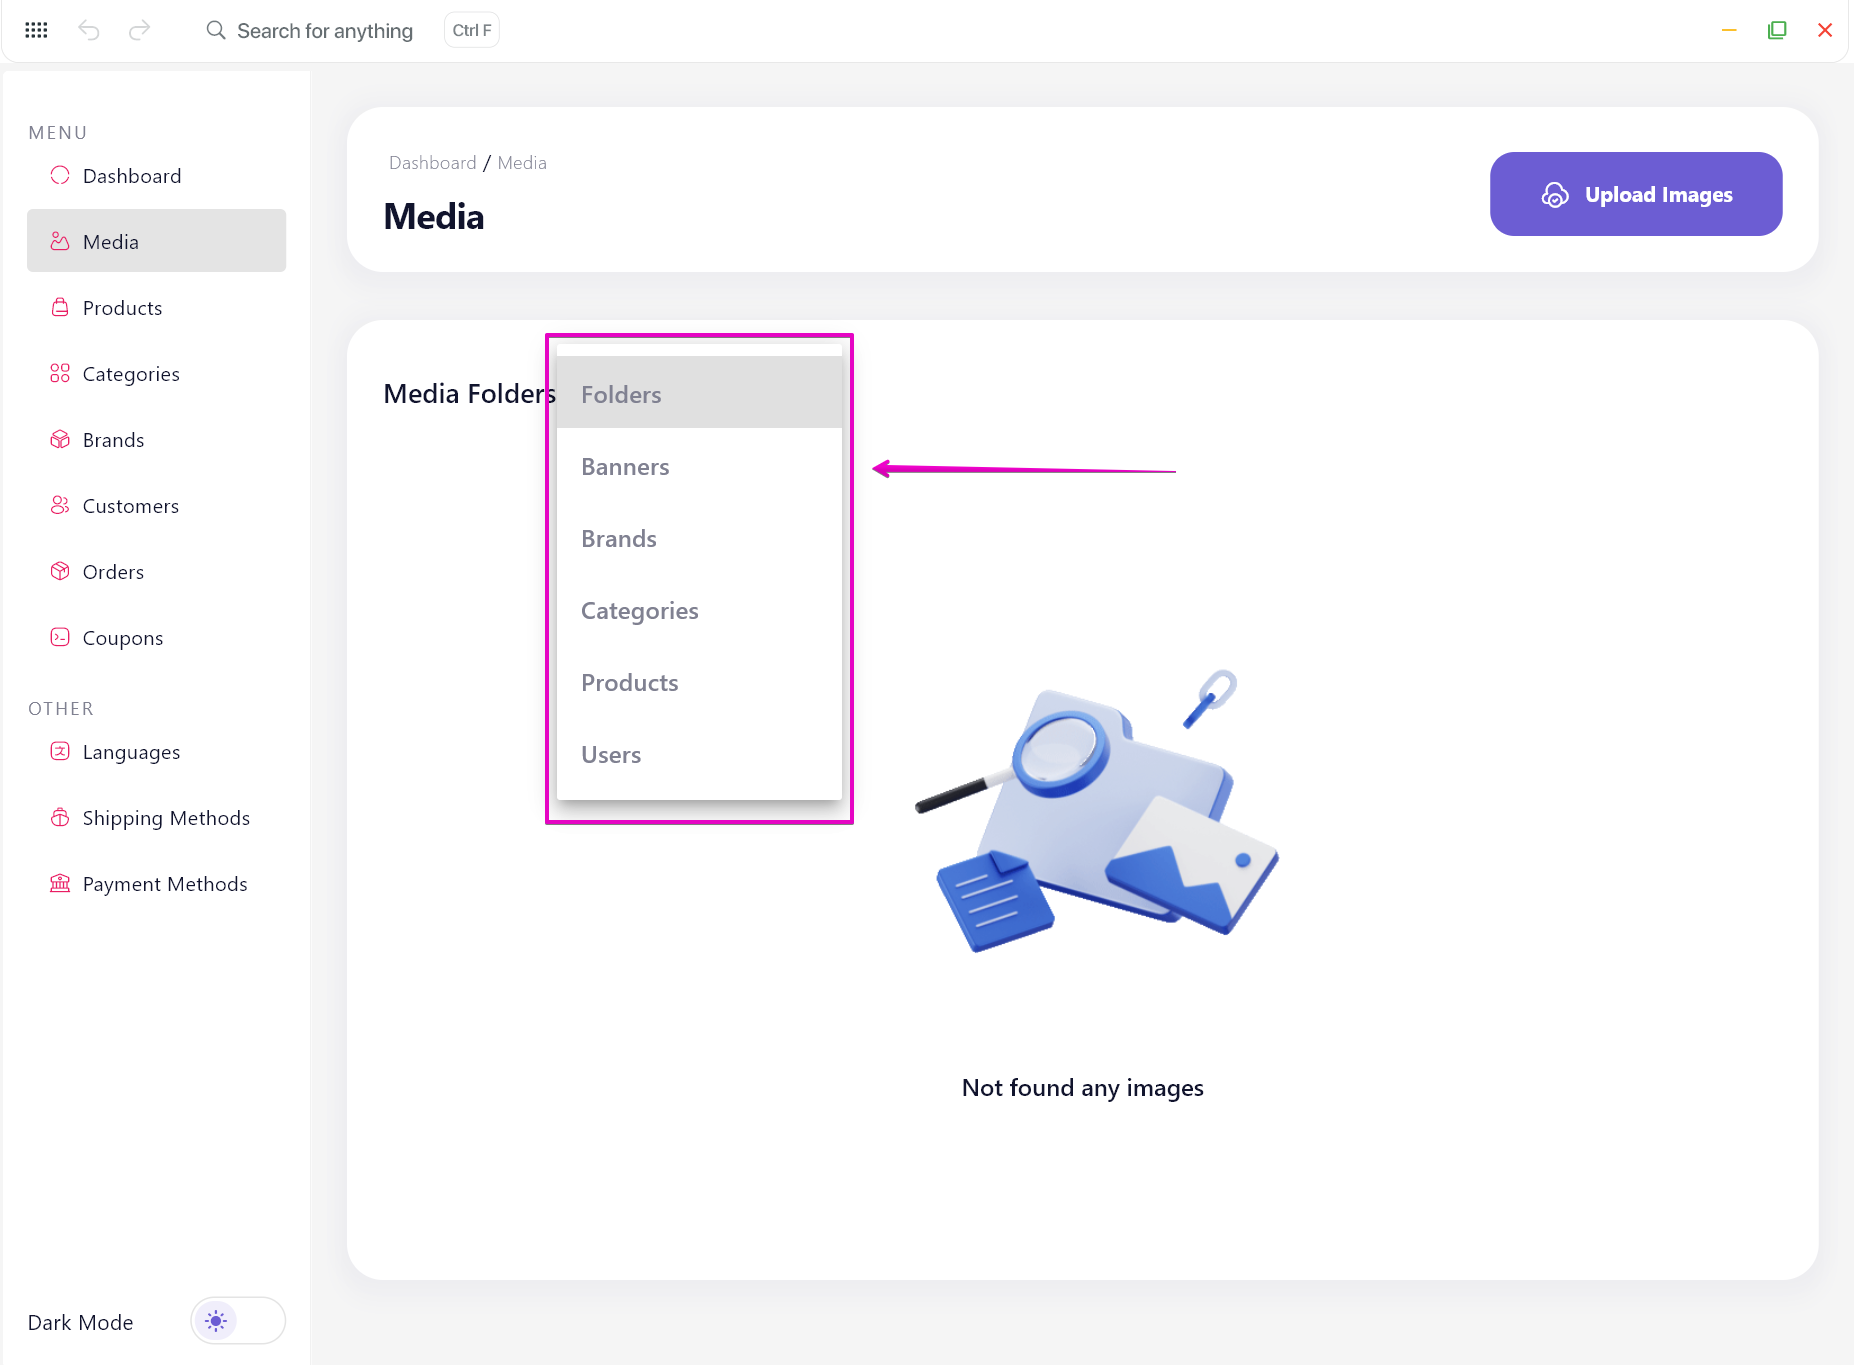
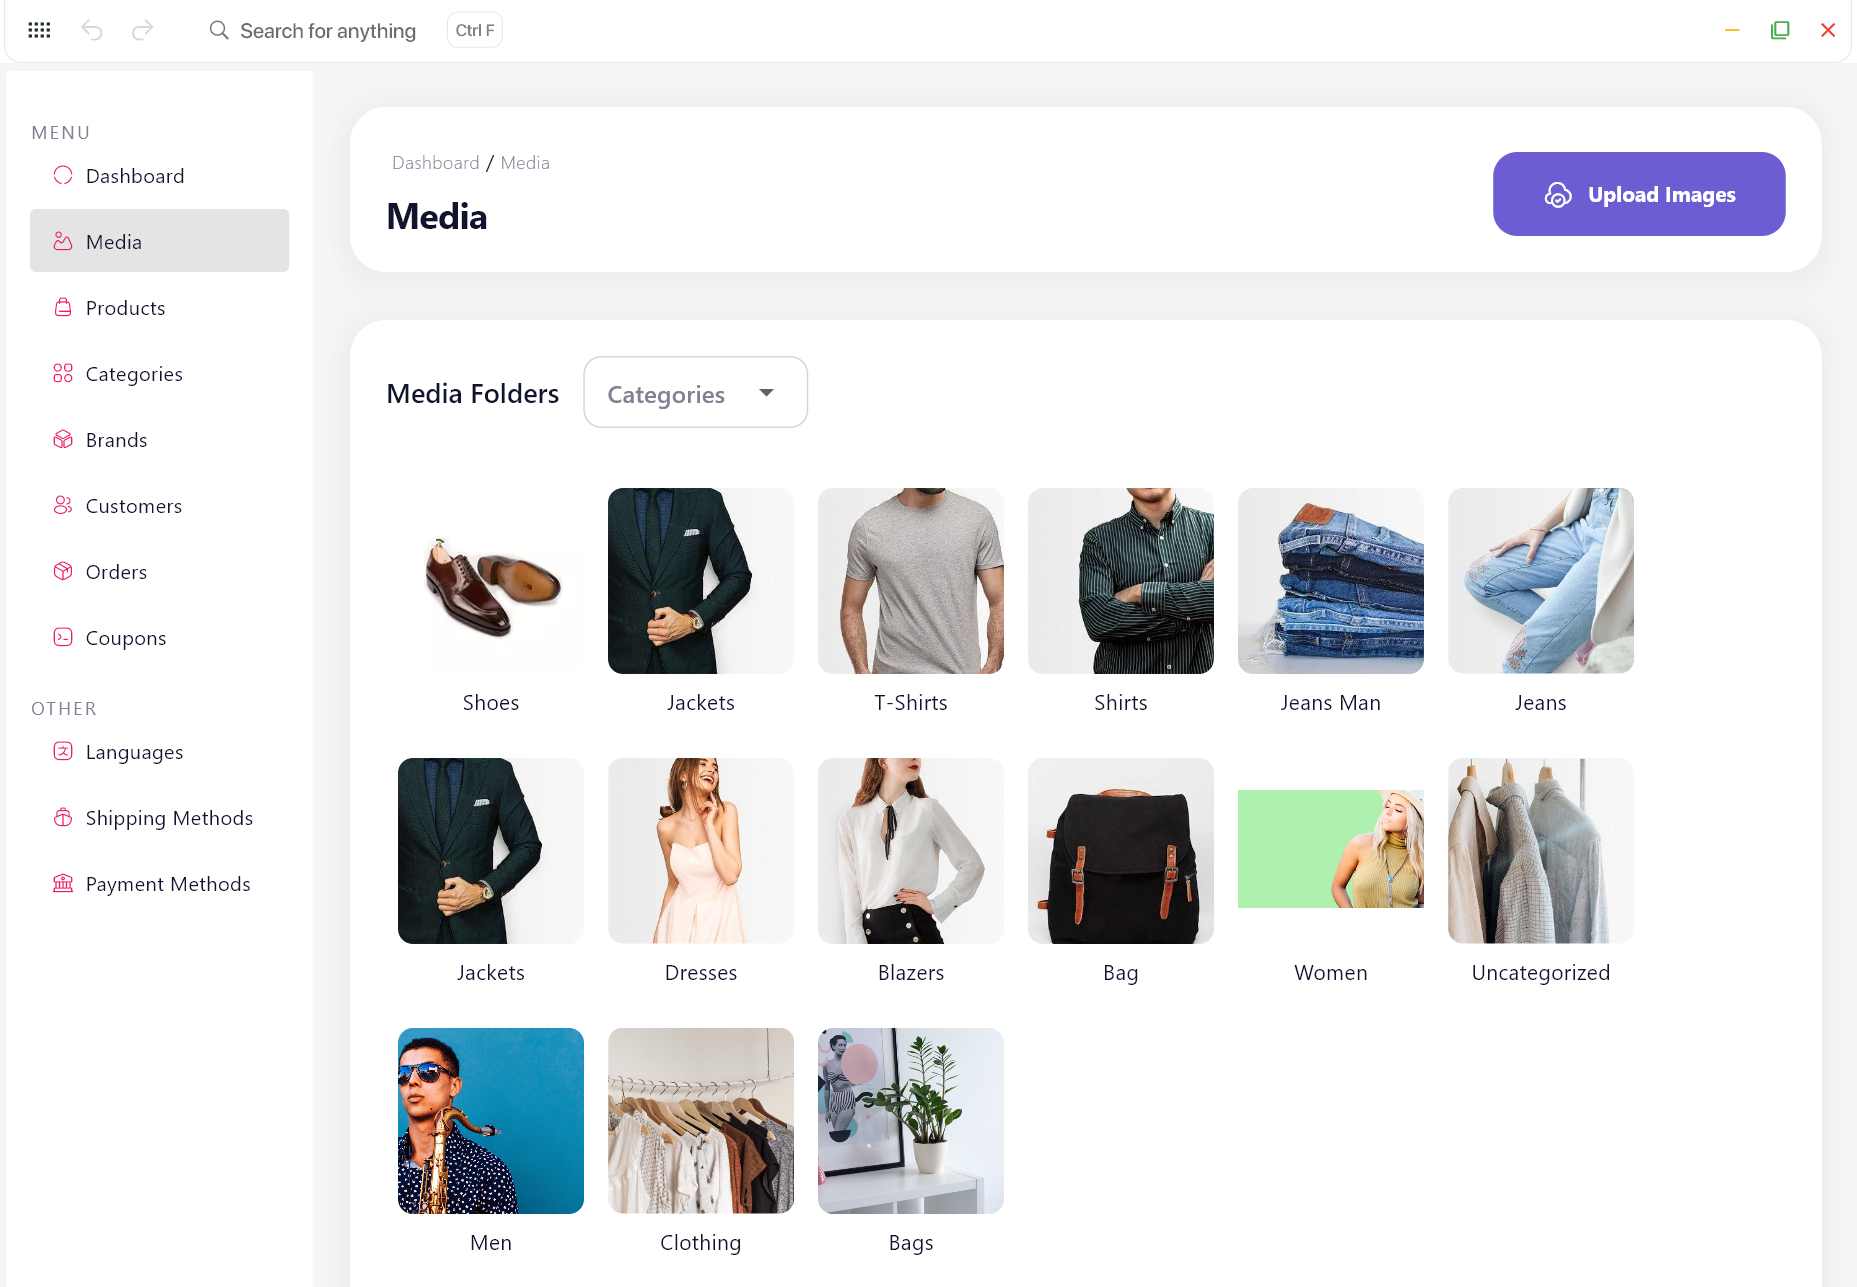
Uploaded images are stored in individual folders to simplify organization.
Upload Image Instruction:
- Select the target folder, then click the Upload Image button.
- Drag and drop images from your device, or click Select Image to browse files manually.
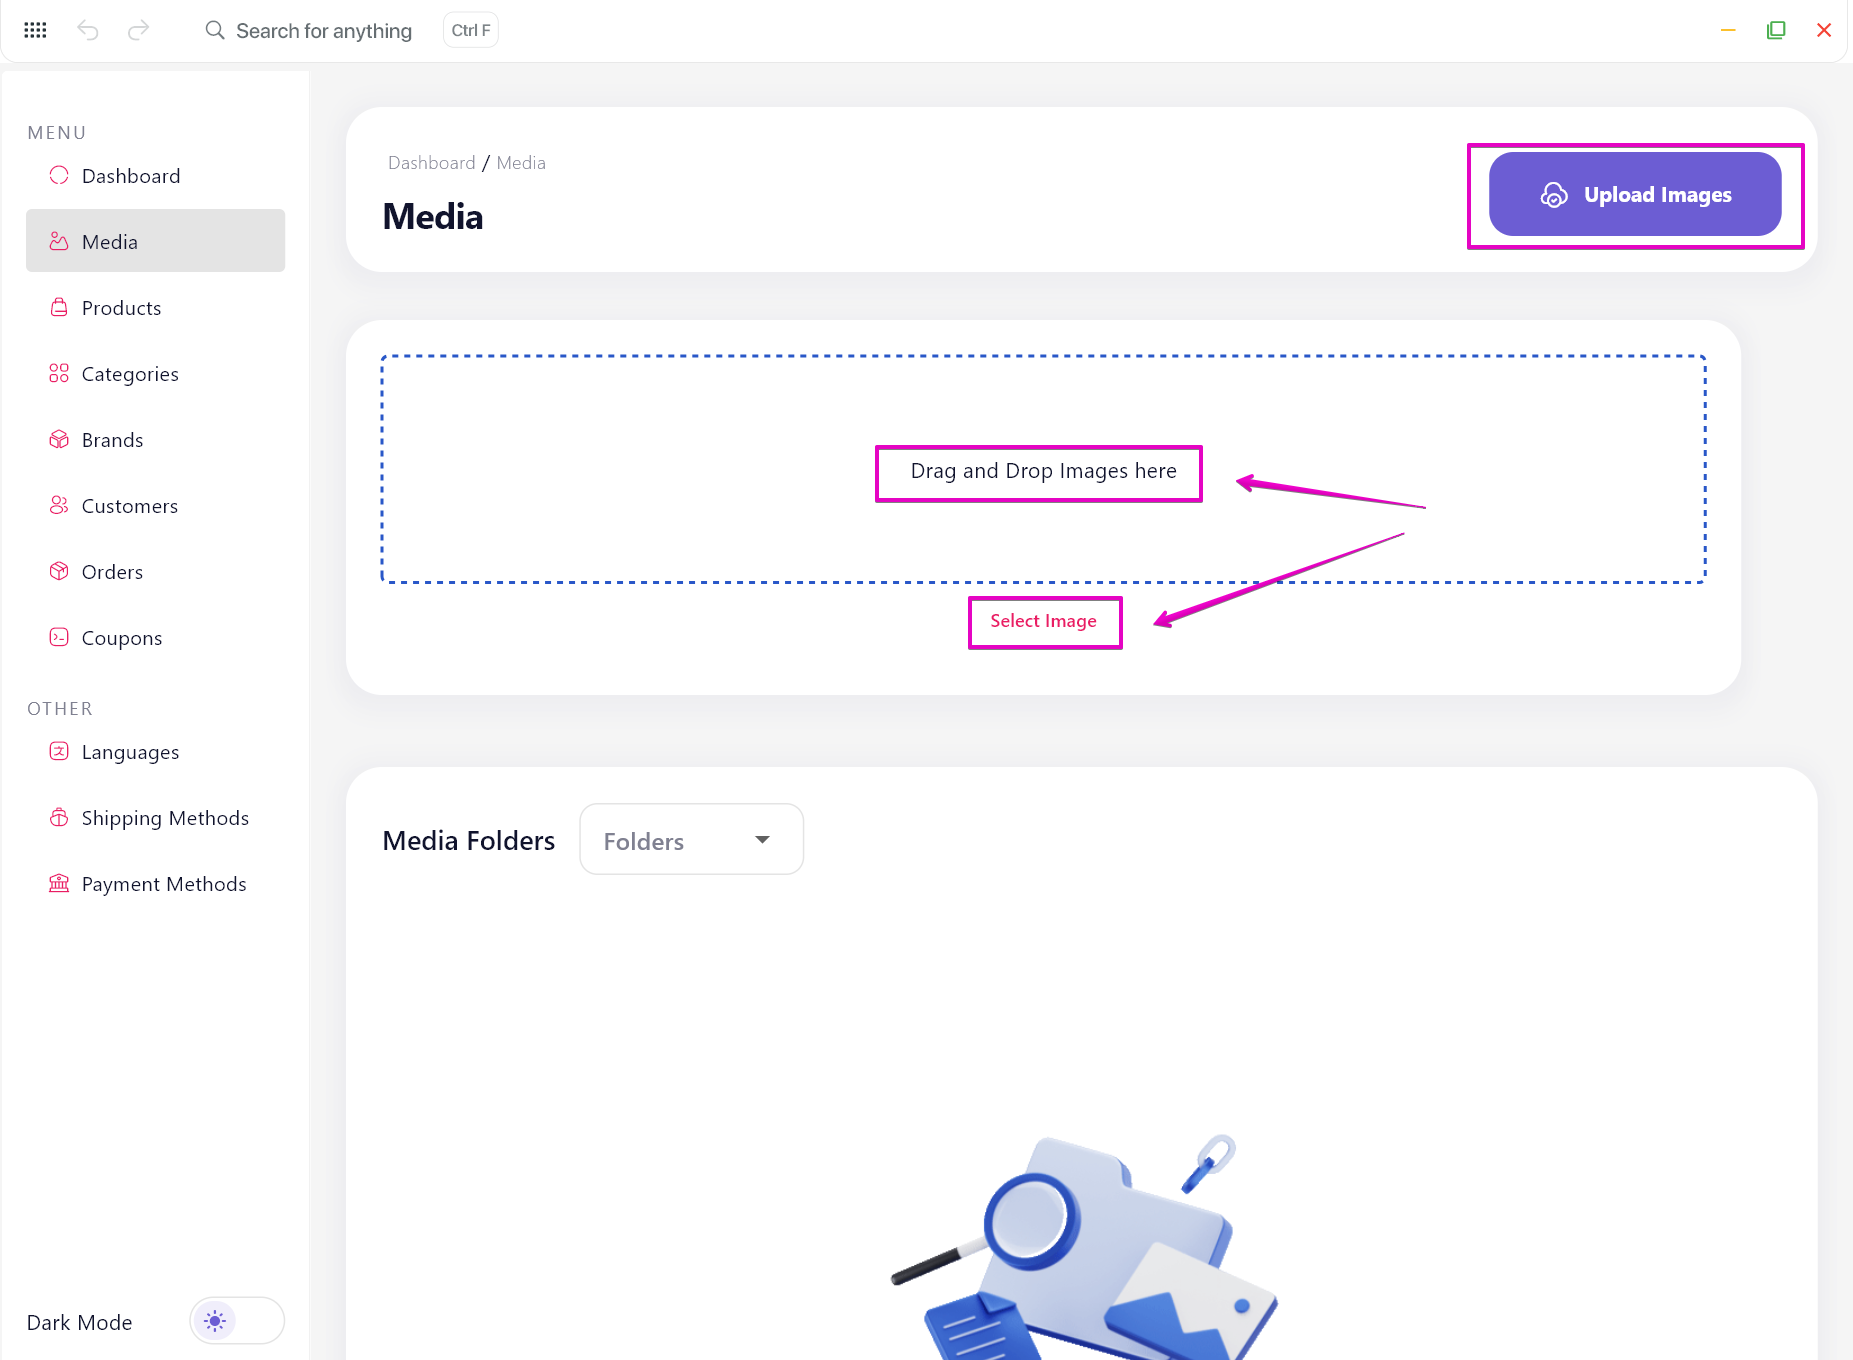
- Once selected, click the Upload button to continue.
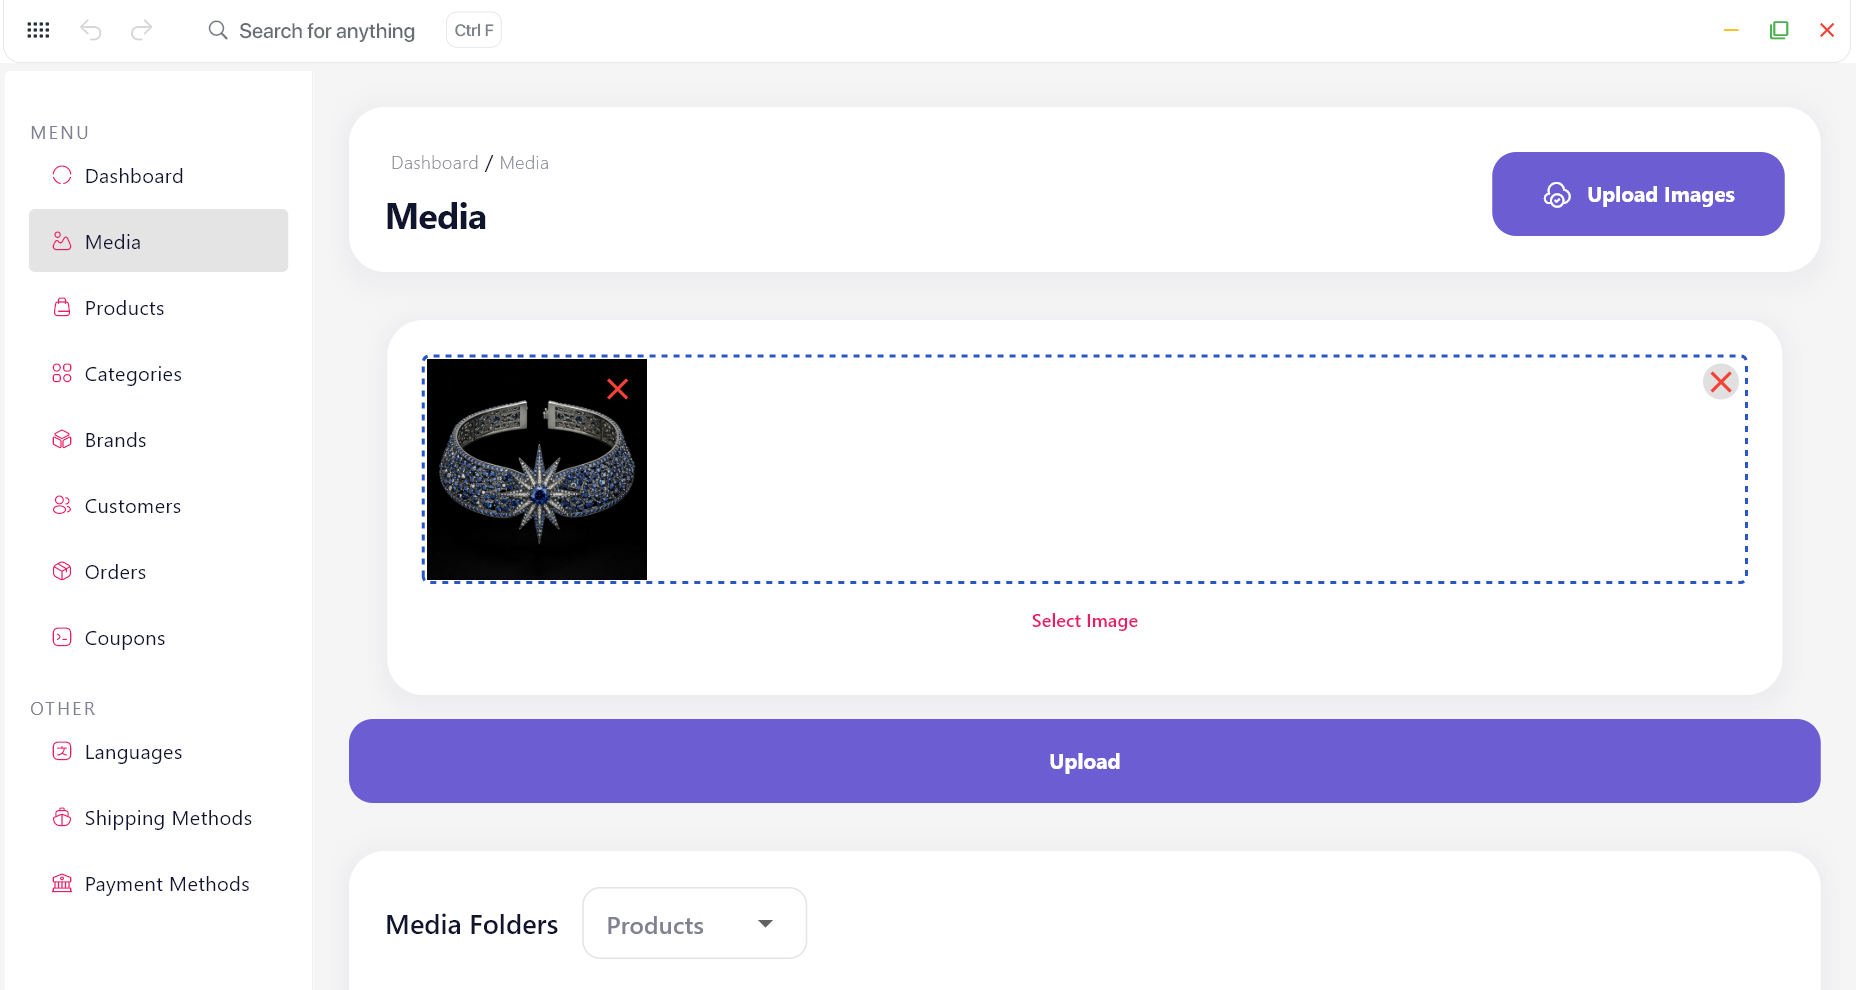
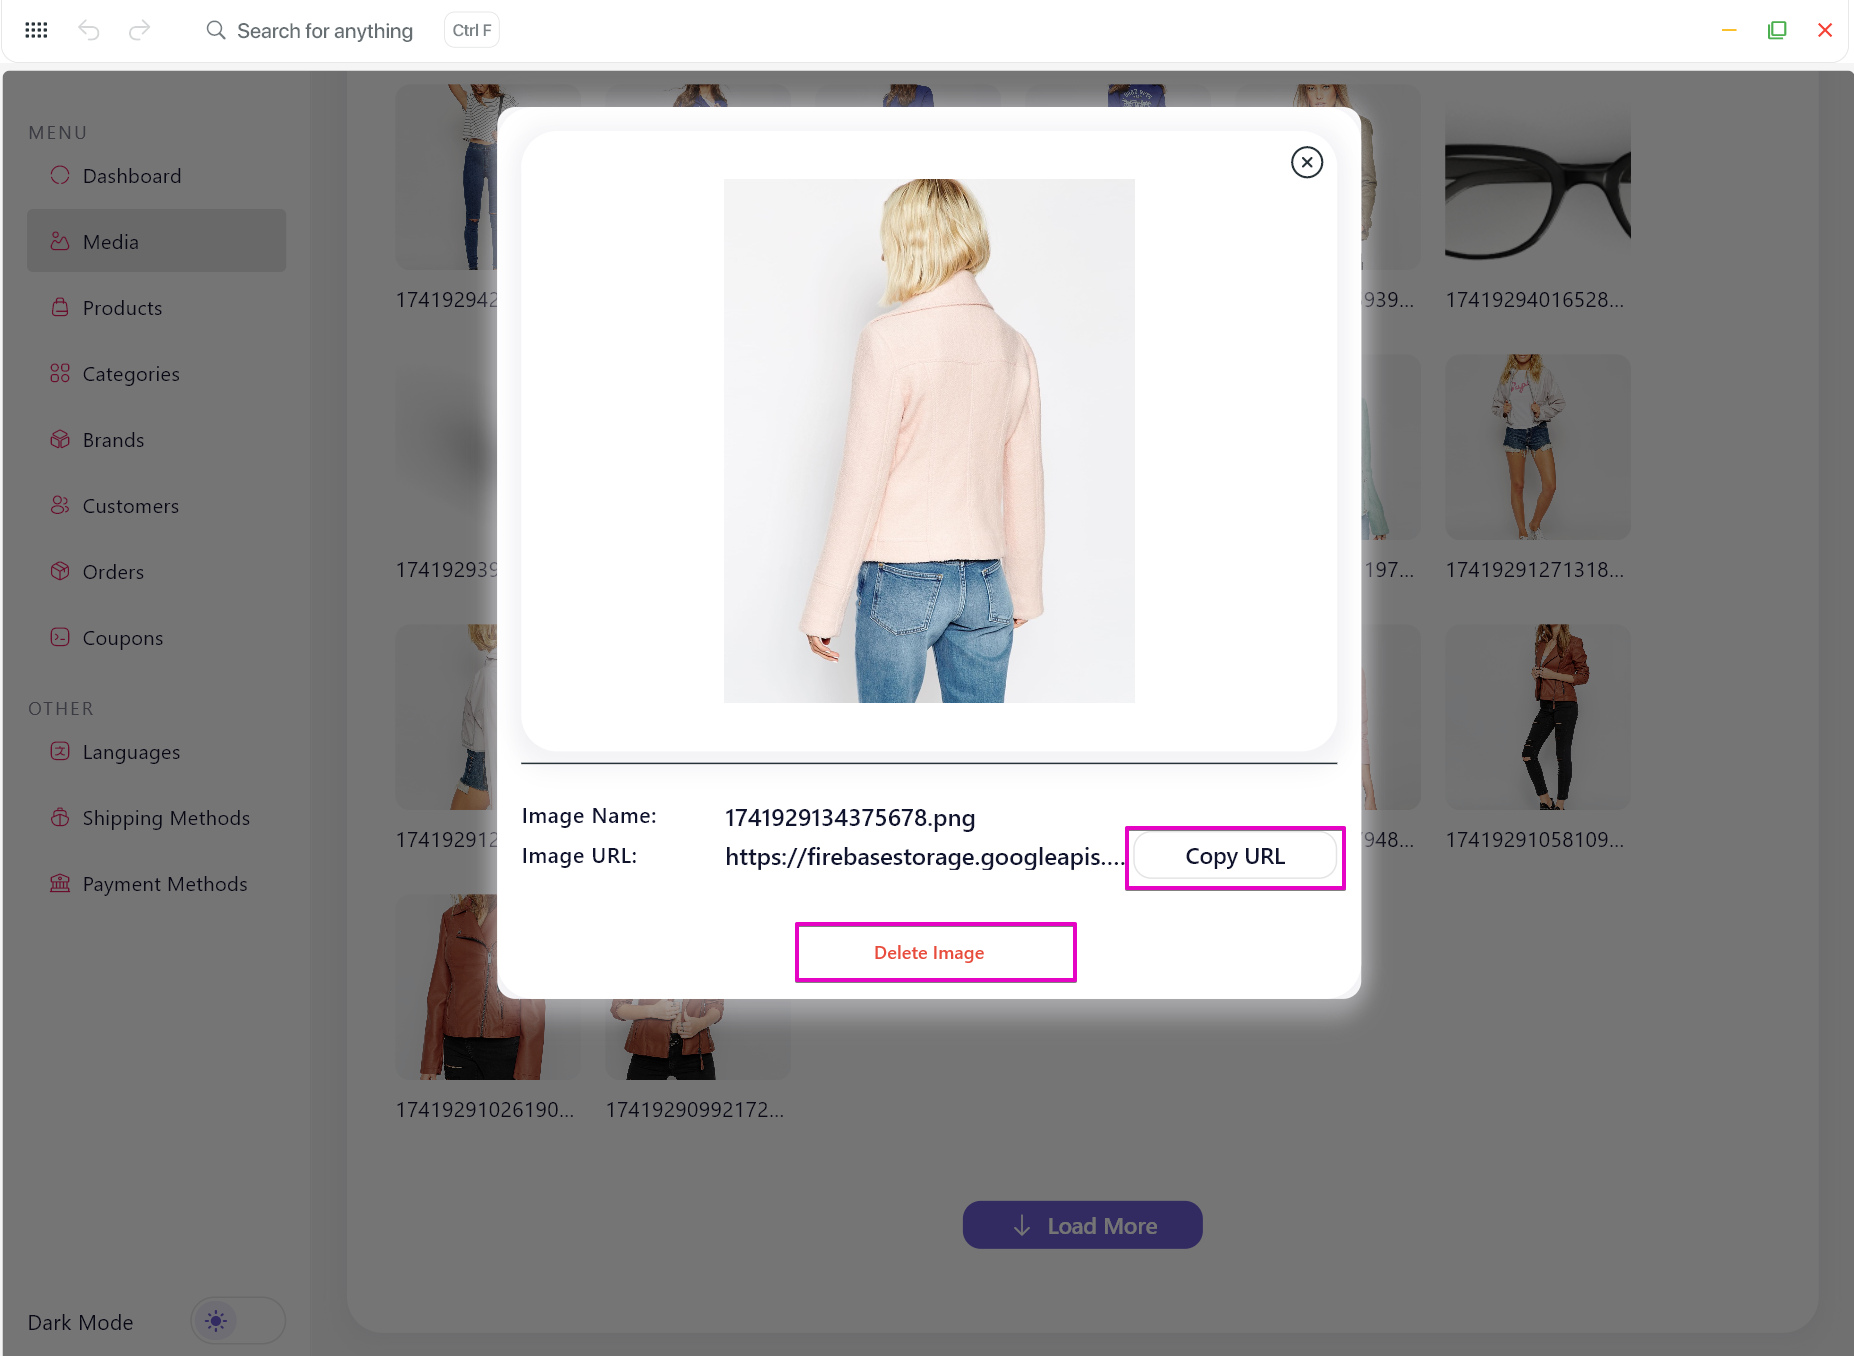
Note: You can click on the uploaded image to copy the image URL, or delete it.
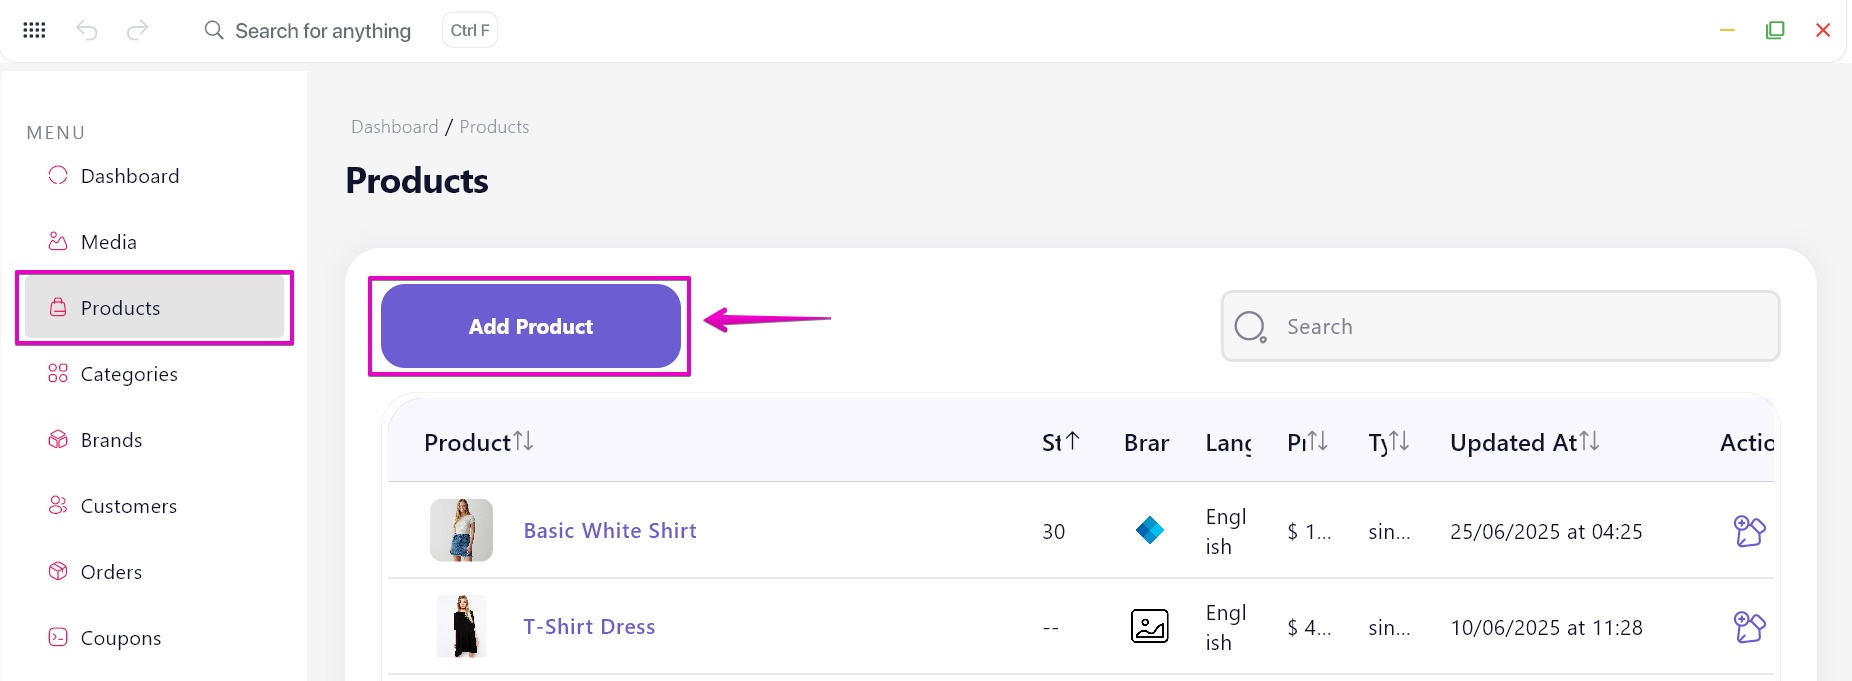
2. Products
Add and edit simple, variation, or listing products
Add new product
- In Products section, click Add Product button.
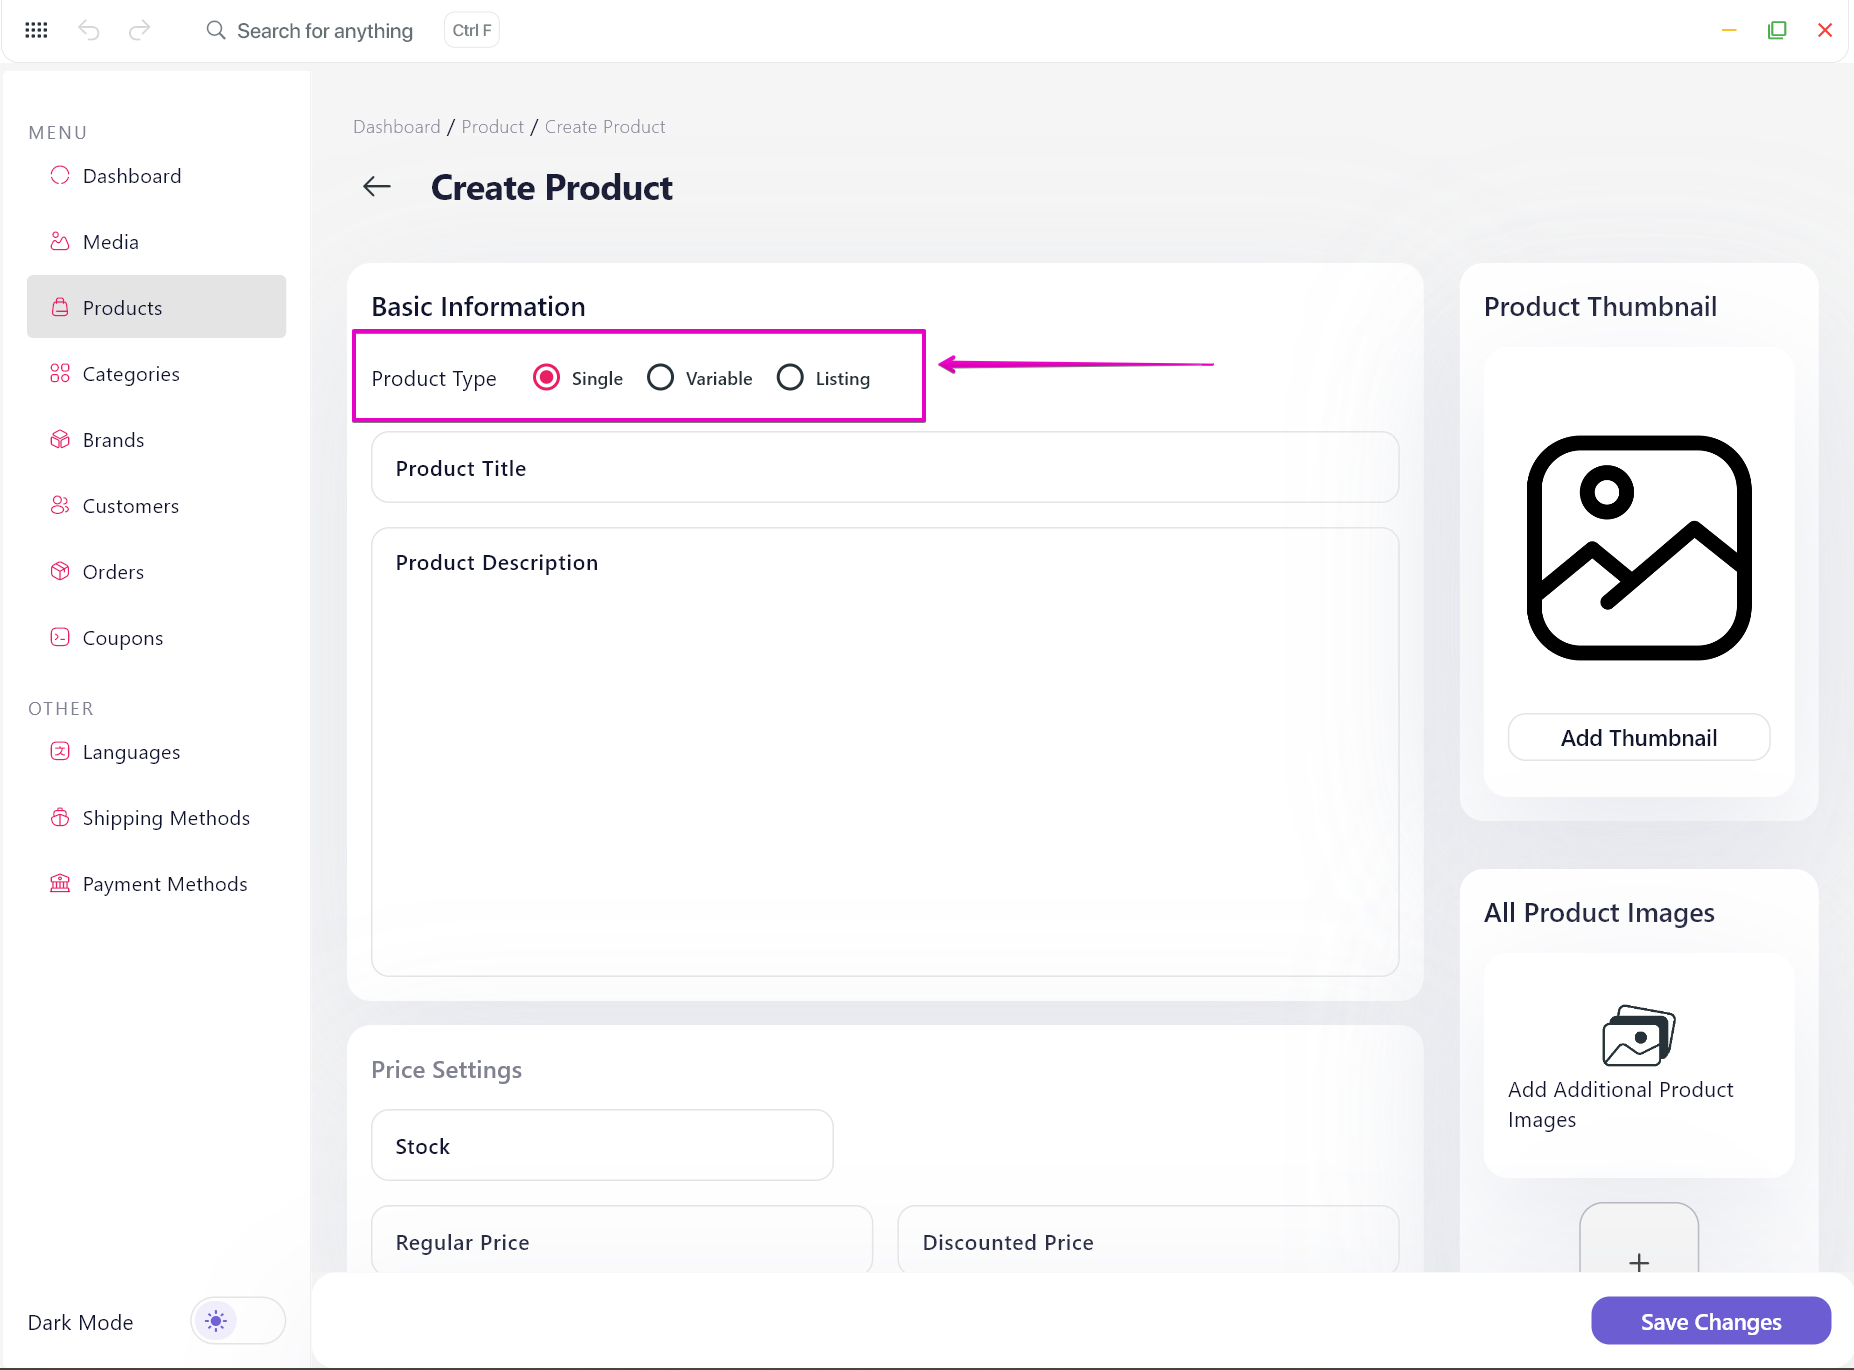
- On Create Product page, select the Product Type, then fill in the required fields.
- Click the Save Changes button to finalize and save the product.
Reminder:
Select Published to show the new product on the app.
Choose a language for the product to ensure it appears when users view the app in that language.
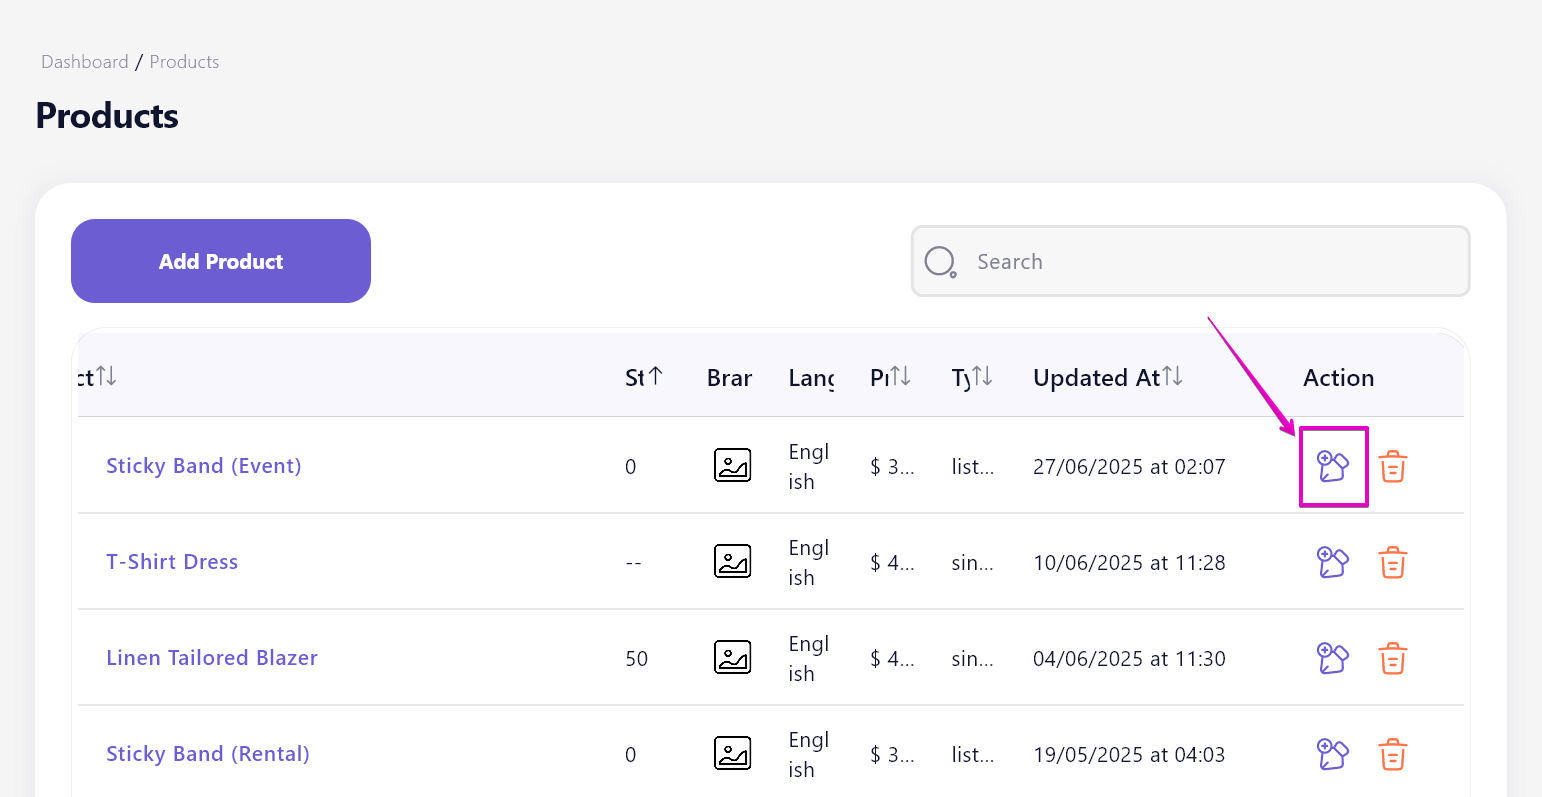
Edit product
- On the Products main page, click the Edit icon button to open the Edit Product page.
- Make your changes, then click Save Changes to apply them.
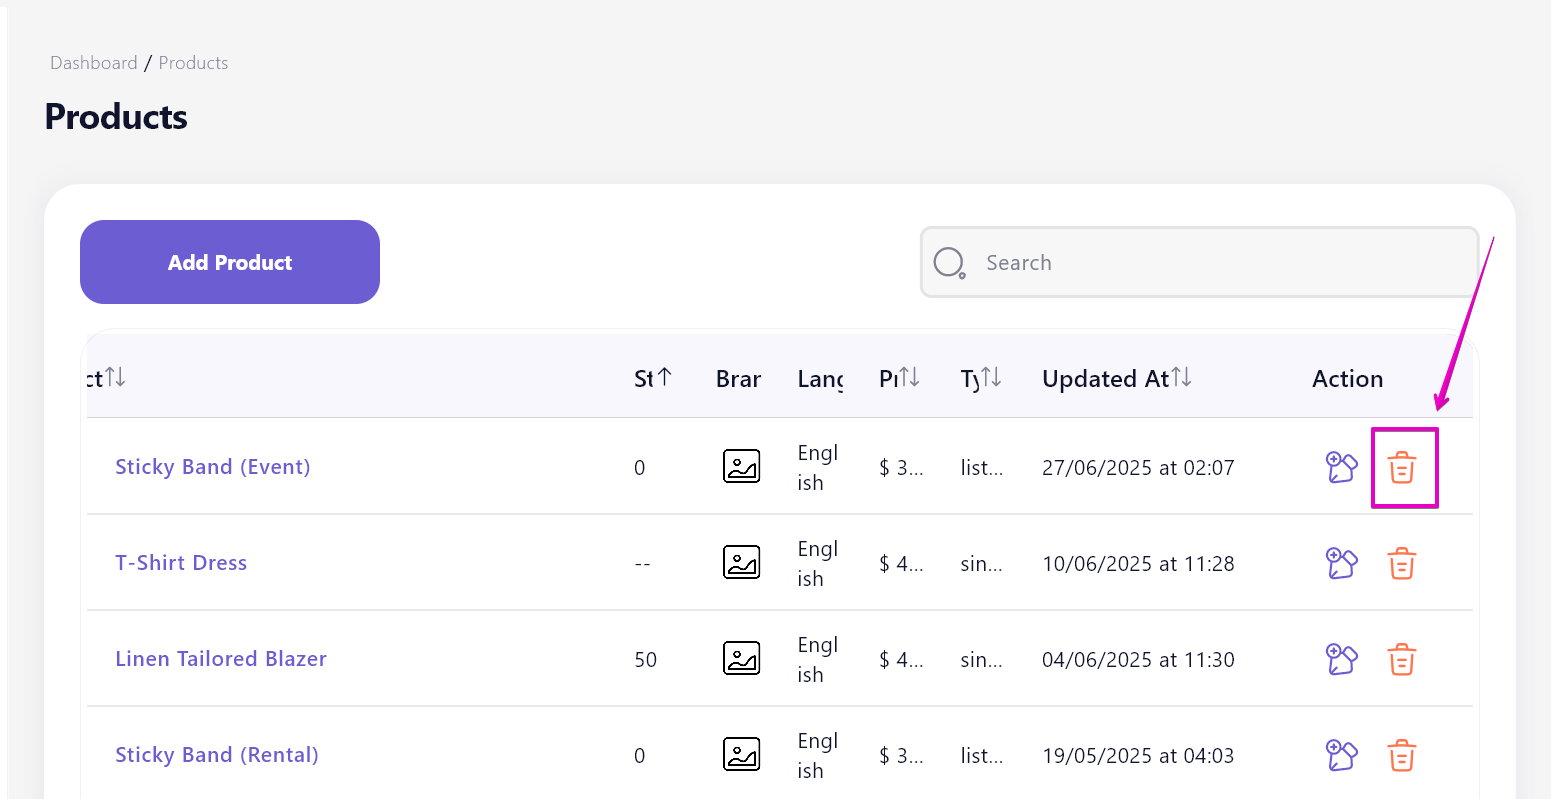
- To delete a product, click the Delete icon button next to the product you want to remove
3. Categories
Group products into organized collections
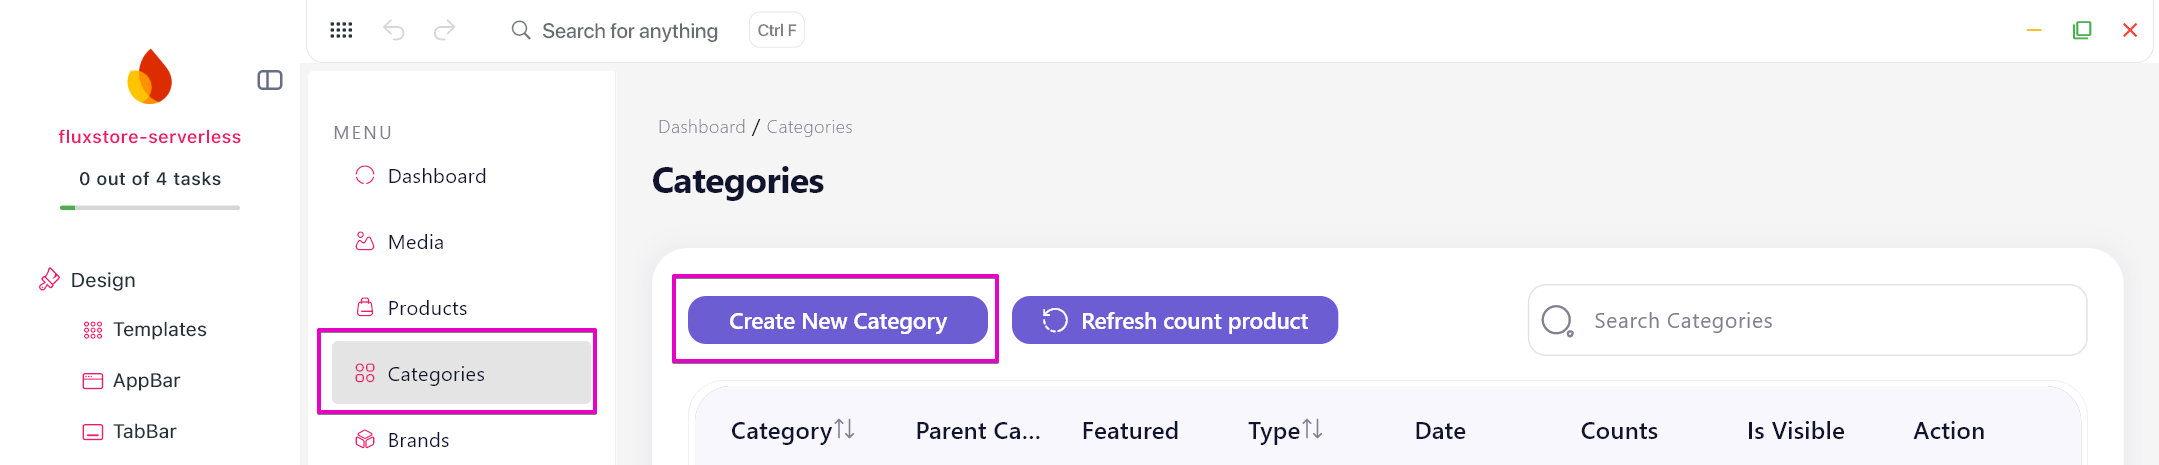
Add New Category
- In the Categories section, click Create New Category button.
- Input Category Name, upload Image, and select Parent Category (if any).
- Select Published to show the category on the app.
- Click Create button to finish.
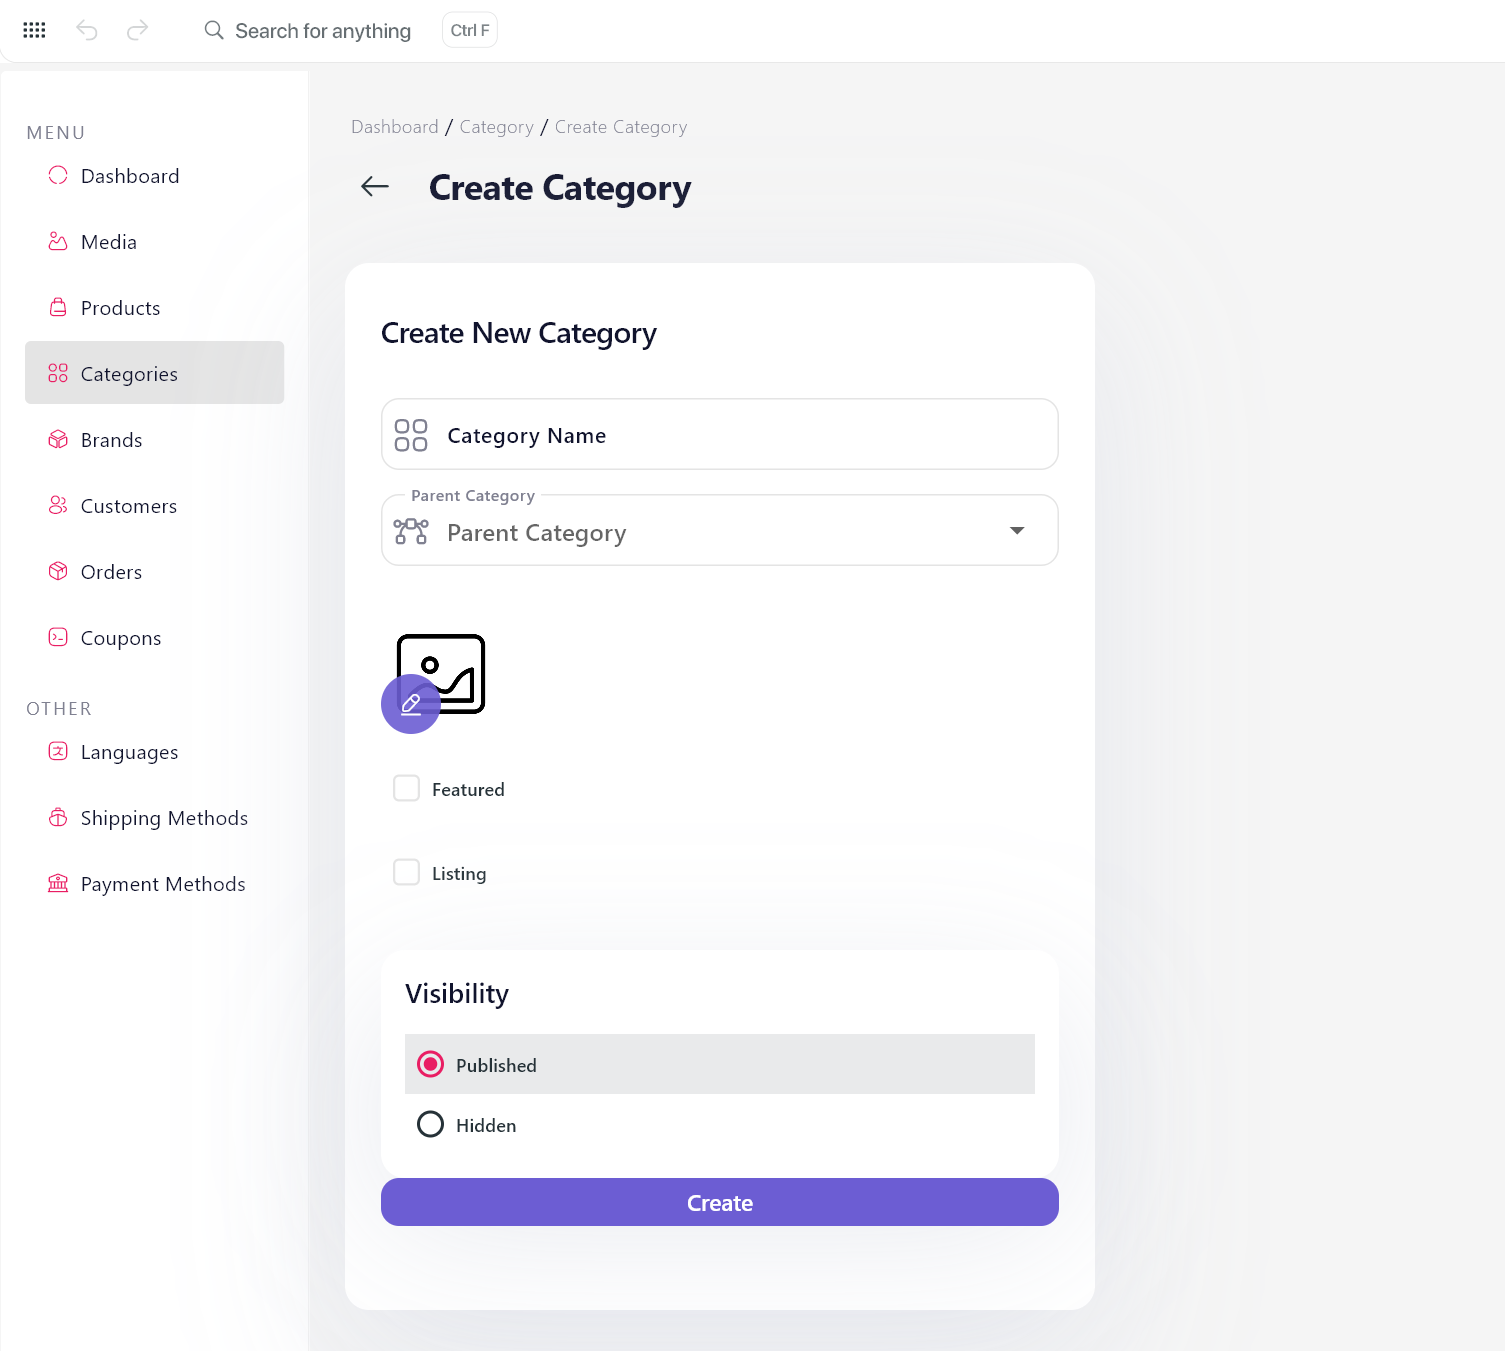
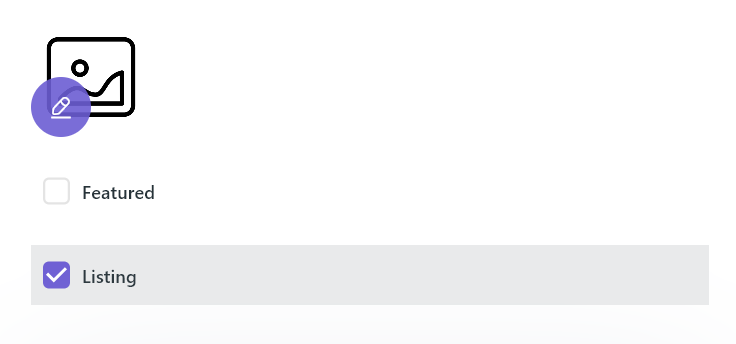
Reminder: Select the Listing option if this category is meant for listing-type products.
Edit category
- On the Categories main page, click the Edit icon button to open the Update Category page.
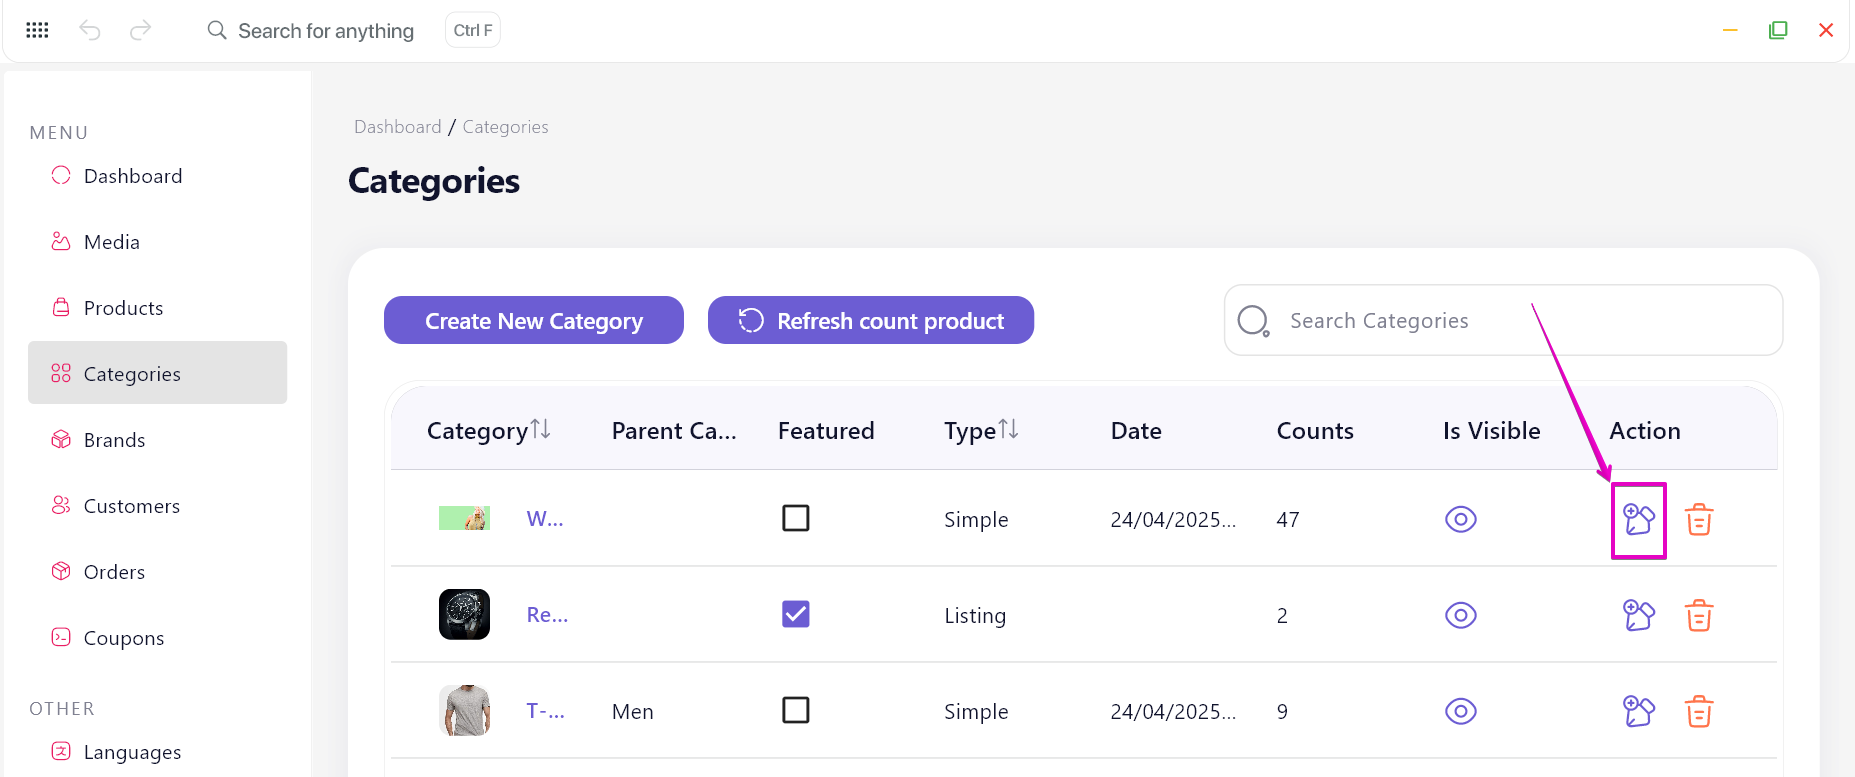
- Make your changes, then click Update button to apply them.
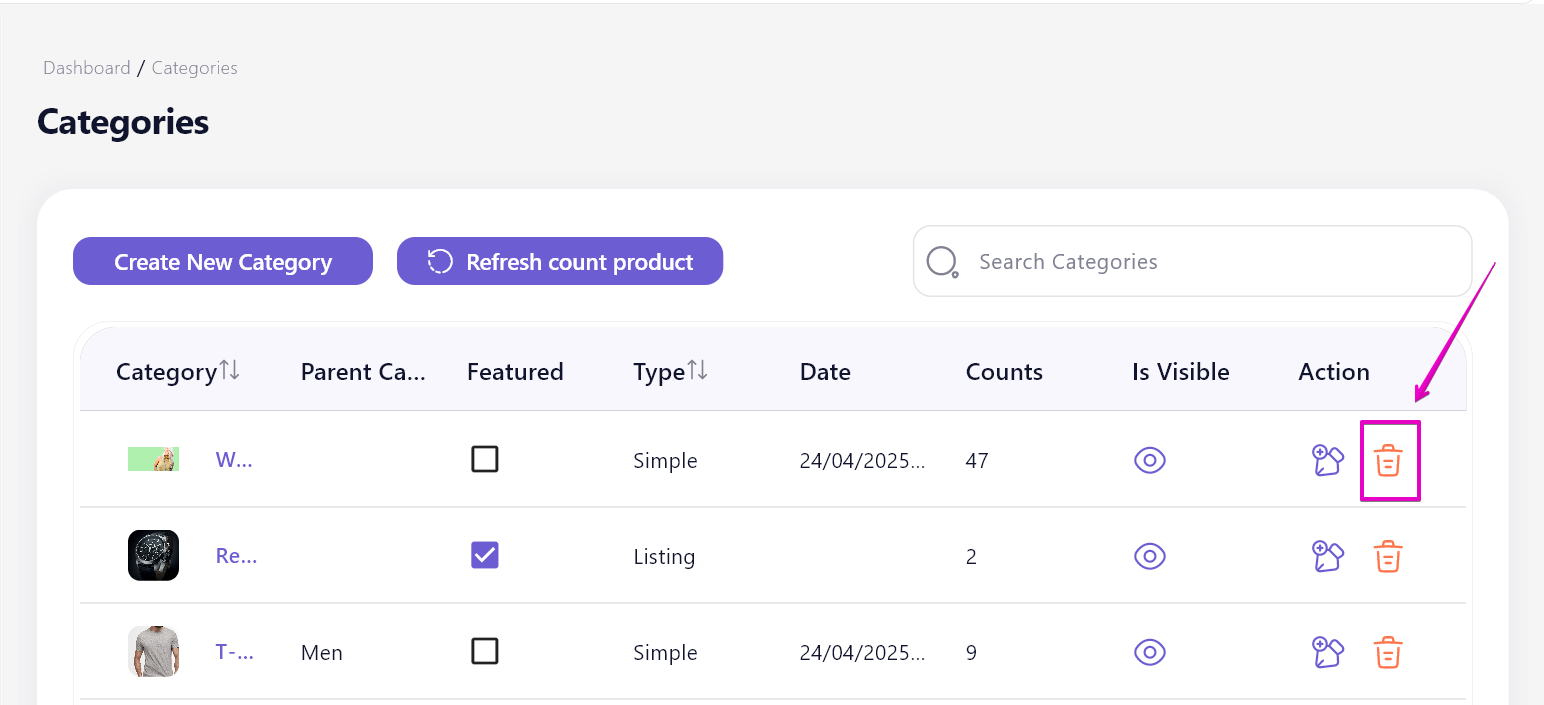
- To delete a product, click the Delete icon button next to the product you want to remove.
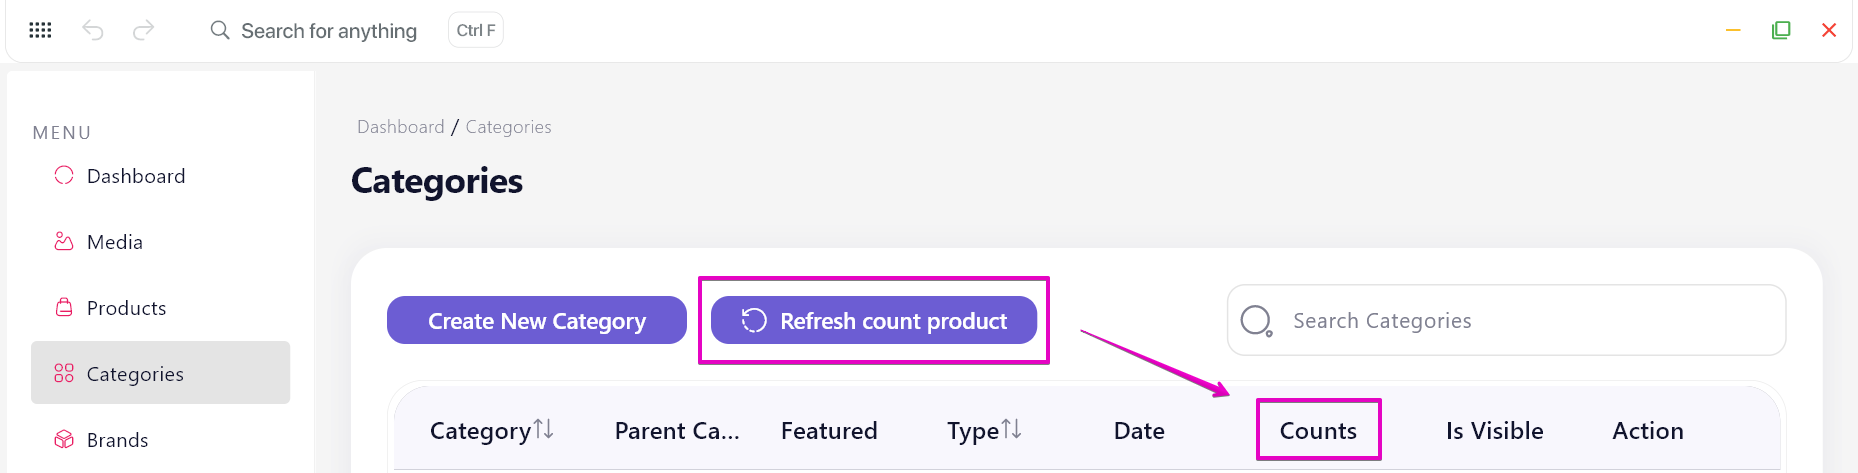
Note: Whenever a new product is added to any category, click Refresh count product button to update the total number of products displayed in the Counts column.
4. Brands
Tag products by brand for better filtering and brand awareness
Add new brand
- In the Brands section, click Create New Brand button.
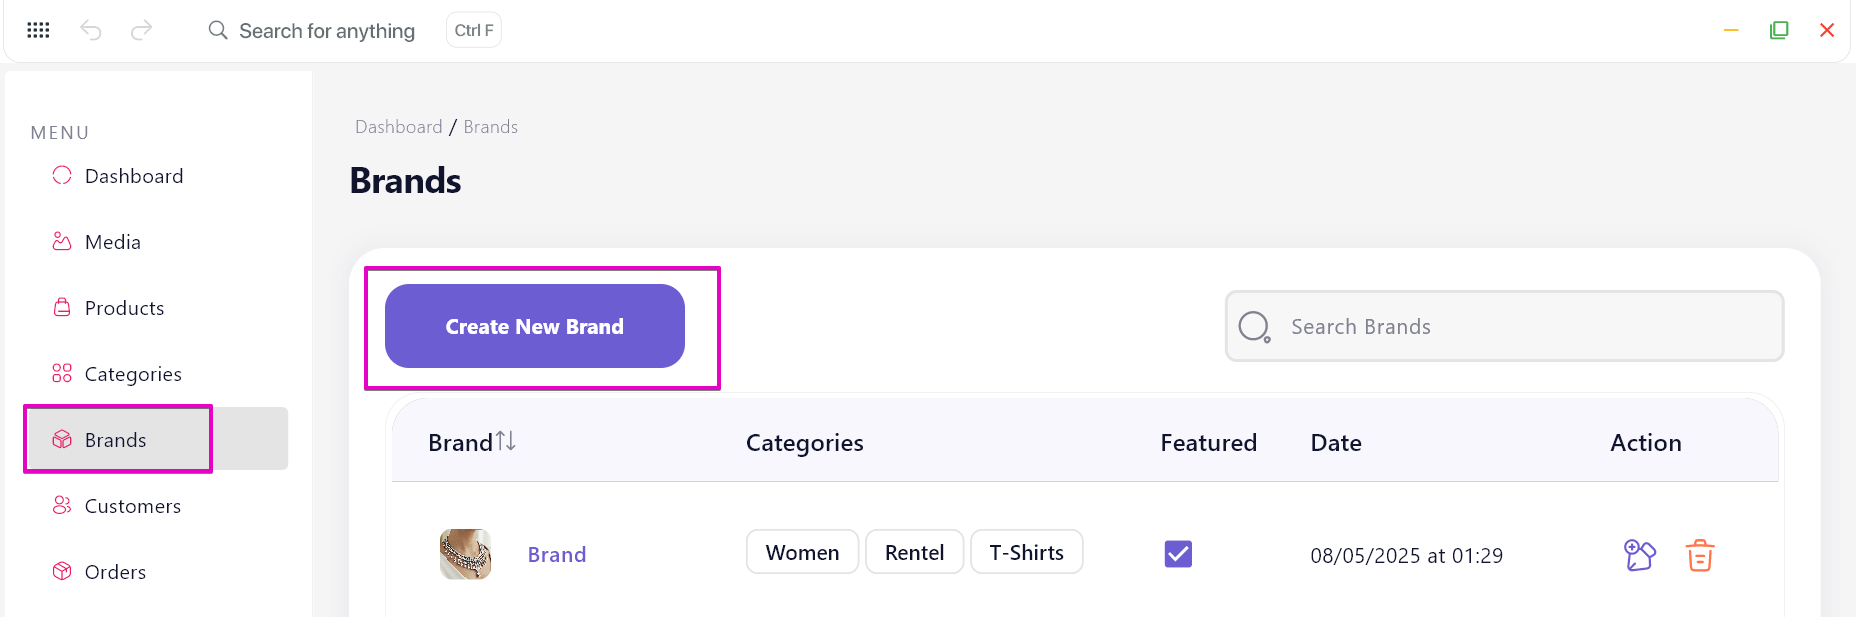
- Input Brand Name, upload Image, and Select Categories (if any).
- Click Create button to finish.

Edit brand
- On the Brands main page, click the Edit icon button to open the Update Category page.
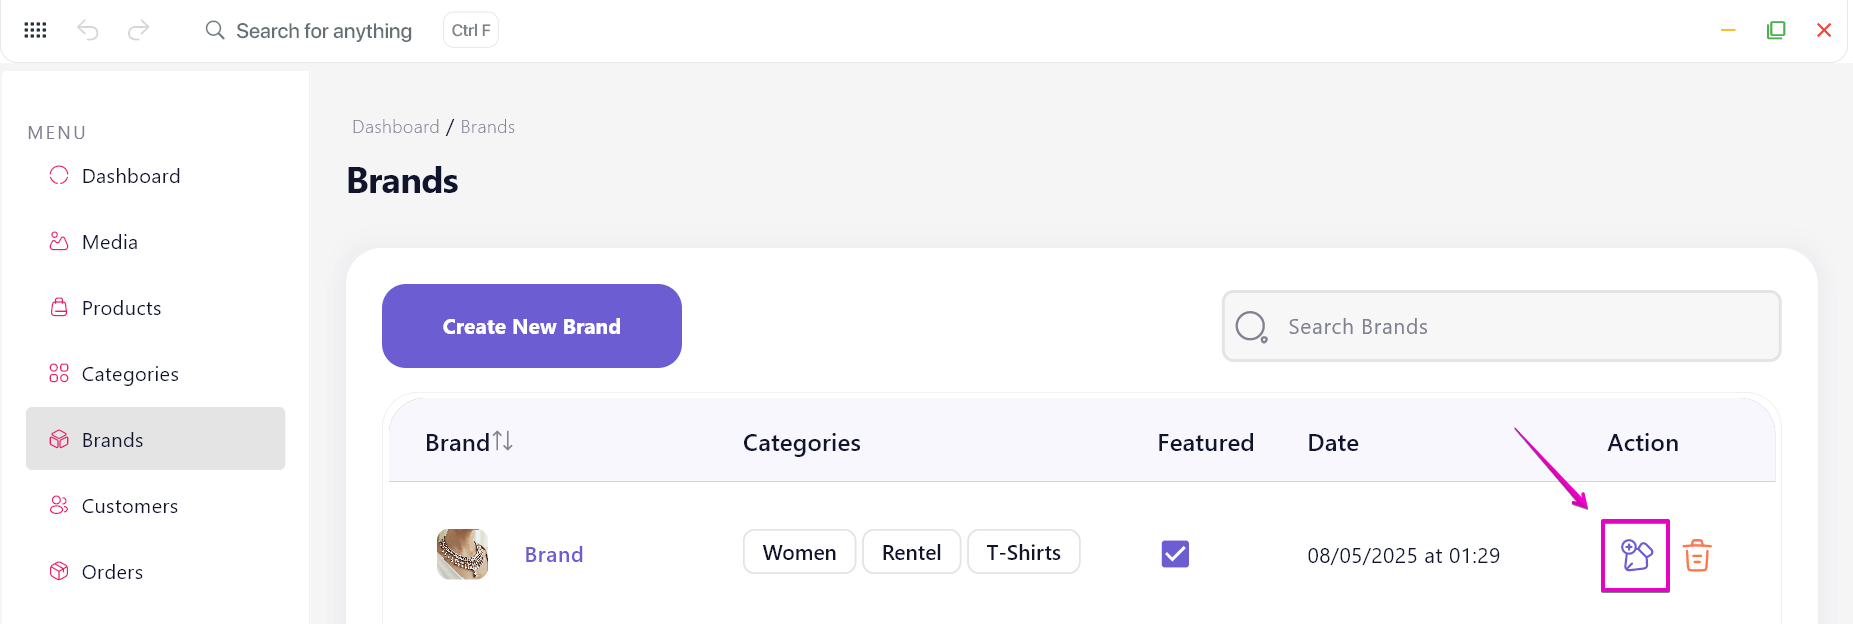
- Make your changes, then click Update button to apply them.
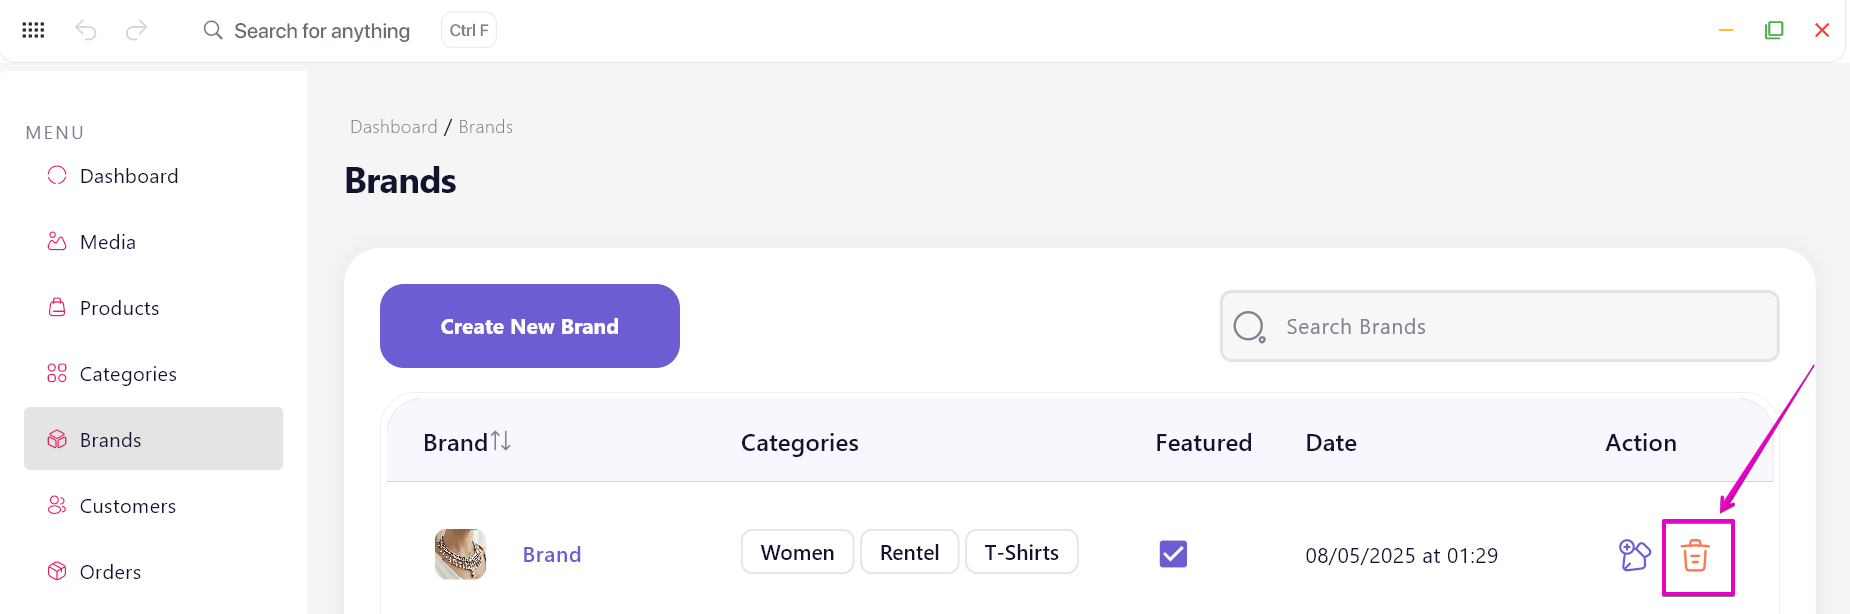
- To delete a product, click the Delete icon button next to the product you want to remove.
5. Coupons
Create and manage discount codes or promotional offers to boost sales and engagement
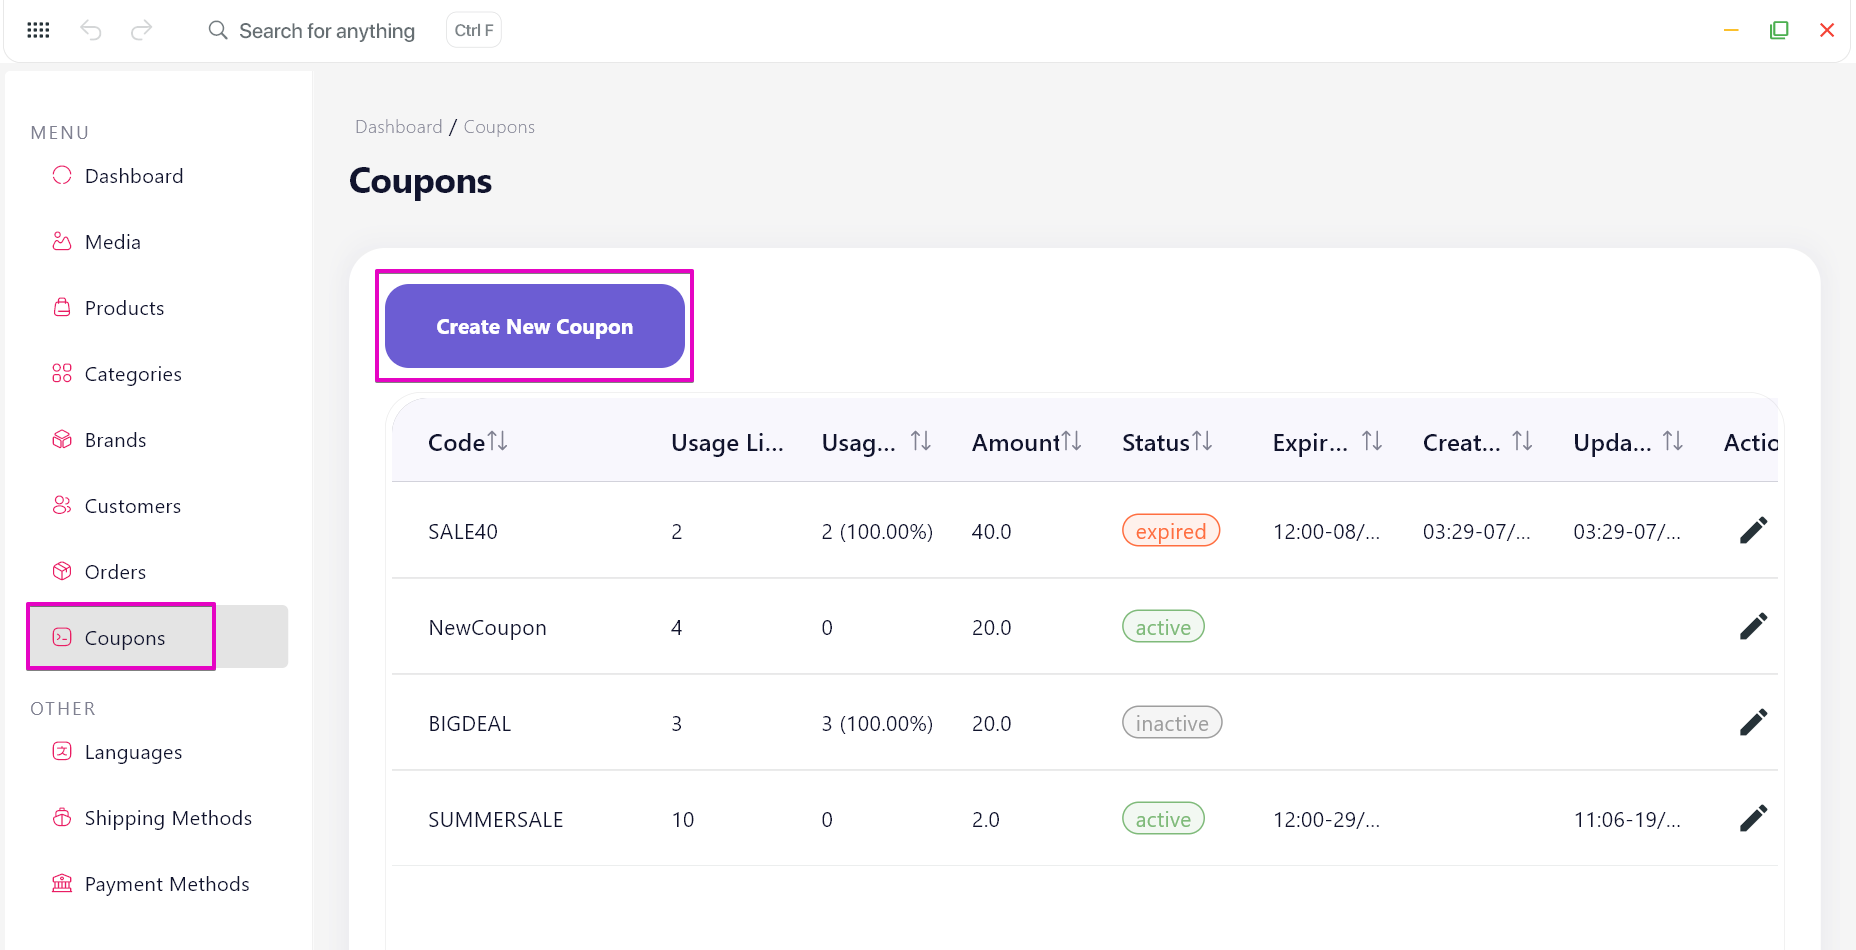
Add new coupon
- In the Coupons section, click Create New Coupon button.
- On Create Coupon page, input Coupon Code title and all required fields.
- Click Add to complete.
Note: If no options are selected in the Product & Category Restrictions section, the coupon will be applied to all products in the app by default.
Edit coupon
- On the Coupons main page, click the Edit icon button to open the Edit Coupon page.
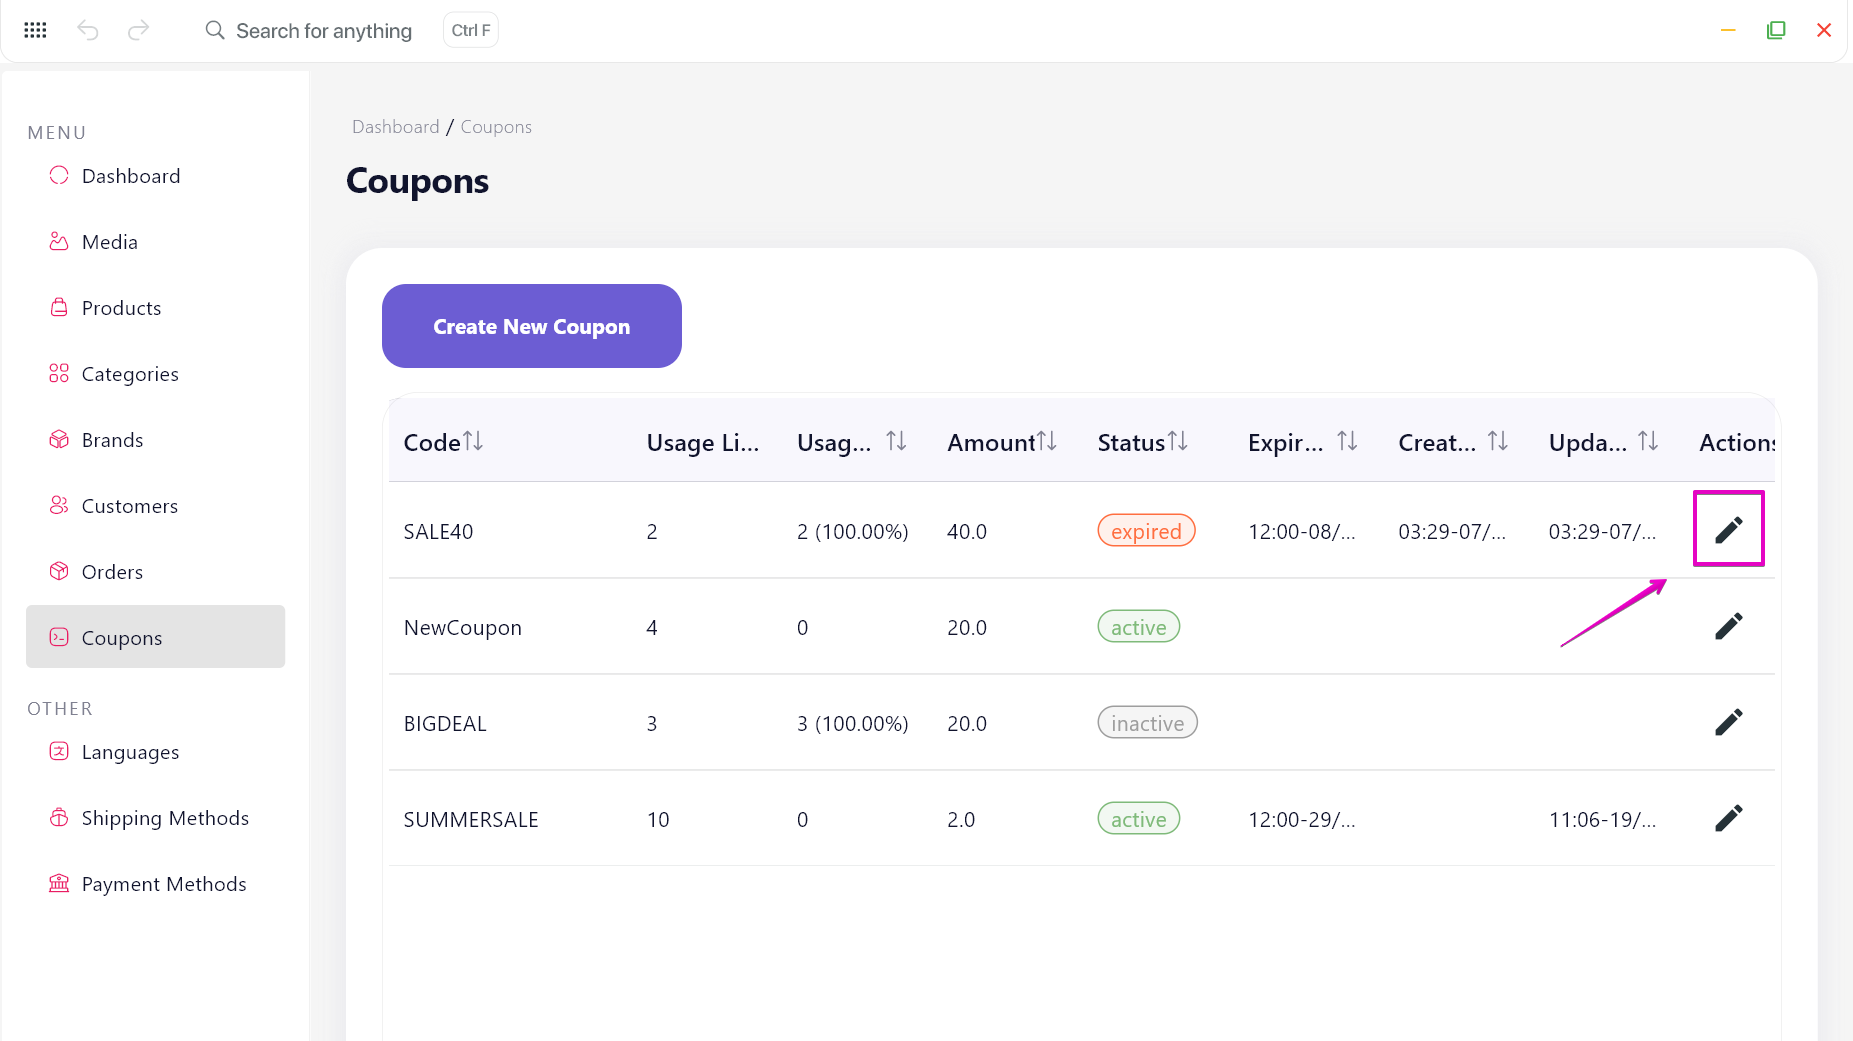
- Make your changes, then click Update button to apply them.
- To delete a product, click the Delete icon button next to the product you want to remove.
