Firebase Settings
Follow steps below to set up Firebase for your Apps:
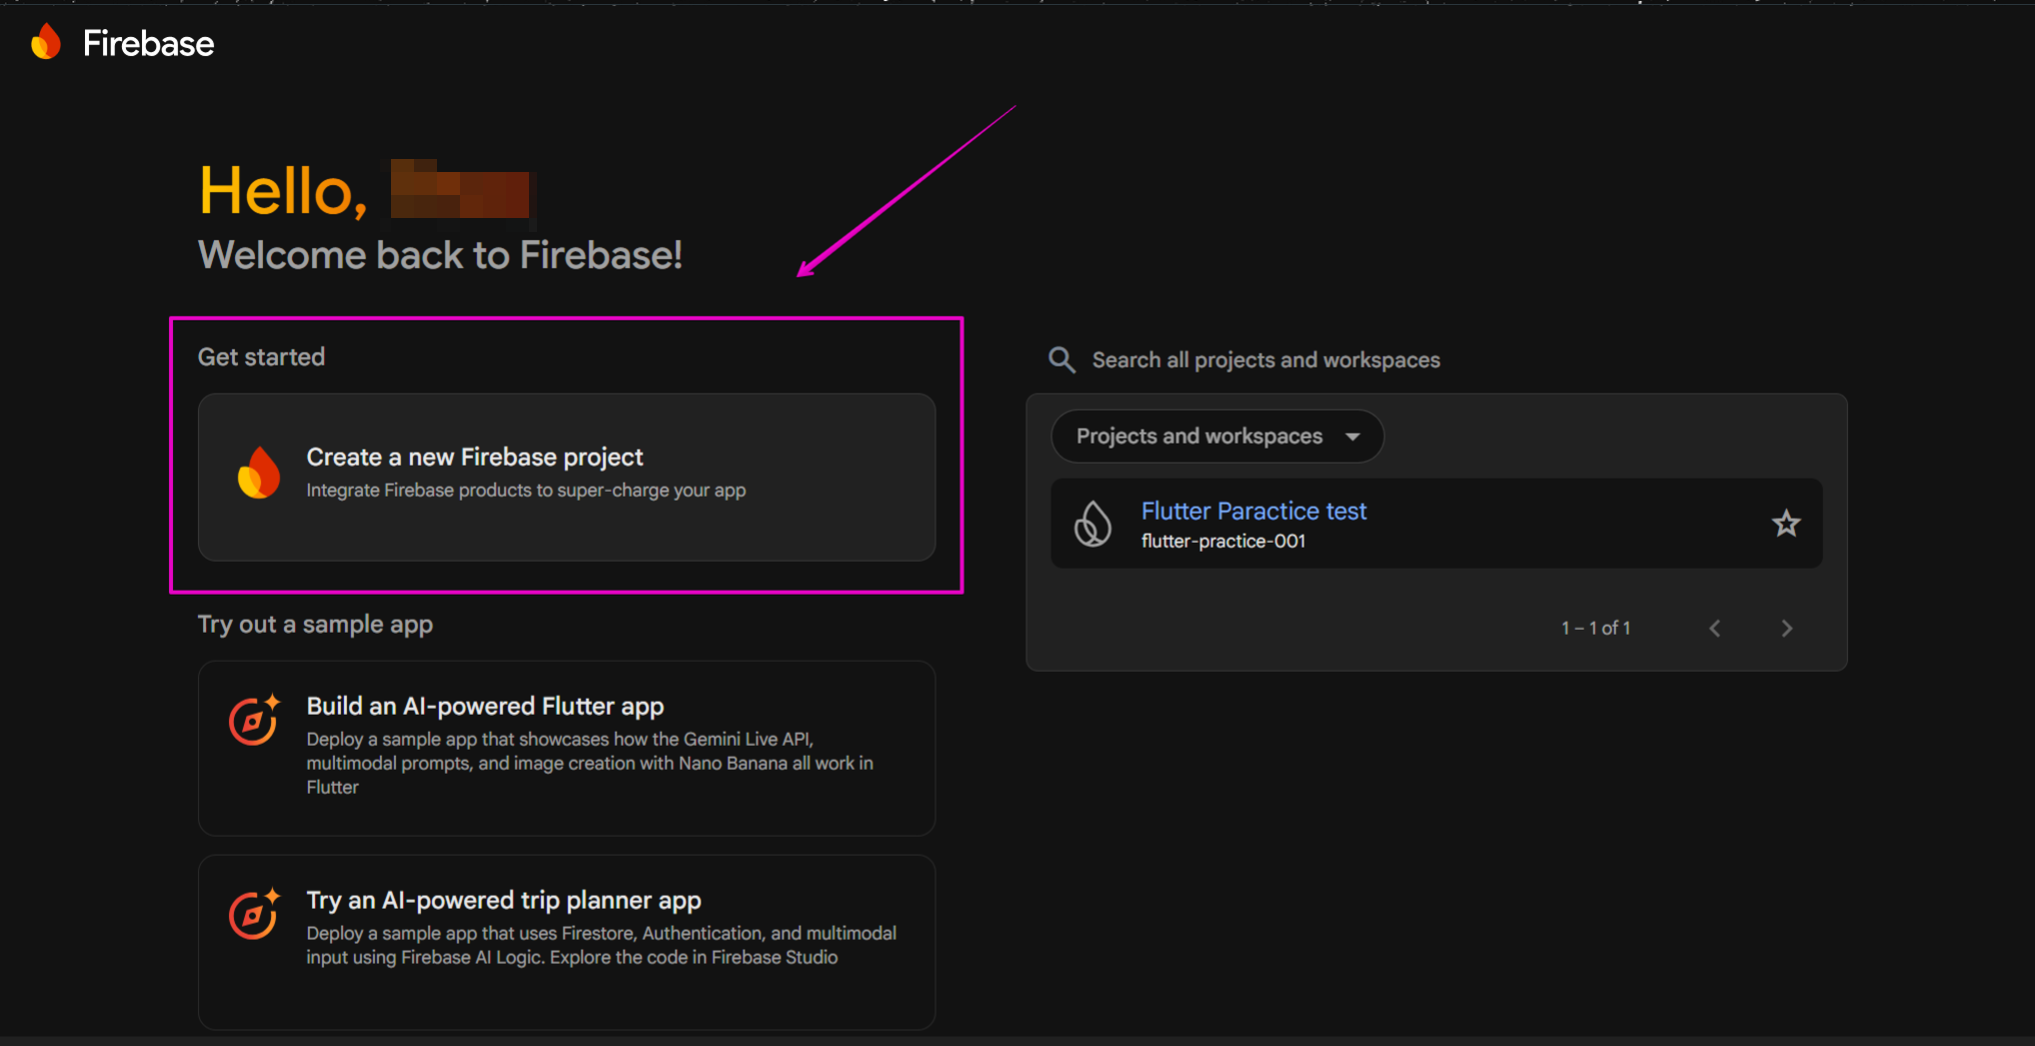
1. Create Project on Firebase
Step 1: Open the Firebase page https://console.firebase.google.com
Step 2: Select the [Create a new Firebase project] option.
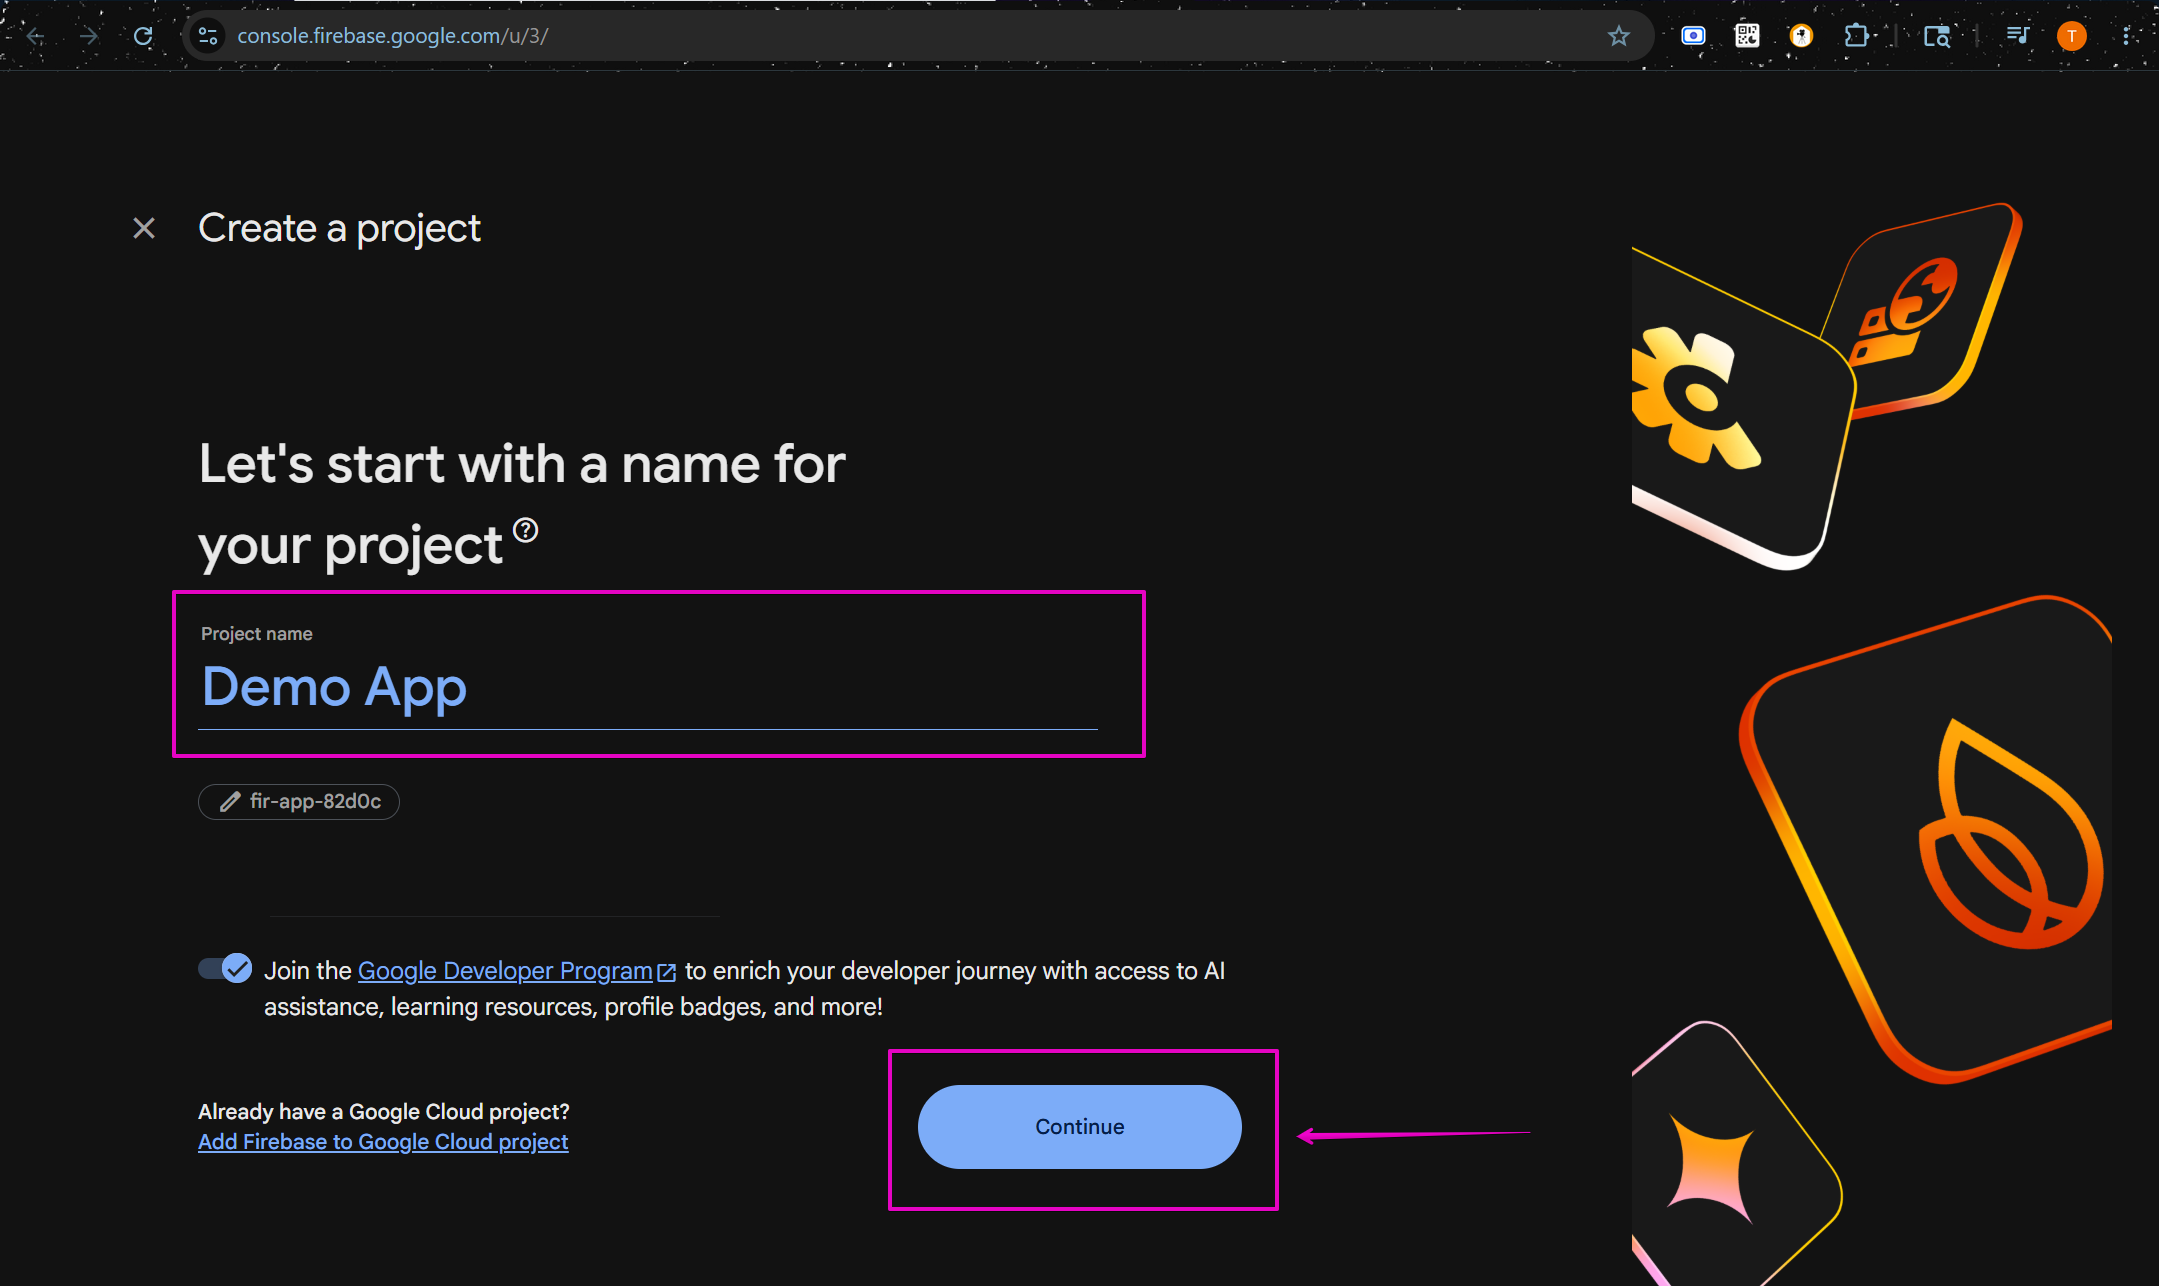
Step 3: Enter your Project name, and click the Continue button:
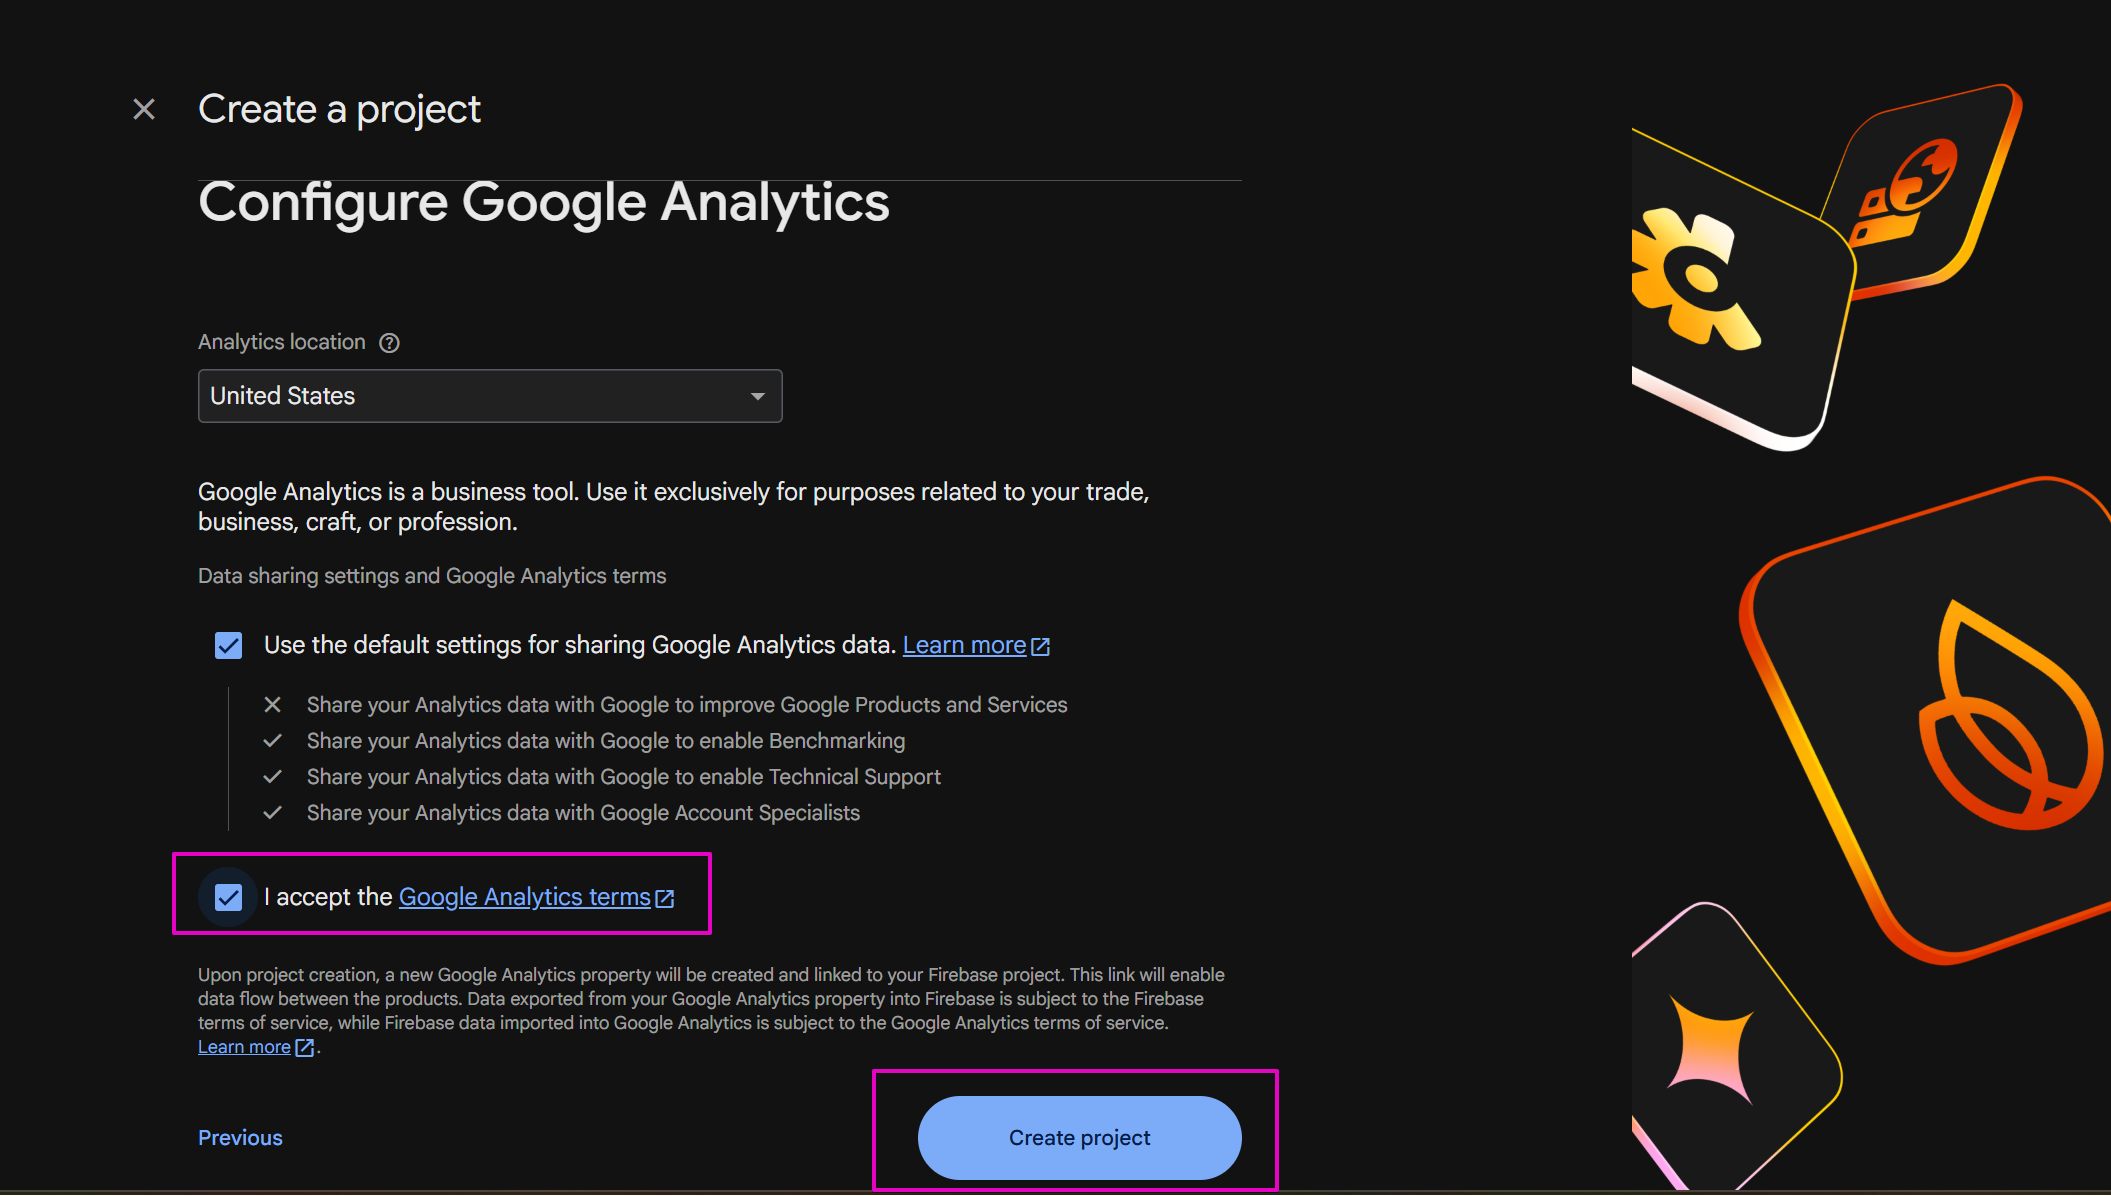
Step 4: Click the Continue button for the next pages.
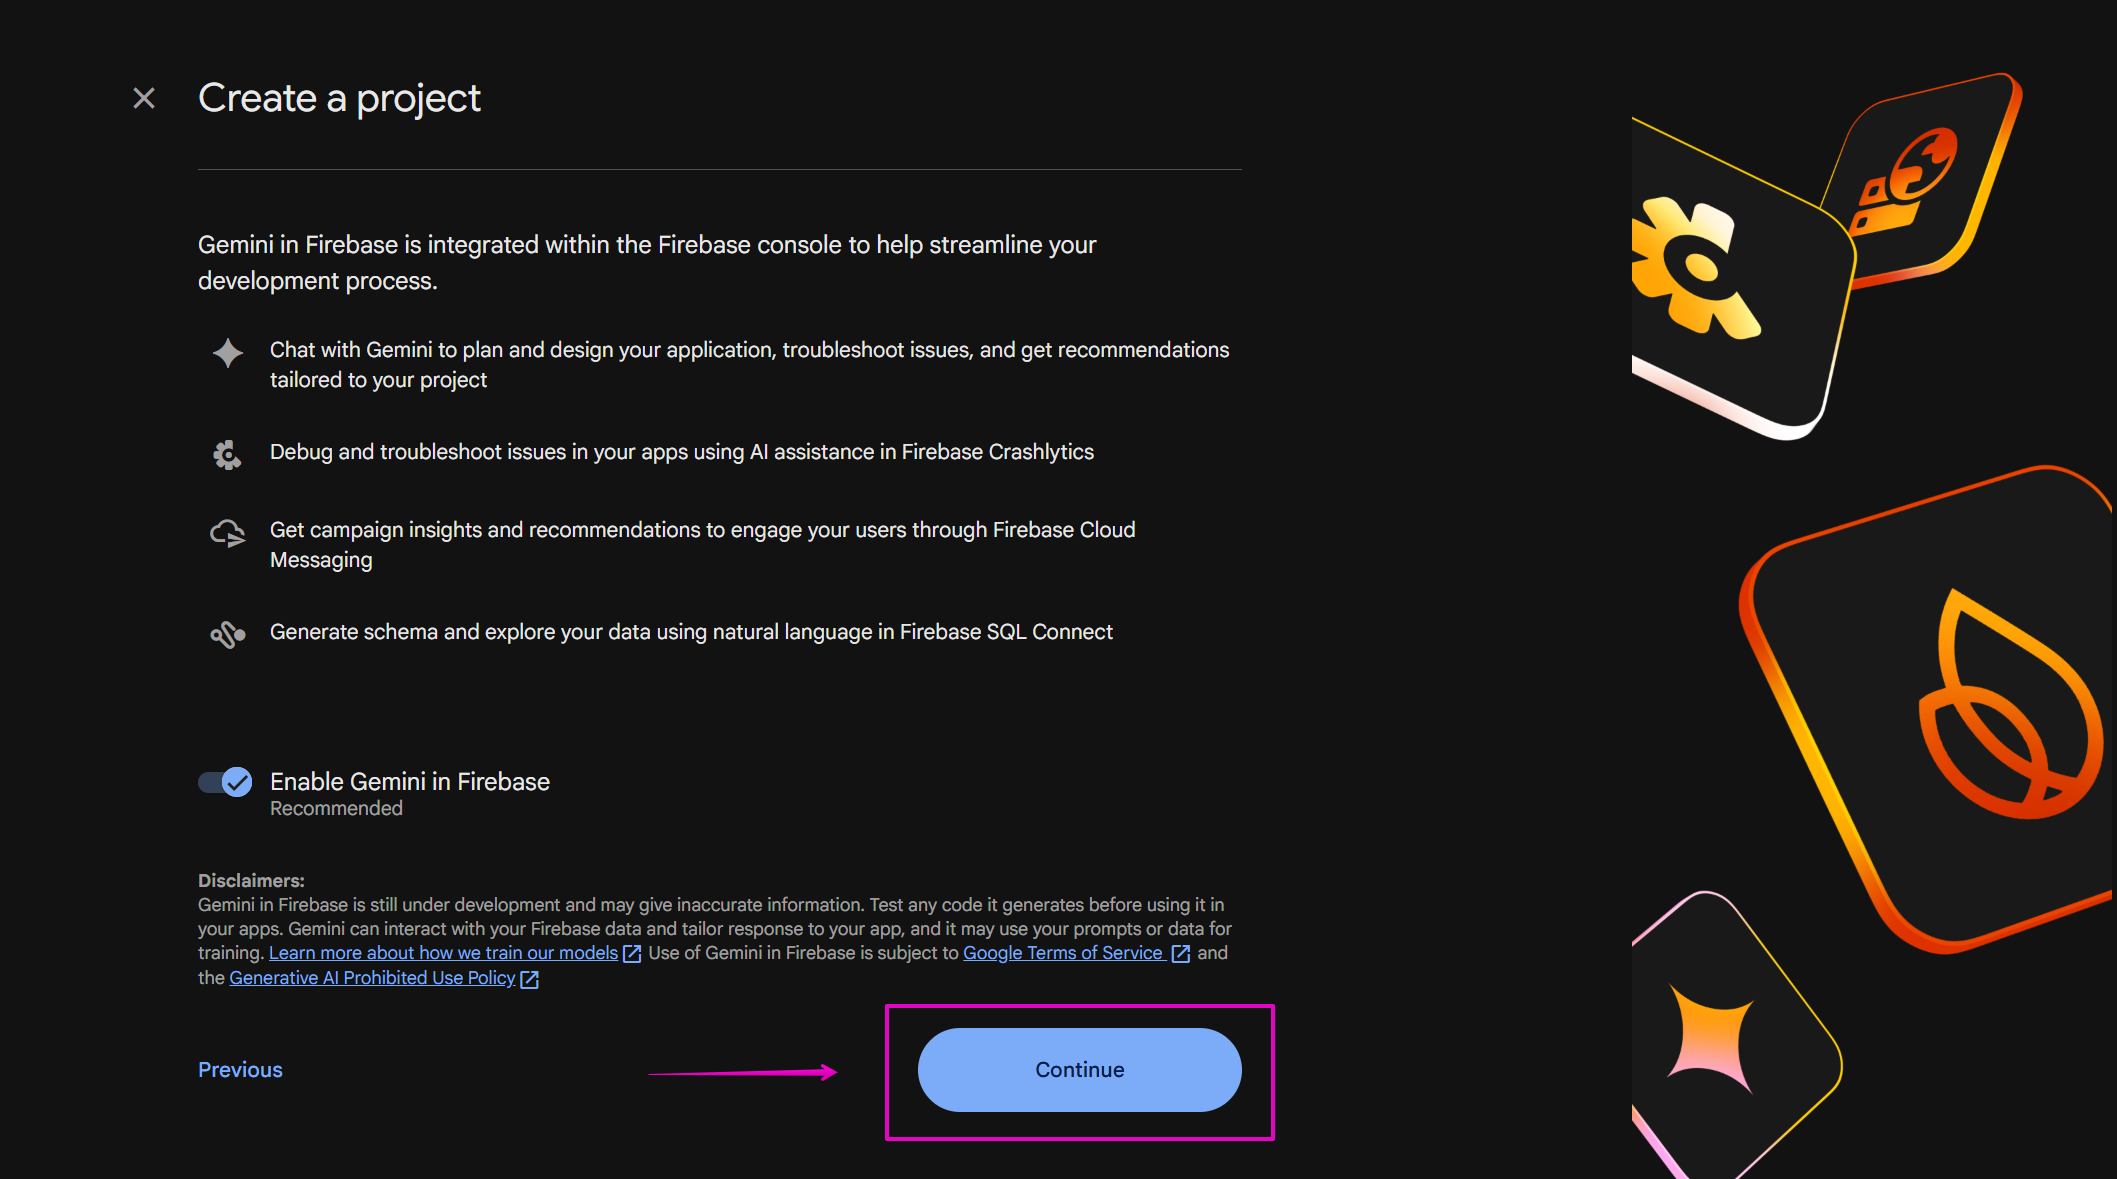
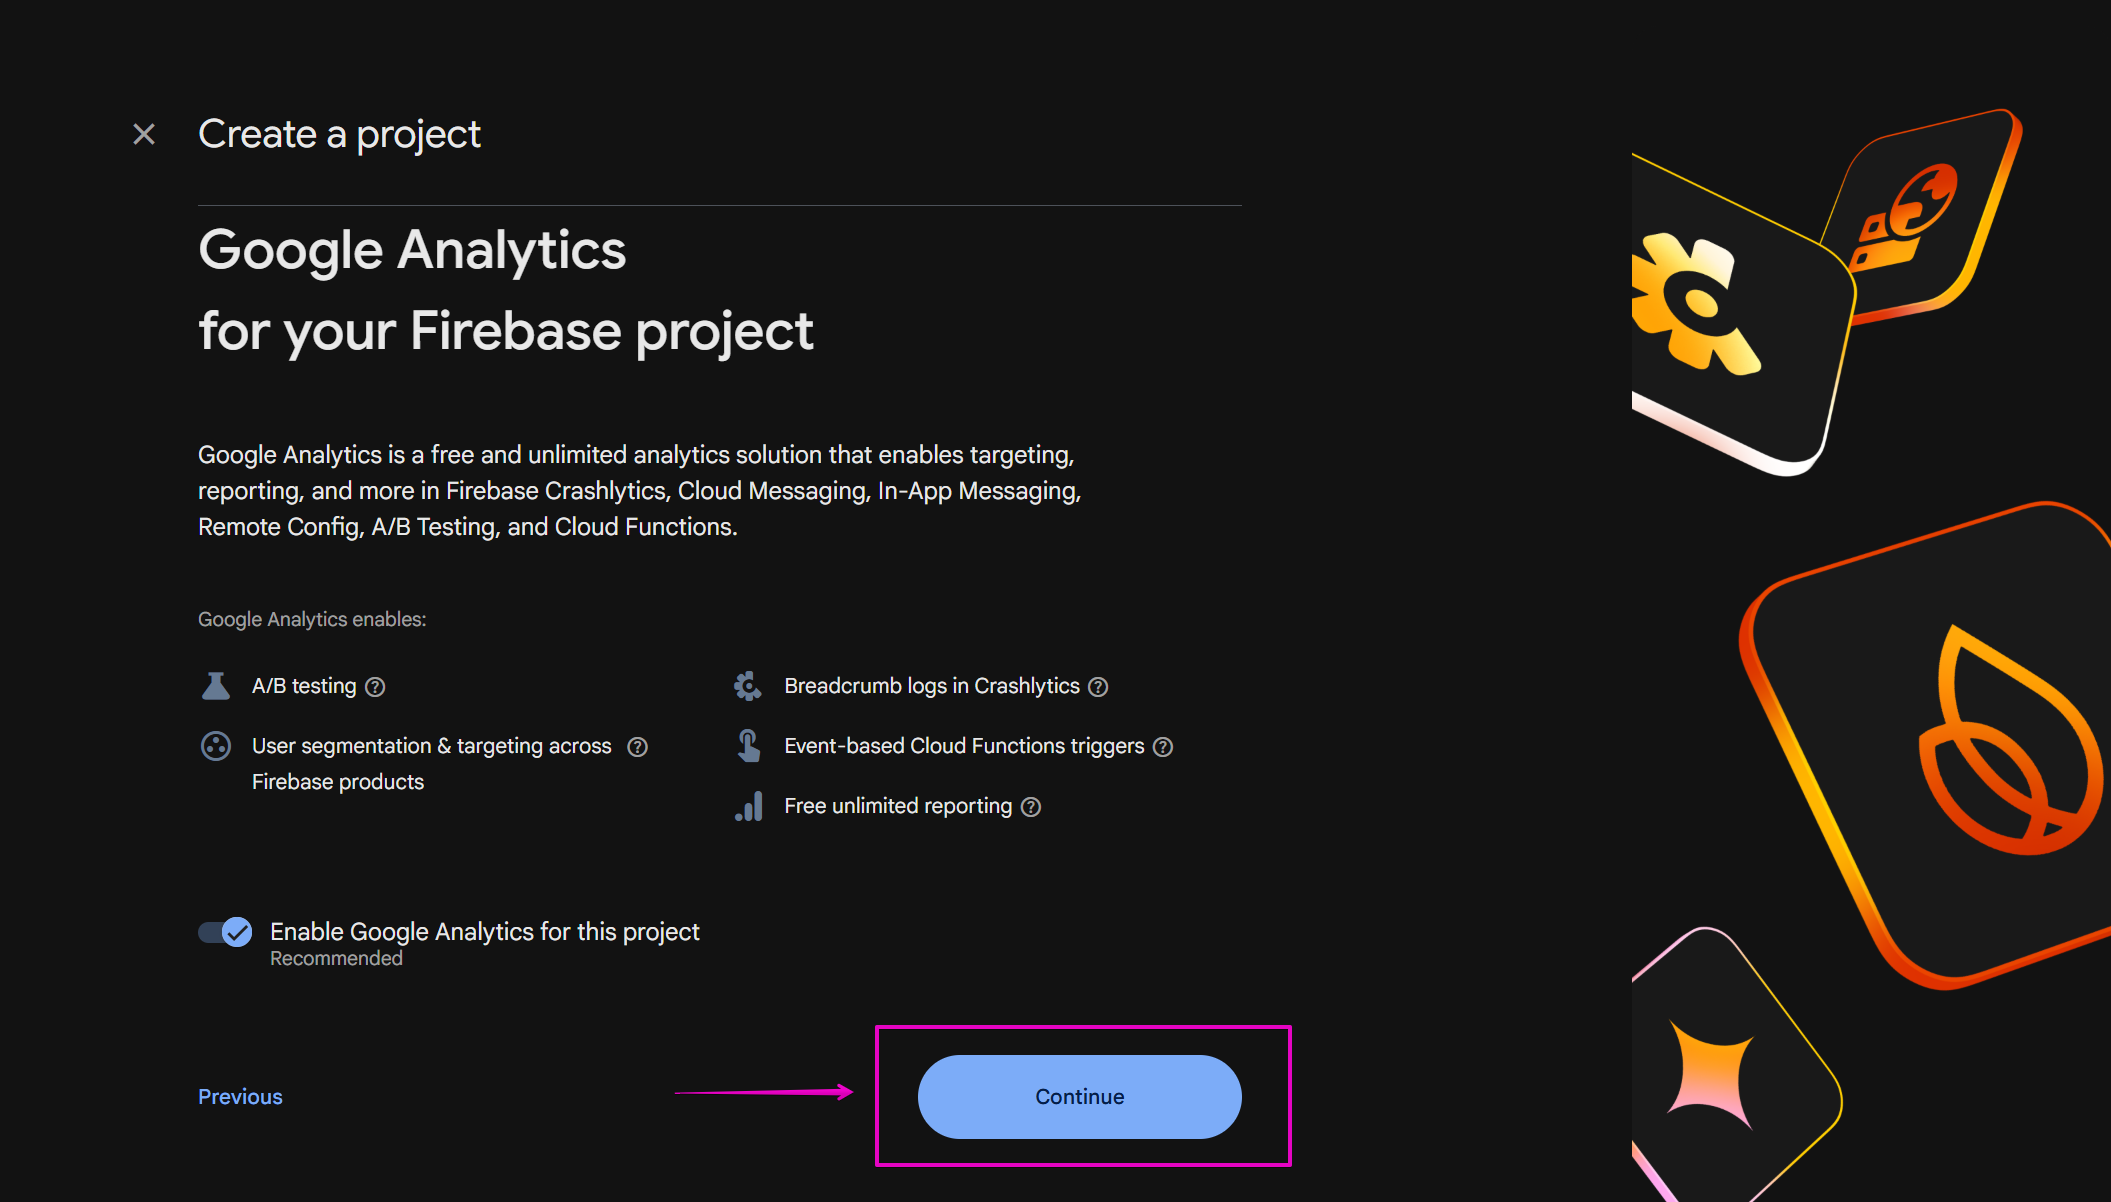
Then tick the [I accept…] checkbox, and select the [Create project] button:
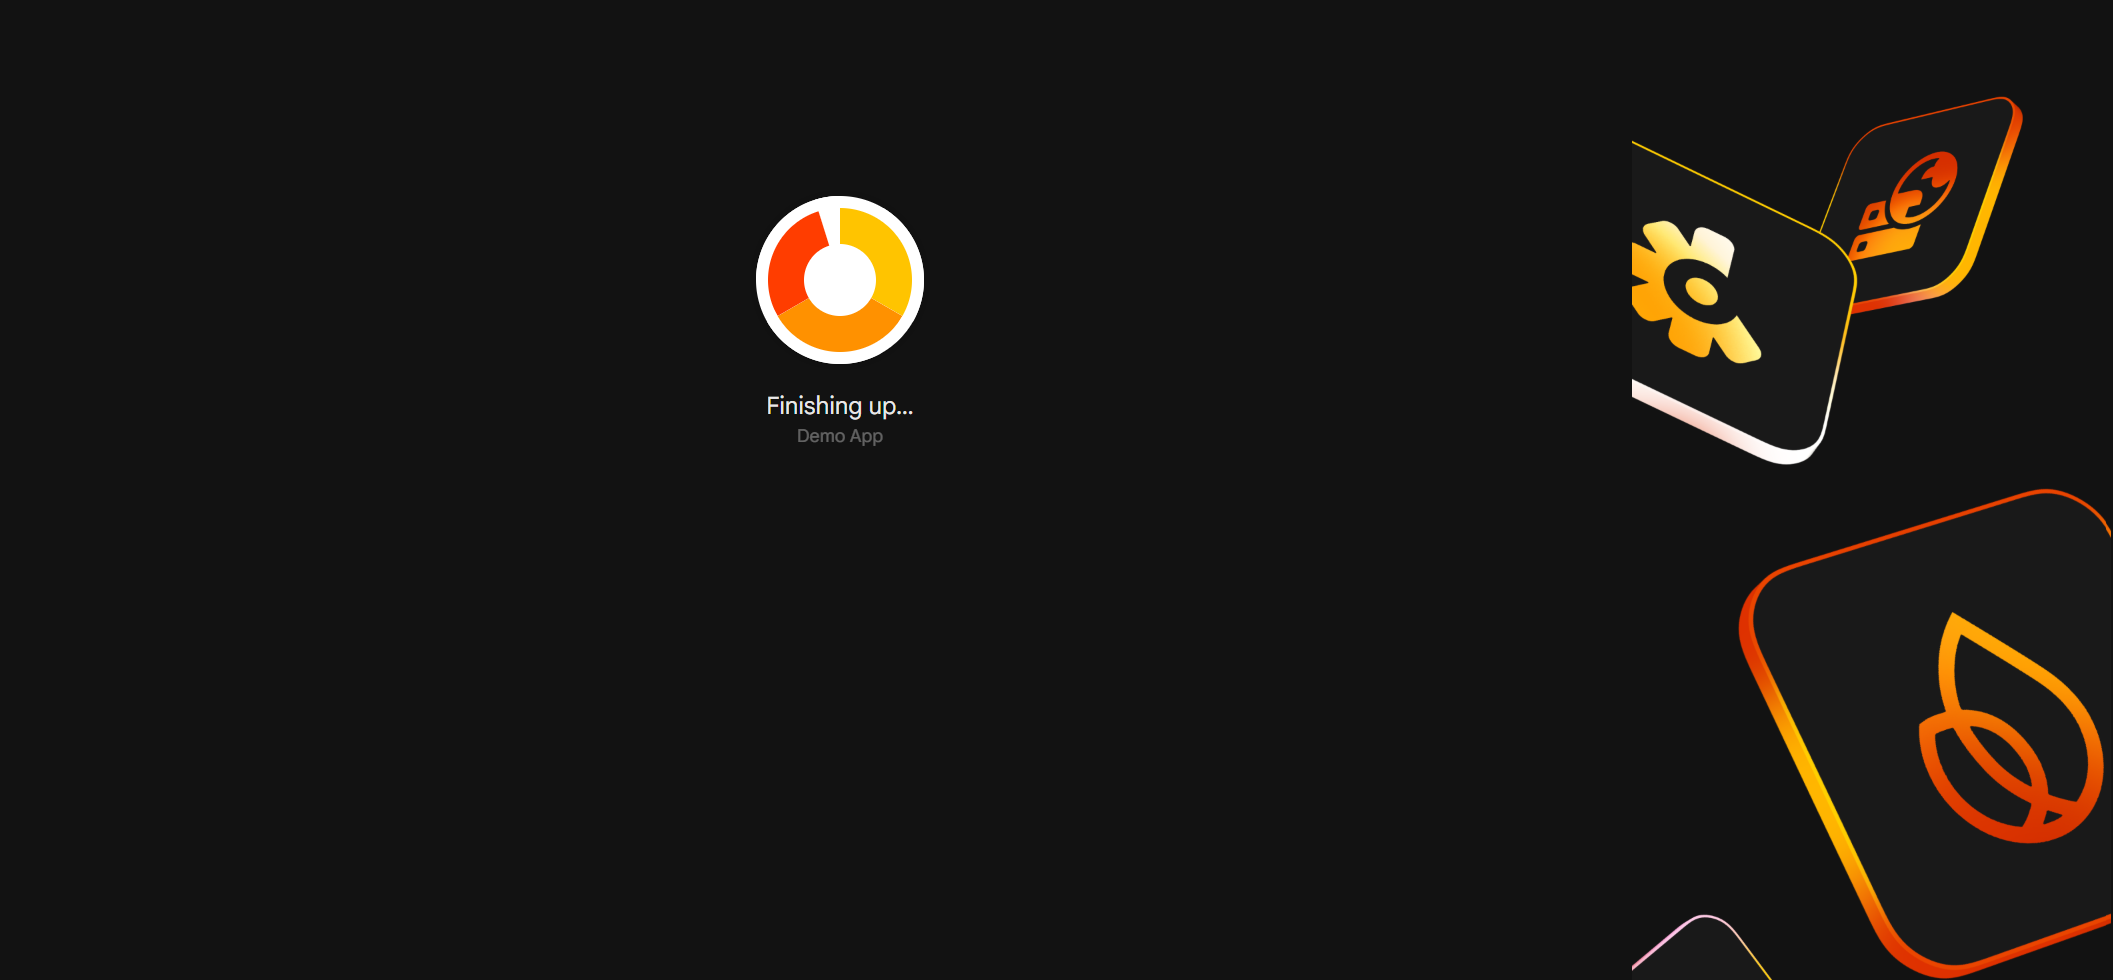
Step 5: After finishing the project creation, click the Continue button:
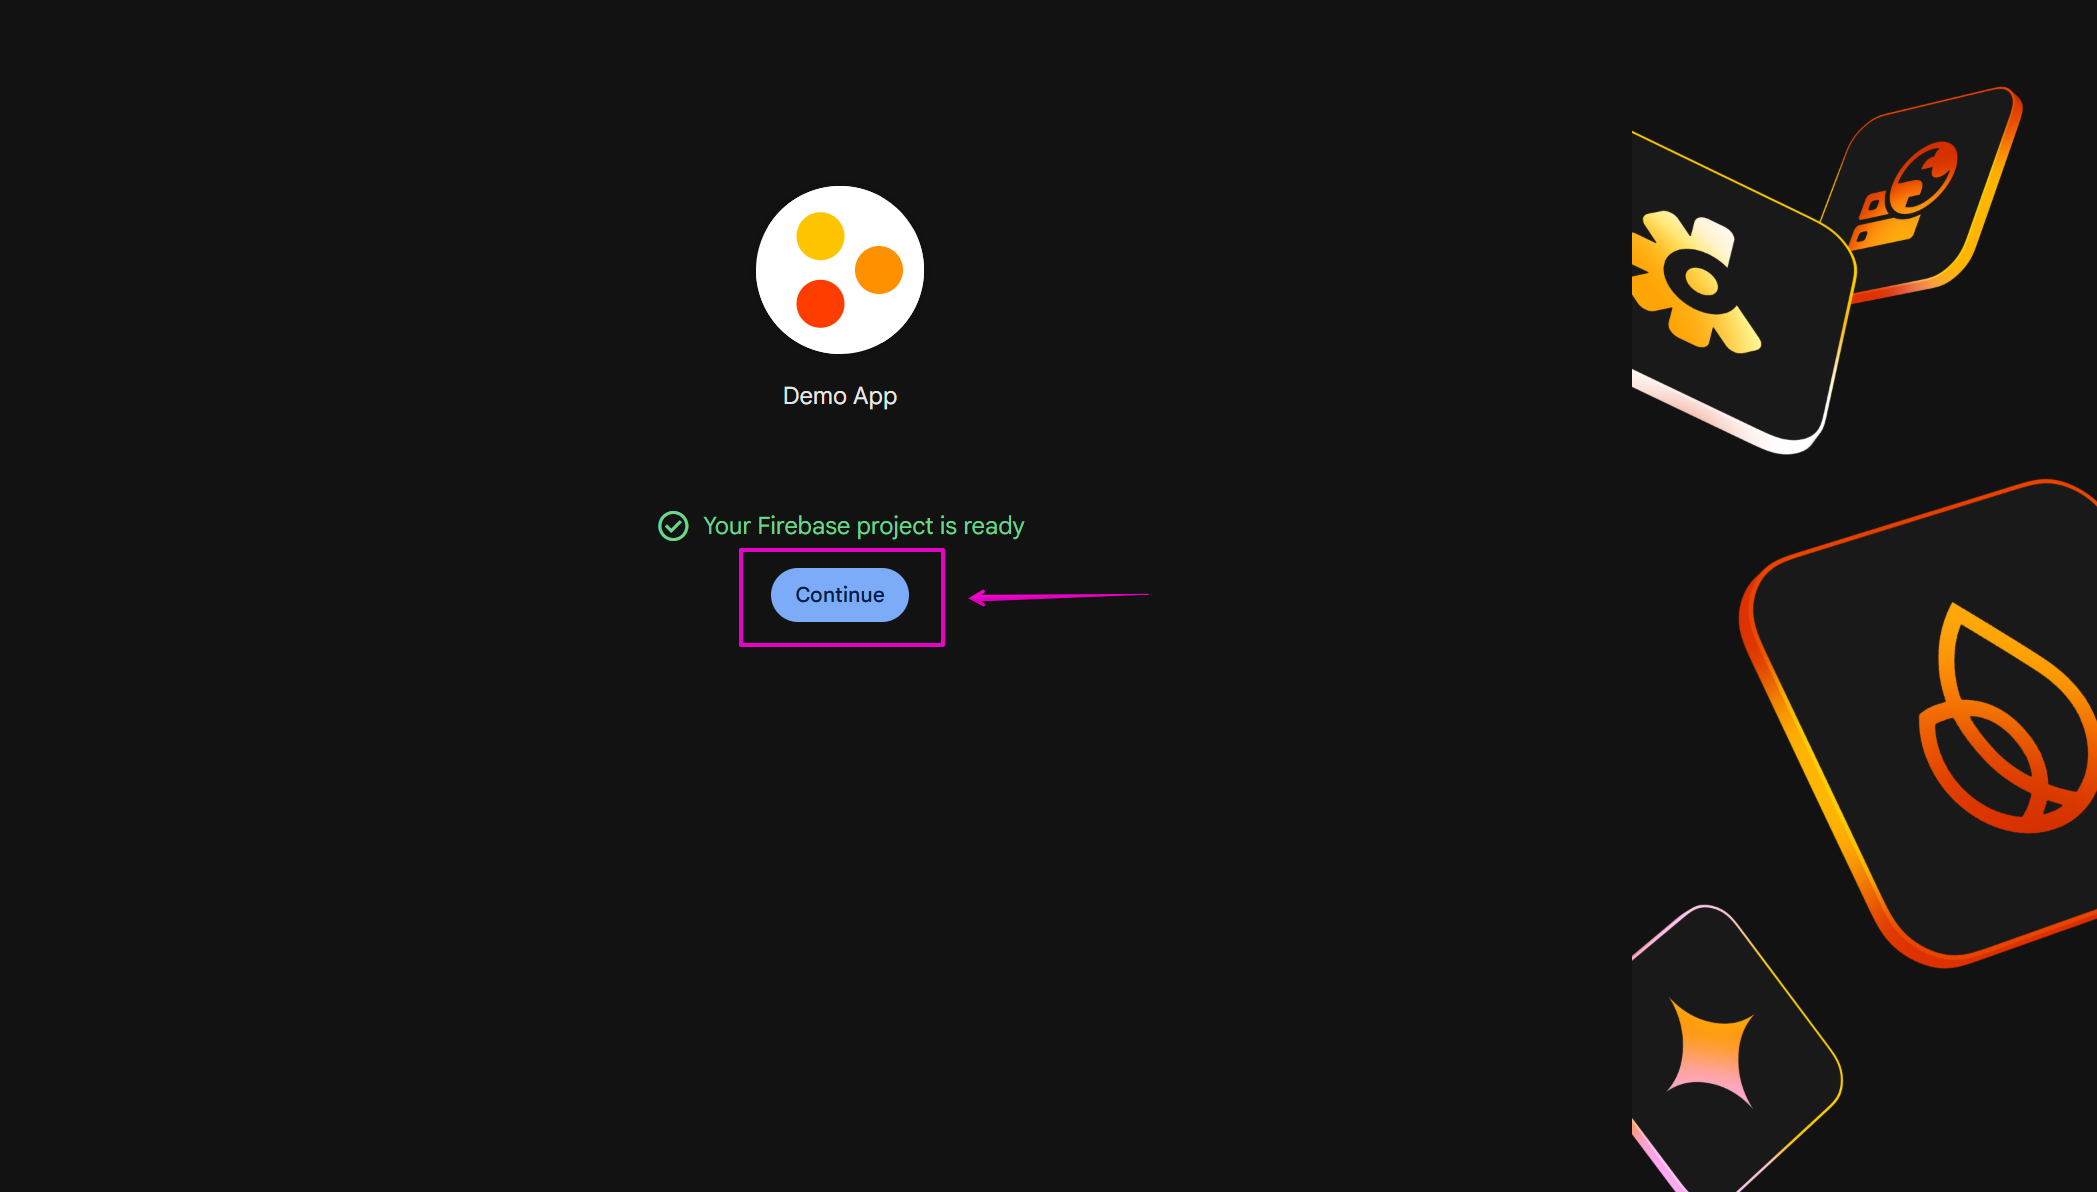
That’s all. You have created your project on Firebase successfully.
2. Add an Android App into your Firebase project
Step 1: Open the Firebase page https://console.firebase.google.com
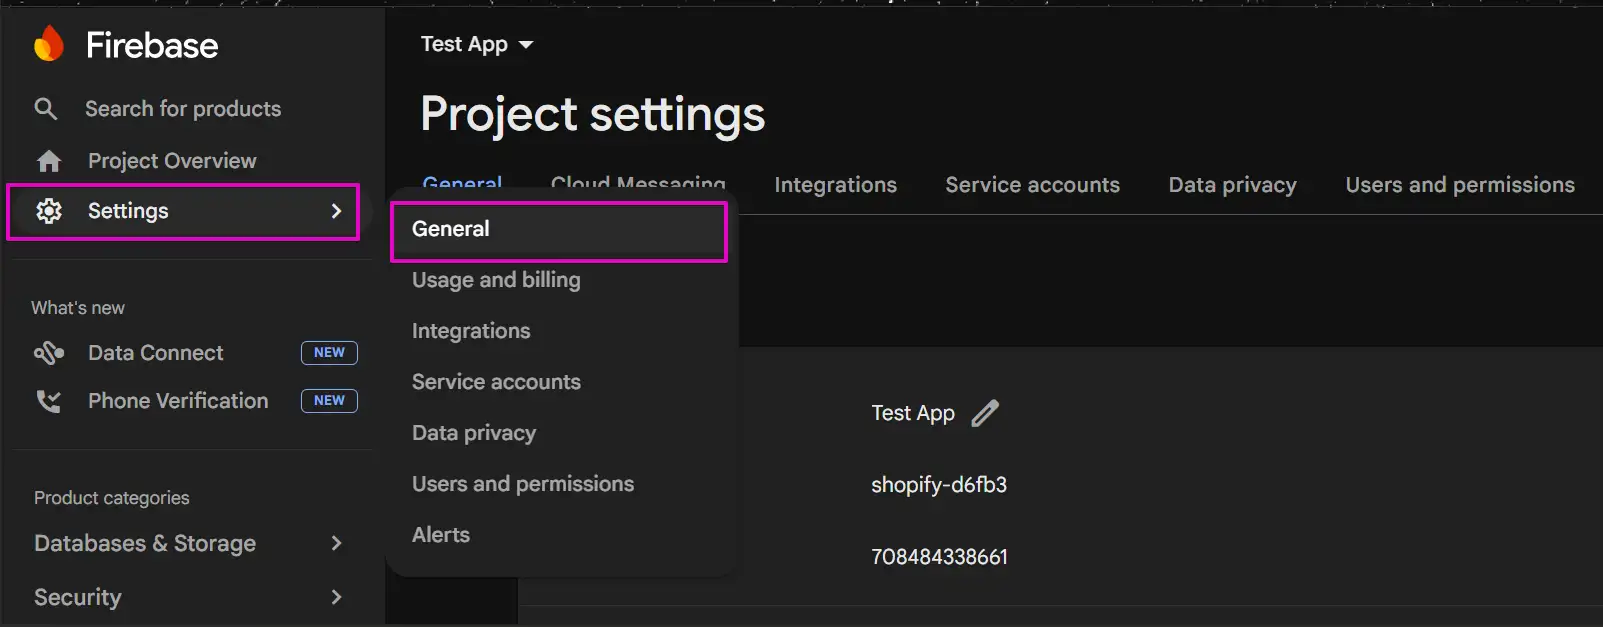
Step 2: Open your Firebase project. Select Settings option, and select General:
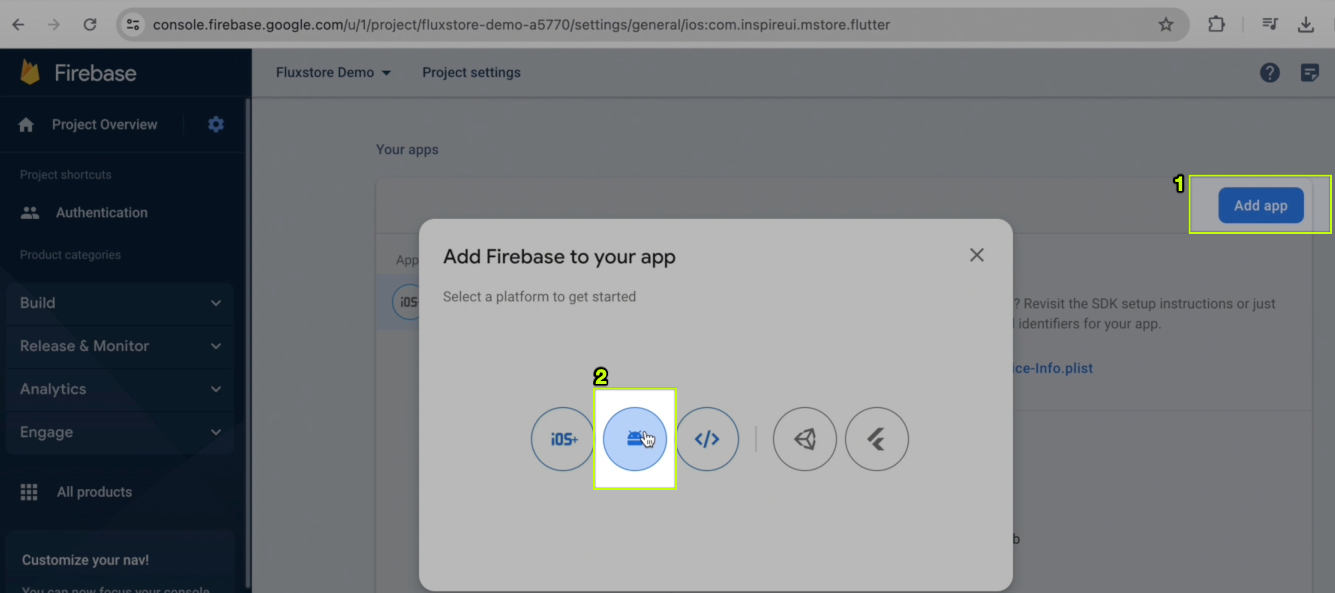
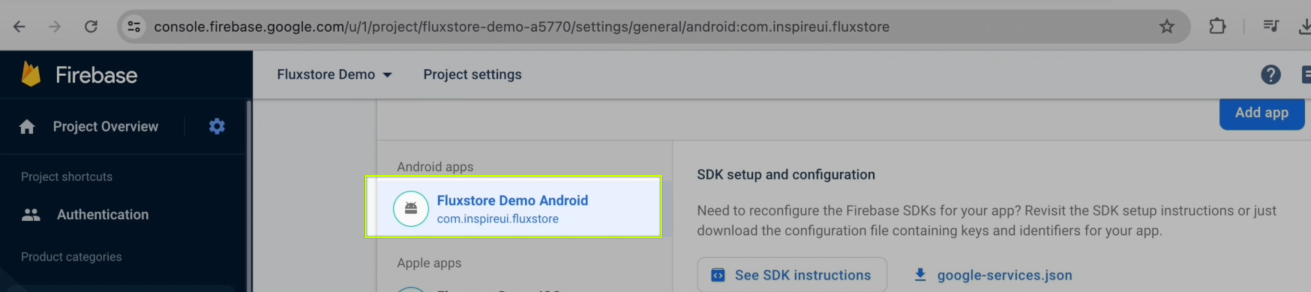
Step 3: Select the Android icon in the [Your apps] section:

or select the [Add app] button, then click the Android icon:
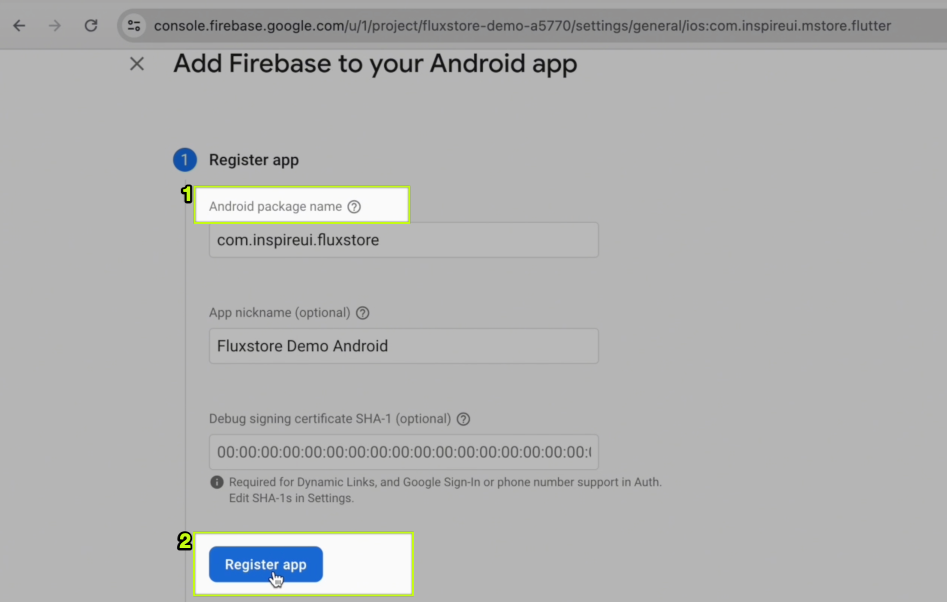
Step 4: Enter your [Android package name] and click the [Register app] button: The [Android package name] and [Apple bundle ID] should be the same. Your Android package name must not include reserved keywords. Use only lowercase letters. Recommend in reverse domain format. For example, your domain is example.com, bundle ID and package name for your app should be "com.example.app"
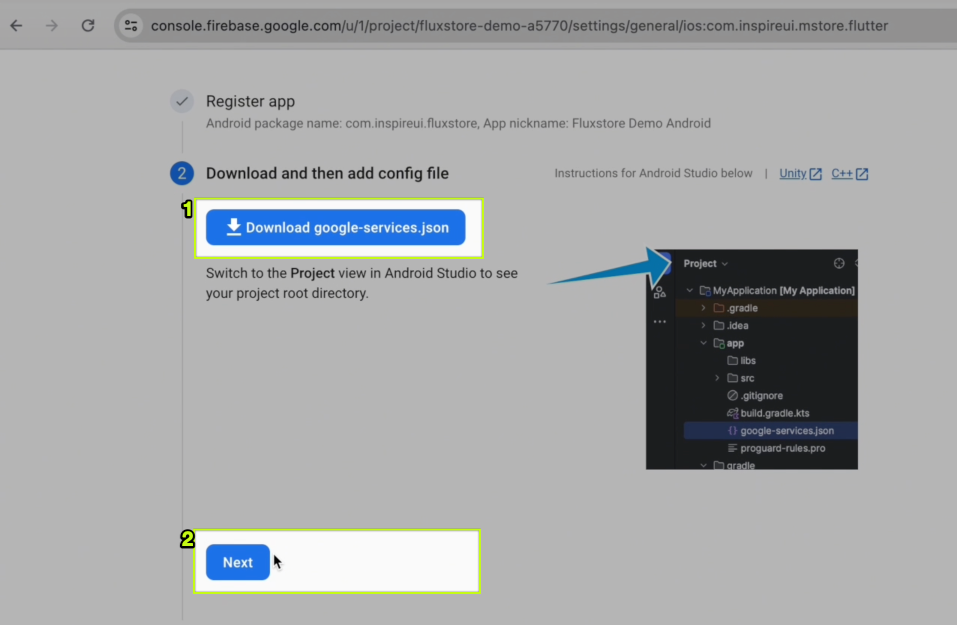
Step 5: Click the Next button. You can download the [google-services.json] file or do it later:
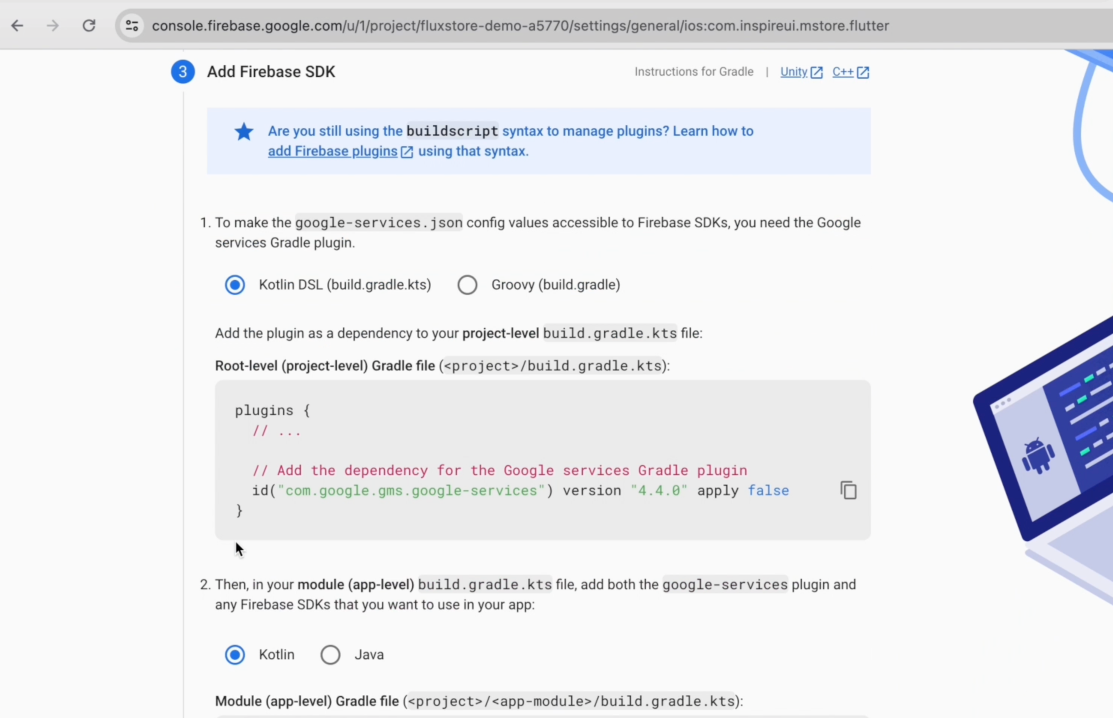
Step 6: At the [Add Firebase SDK] section, click the Next button:
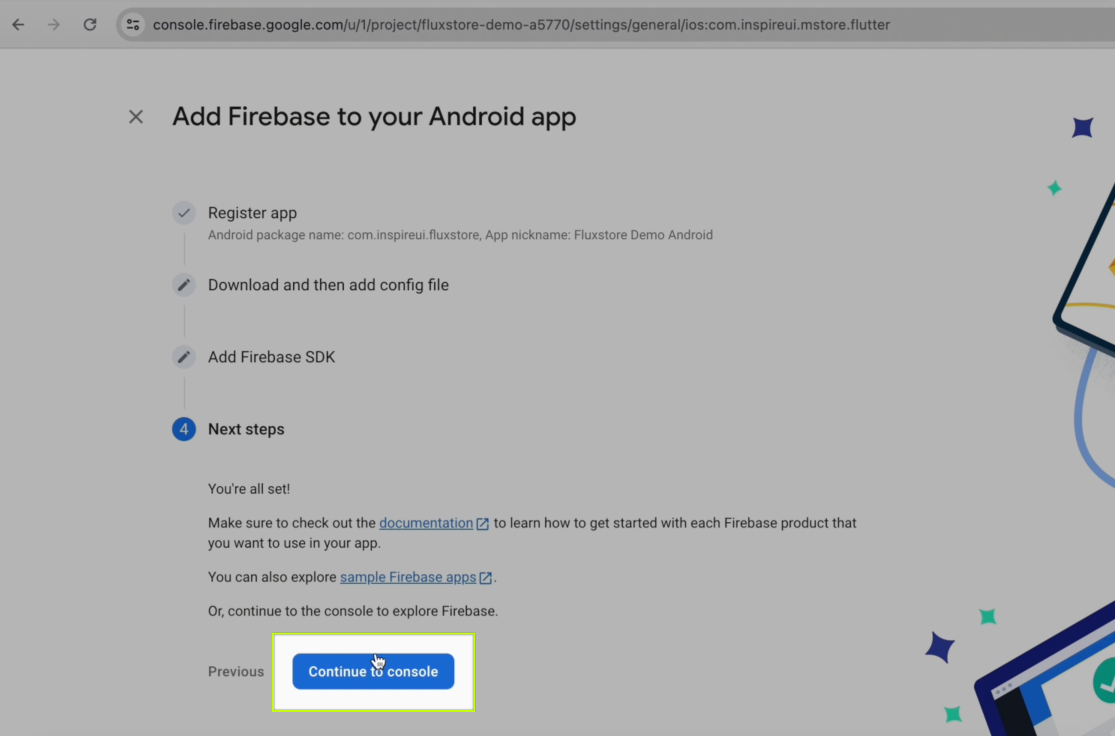
Step 7: Click the [Continue to console] button. At this stage, it is possible that Firebase will not detect your test device, but that's okay, just click the [Skip step] button to continue the following steps.
You have added an Android app to your Firebase project successfully. Congratulations!
3. Add an iOS App into your Firebase project
Step 1: Open the Firebase page https://console.firebase.google.com
Step 2: Open your Firebase project. Select Settings option, and select General:

Step 3: Select the iOS icon in the [Your apps] section:
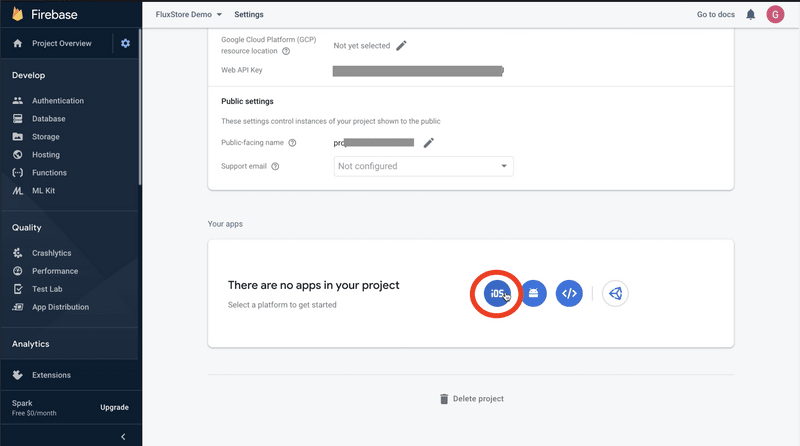
or select the [Add app] button, then click the iOS icon:

Step 4: Enter your [Apple bundle ID] and click the [Register app] button: The [Apple bundle ID] and [Android package name] should be the same. Your Apple bundle ID must not include reserved keywords. Use only lowercase letters. (This guide to creating iOS Bundle ID). Recommend in reverse domain format. For example, your domain is example.com, bundle ID and package name for your app should be "com.example.app"
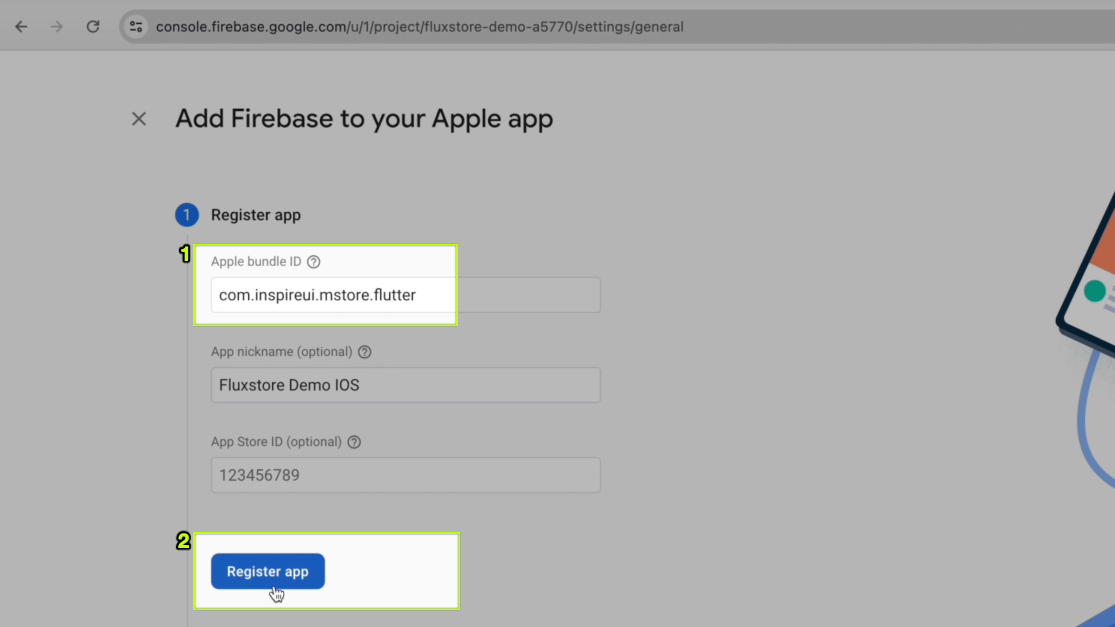
App nickname is only used to distinguish between applications on firebase so you can set arbitrary.
Step 5: Click the Next button. You can download the [GoogleService-Info.plist] file or do it later:
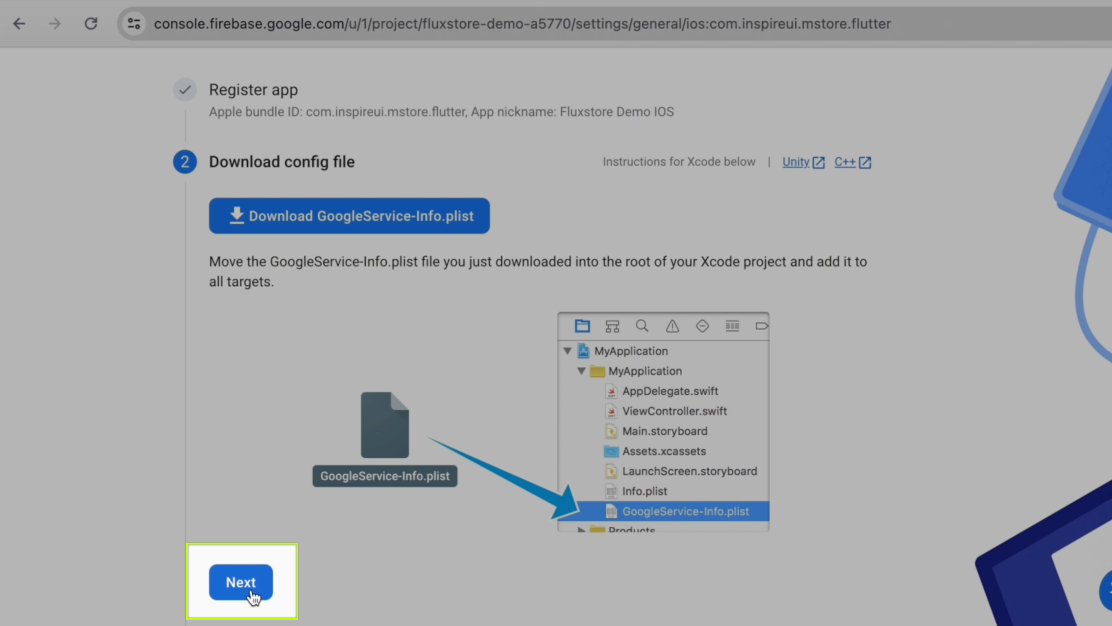
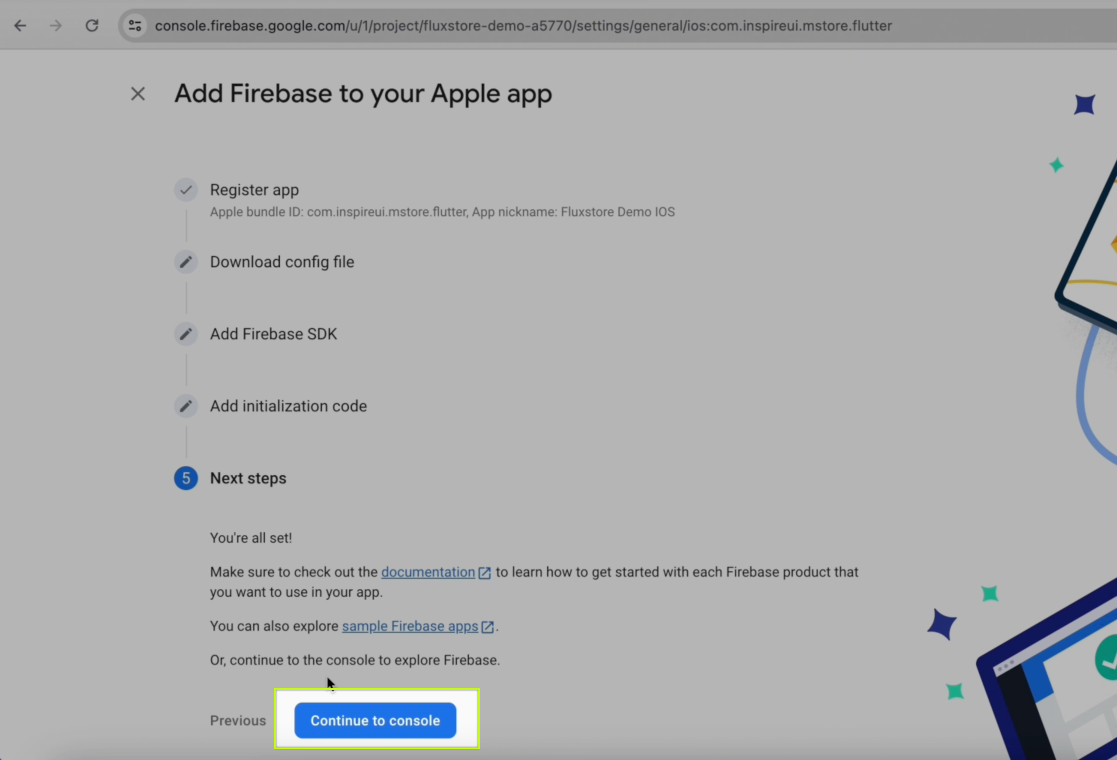
Step 6: Click the Next button until you see the [Continue to console] button, click it as image below: (At this stage, it is possible that Firebase will not detect your test device, but that's okay, just click the [Skip the step] button to continue the following steps.)
You have added an iOS app to your Firebase project successfully. Congratulations!
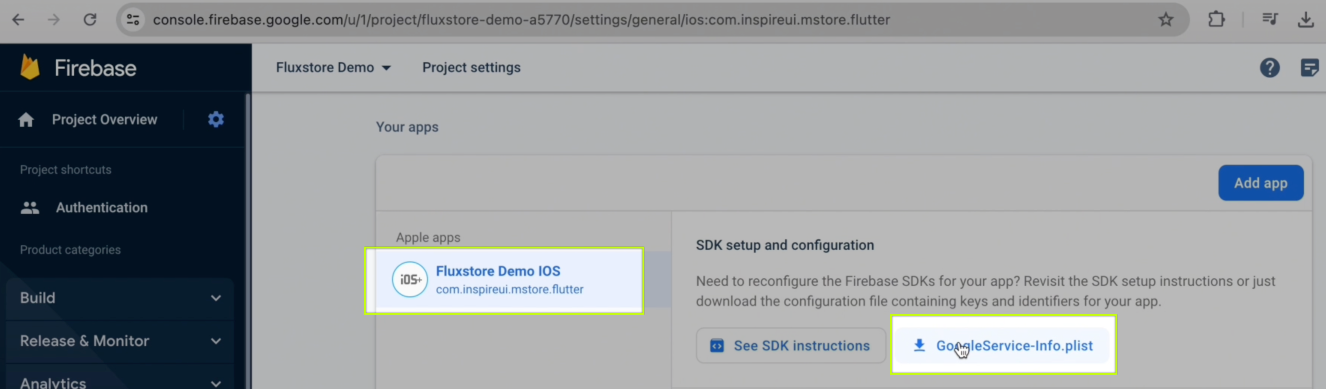
You can download the [GoogleService-Info.plist] file (and save this important file to use later):
4. Enable Firebase on FluxBuilder
Let’s enable Firebase on FluxBuilder by steps:
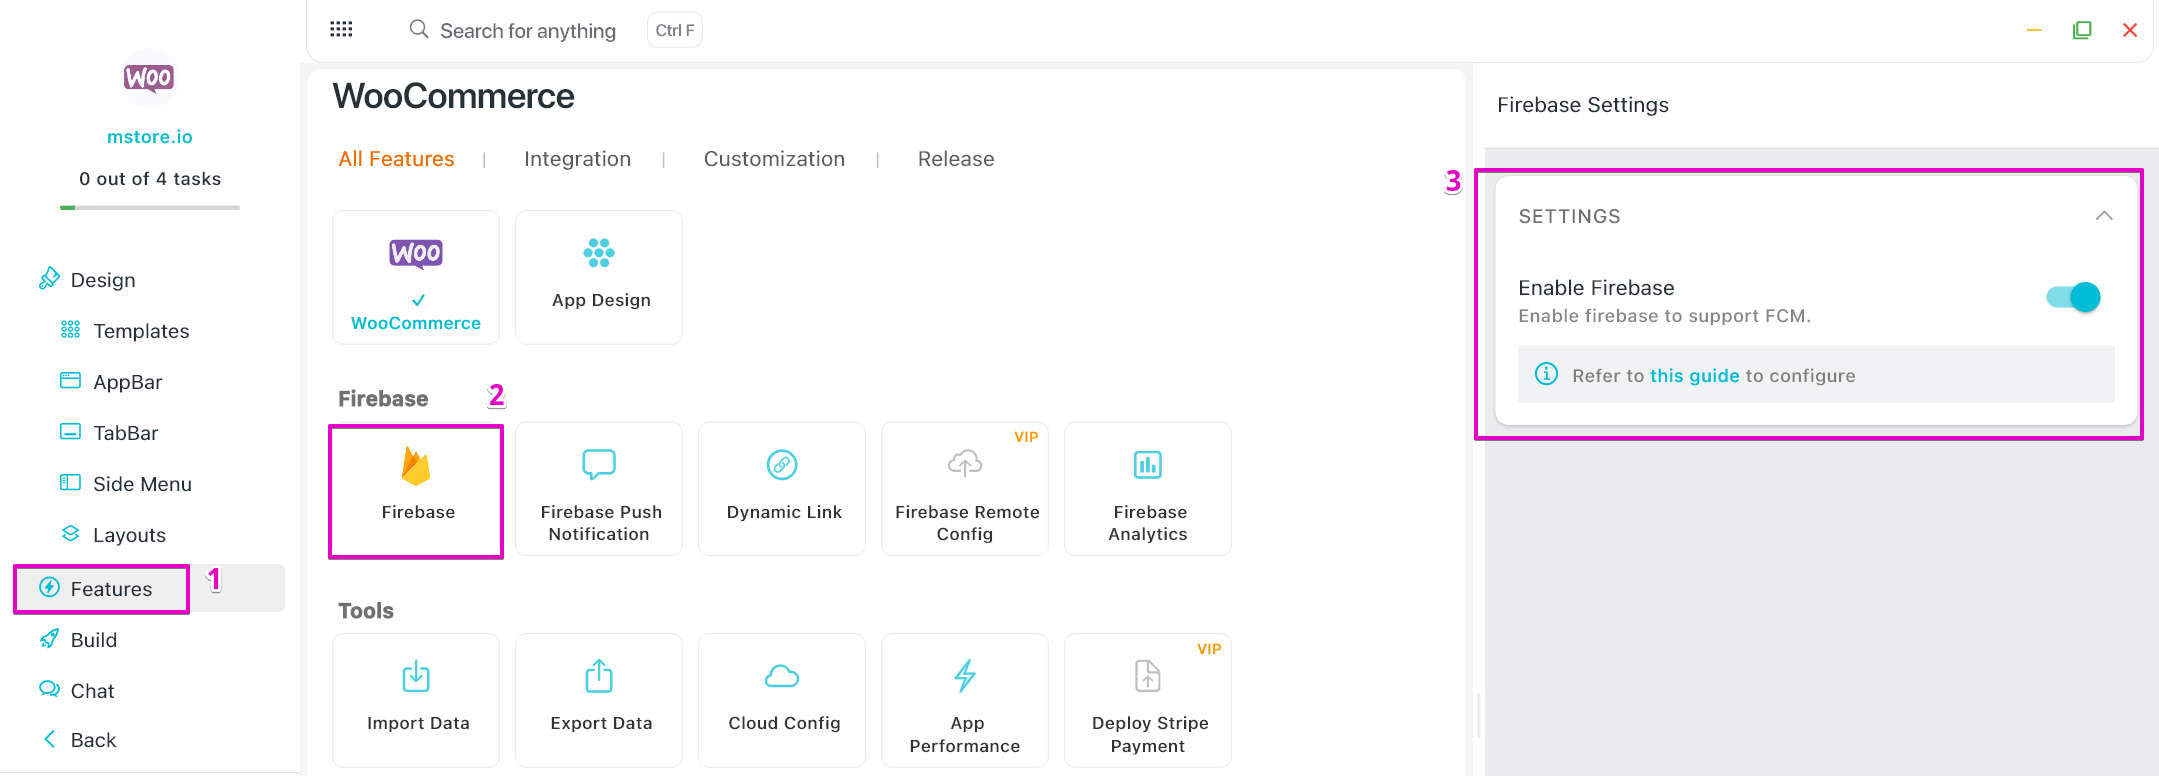
Step 1: On FluxBuilder, open your app.
Step 2: Select the Features on leftmenu. Click the Firebase button.
Step 3: Turn on the Enable Firebase option.
That’s all :)