Google Maps
This guide shows you the basic way to configure Google Map API Key. Then you can use your Google API Key for:
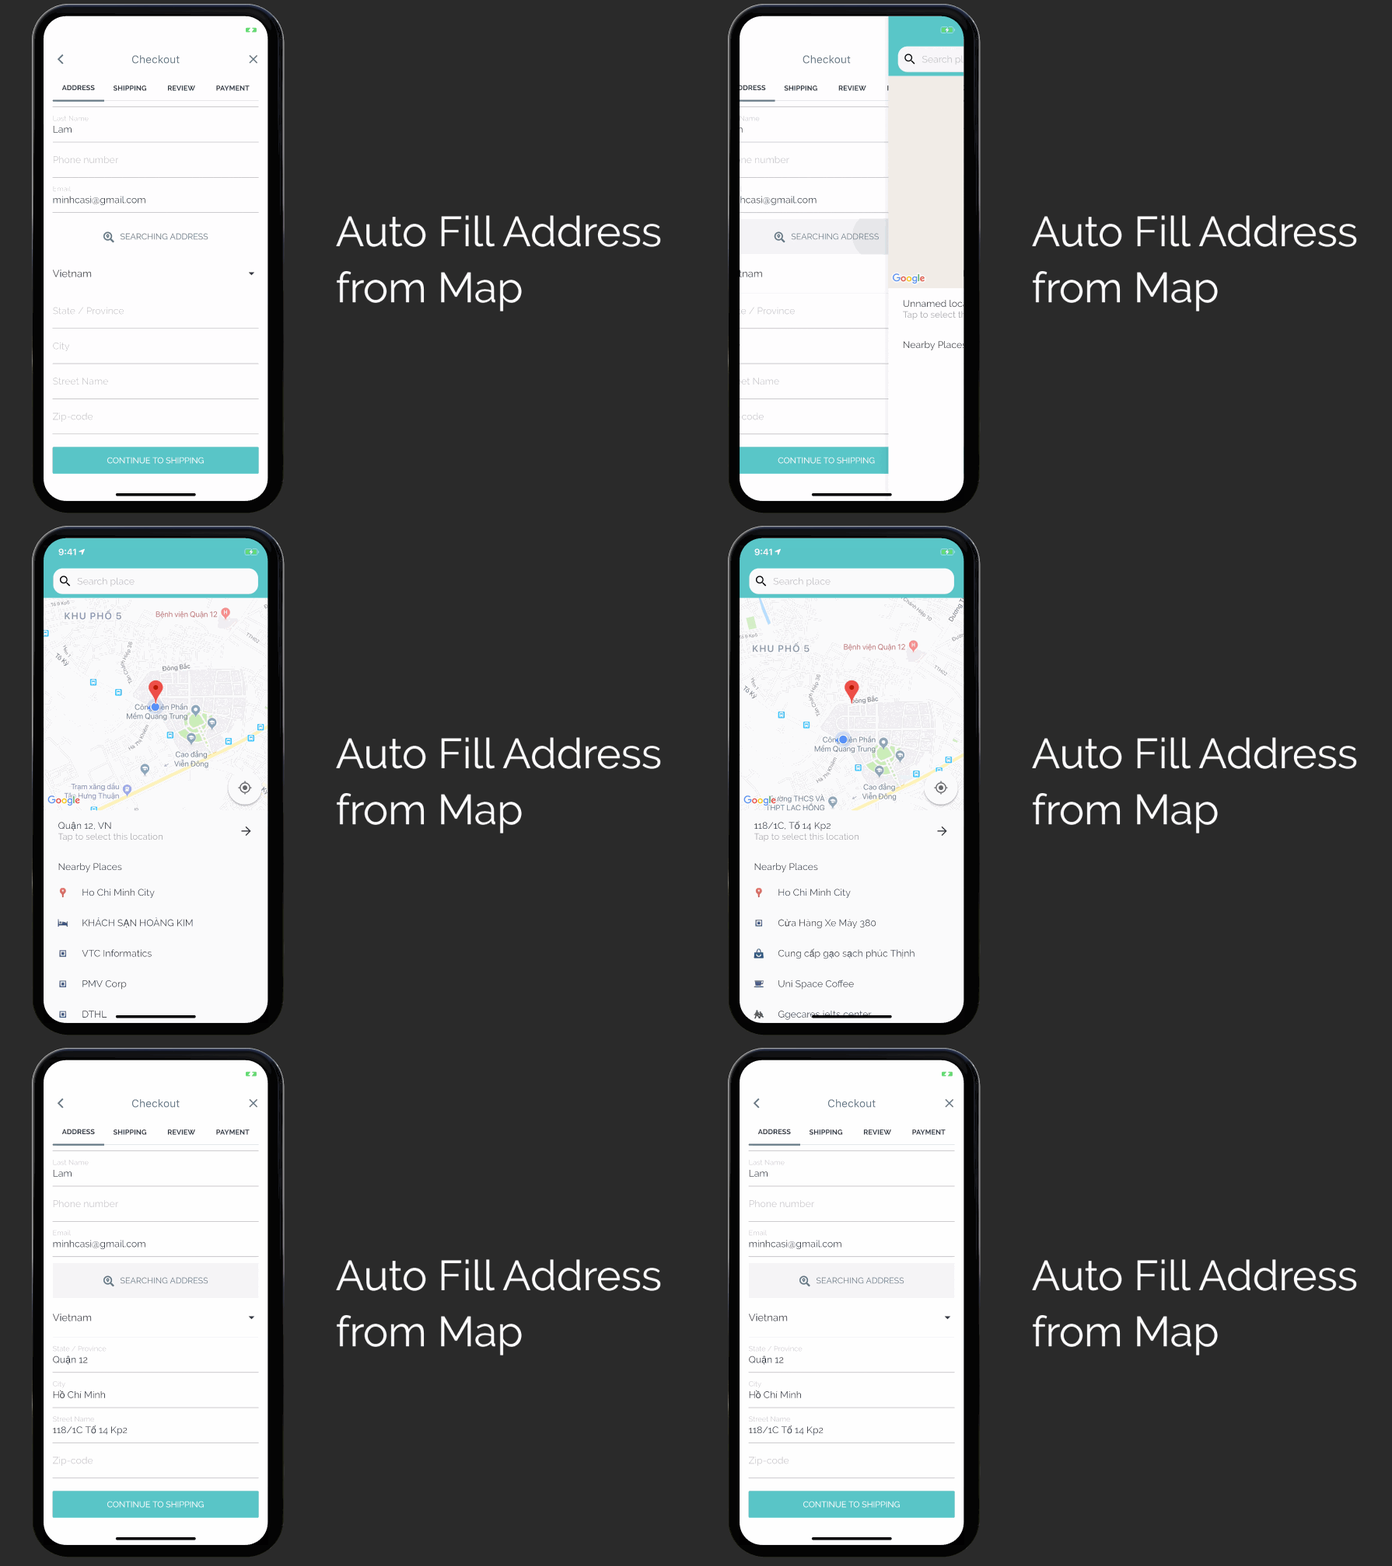
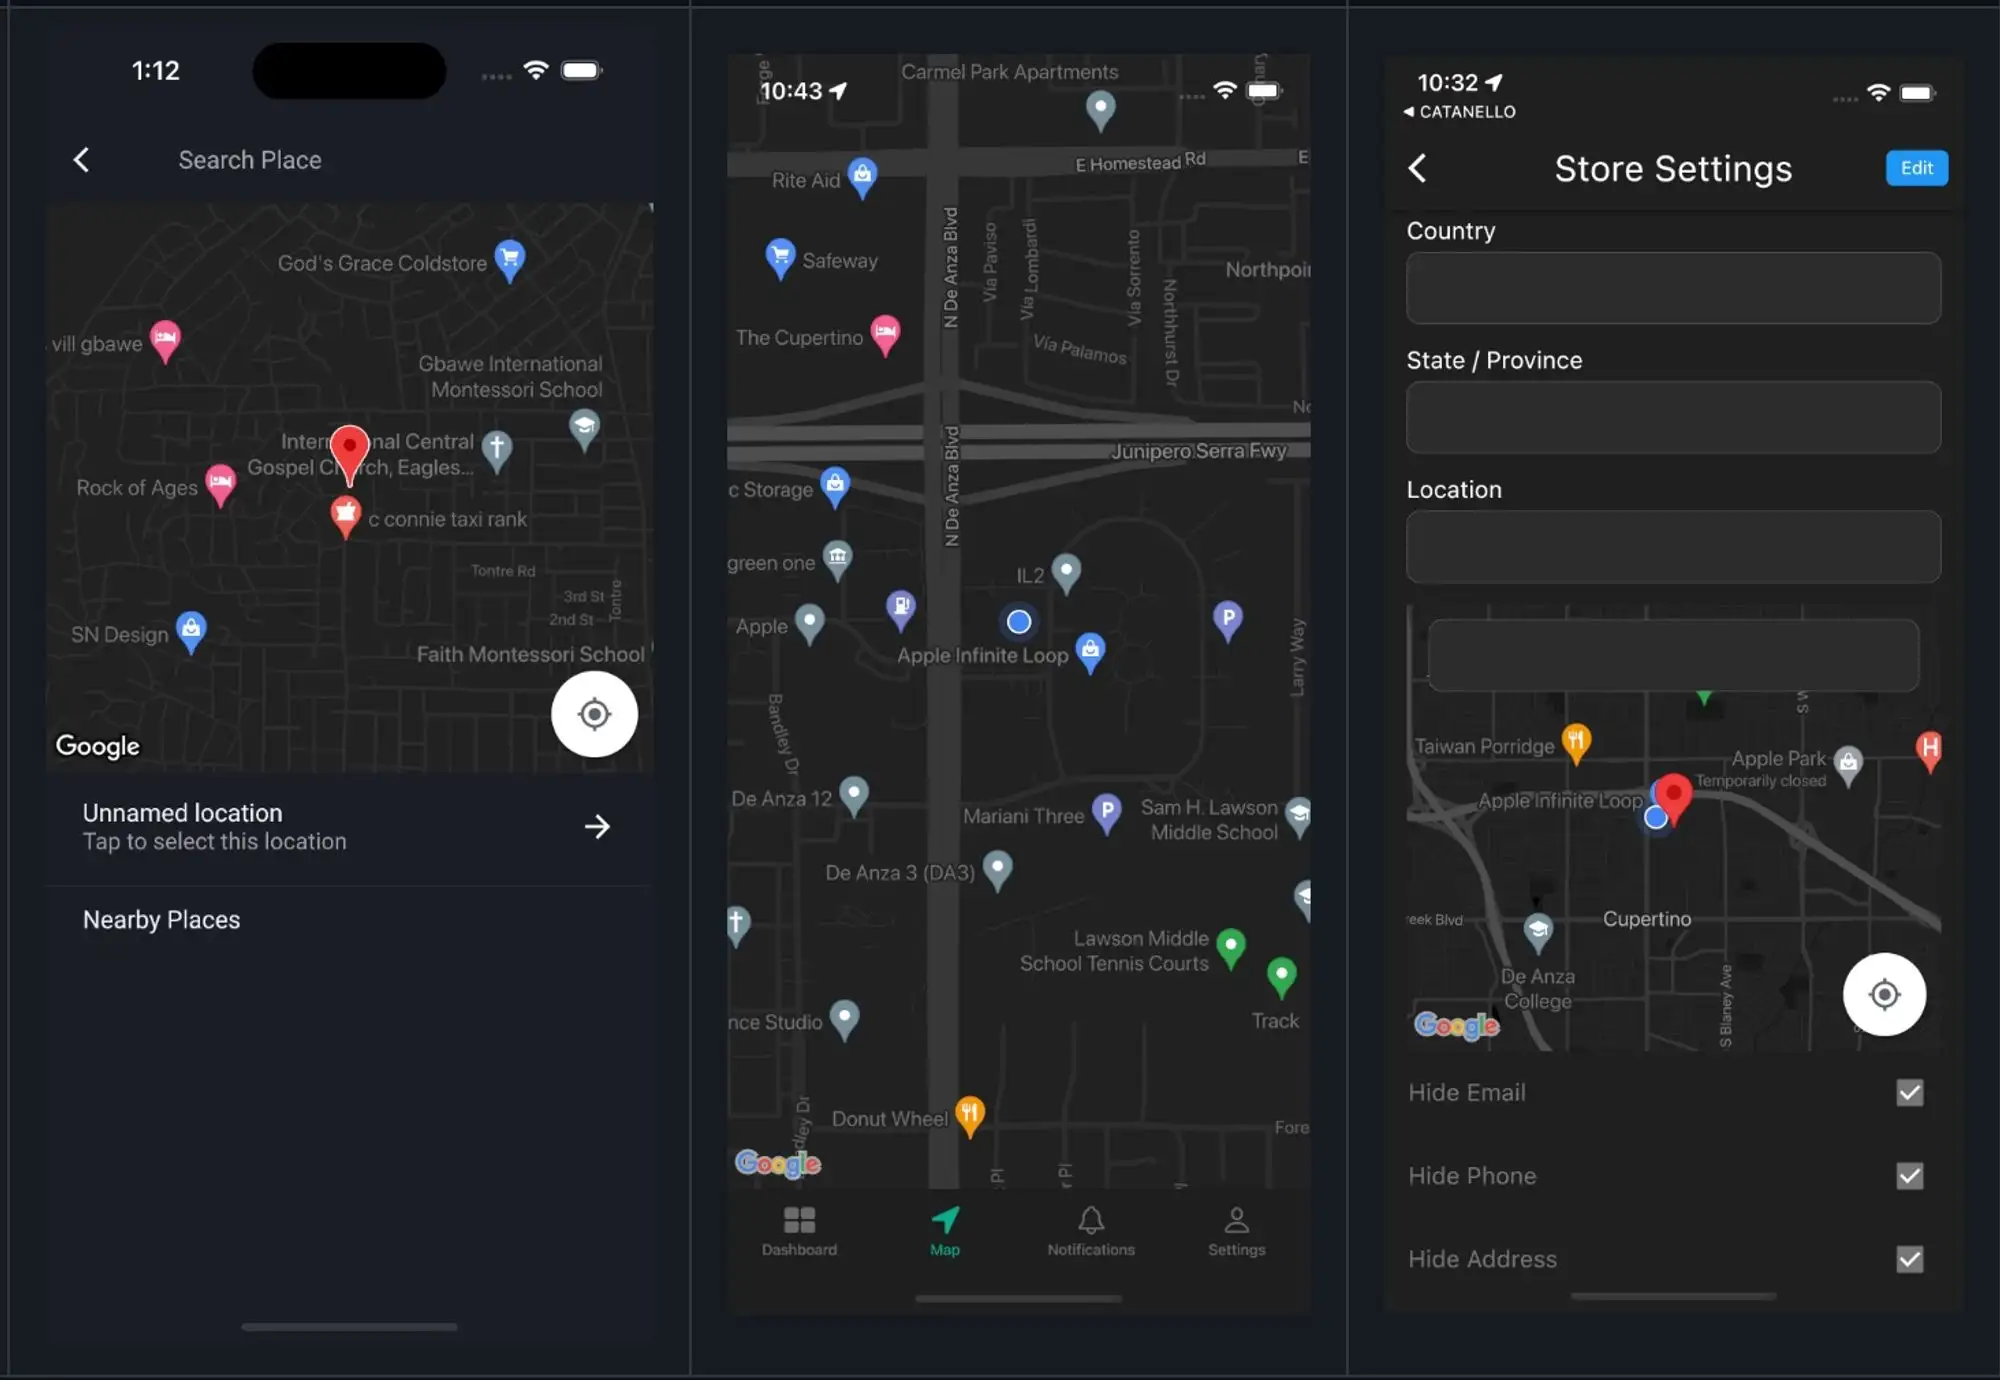
- Auto-Fill Address from Map of E-commerce apps:
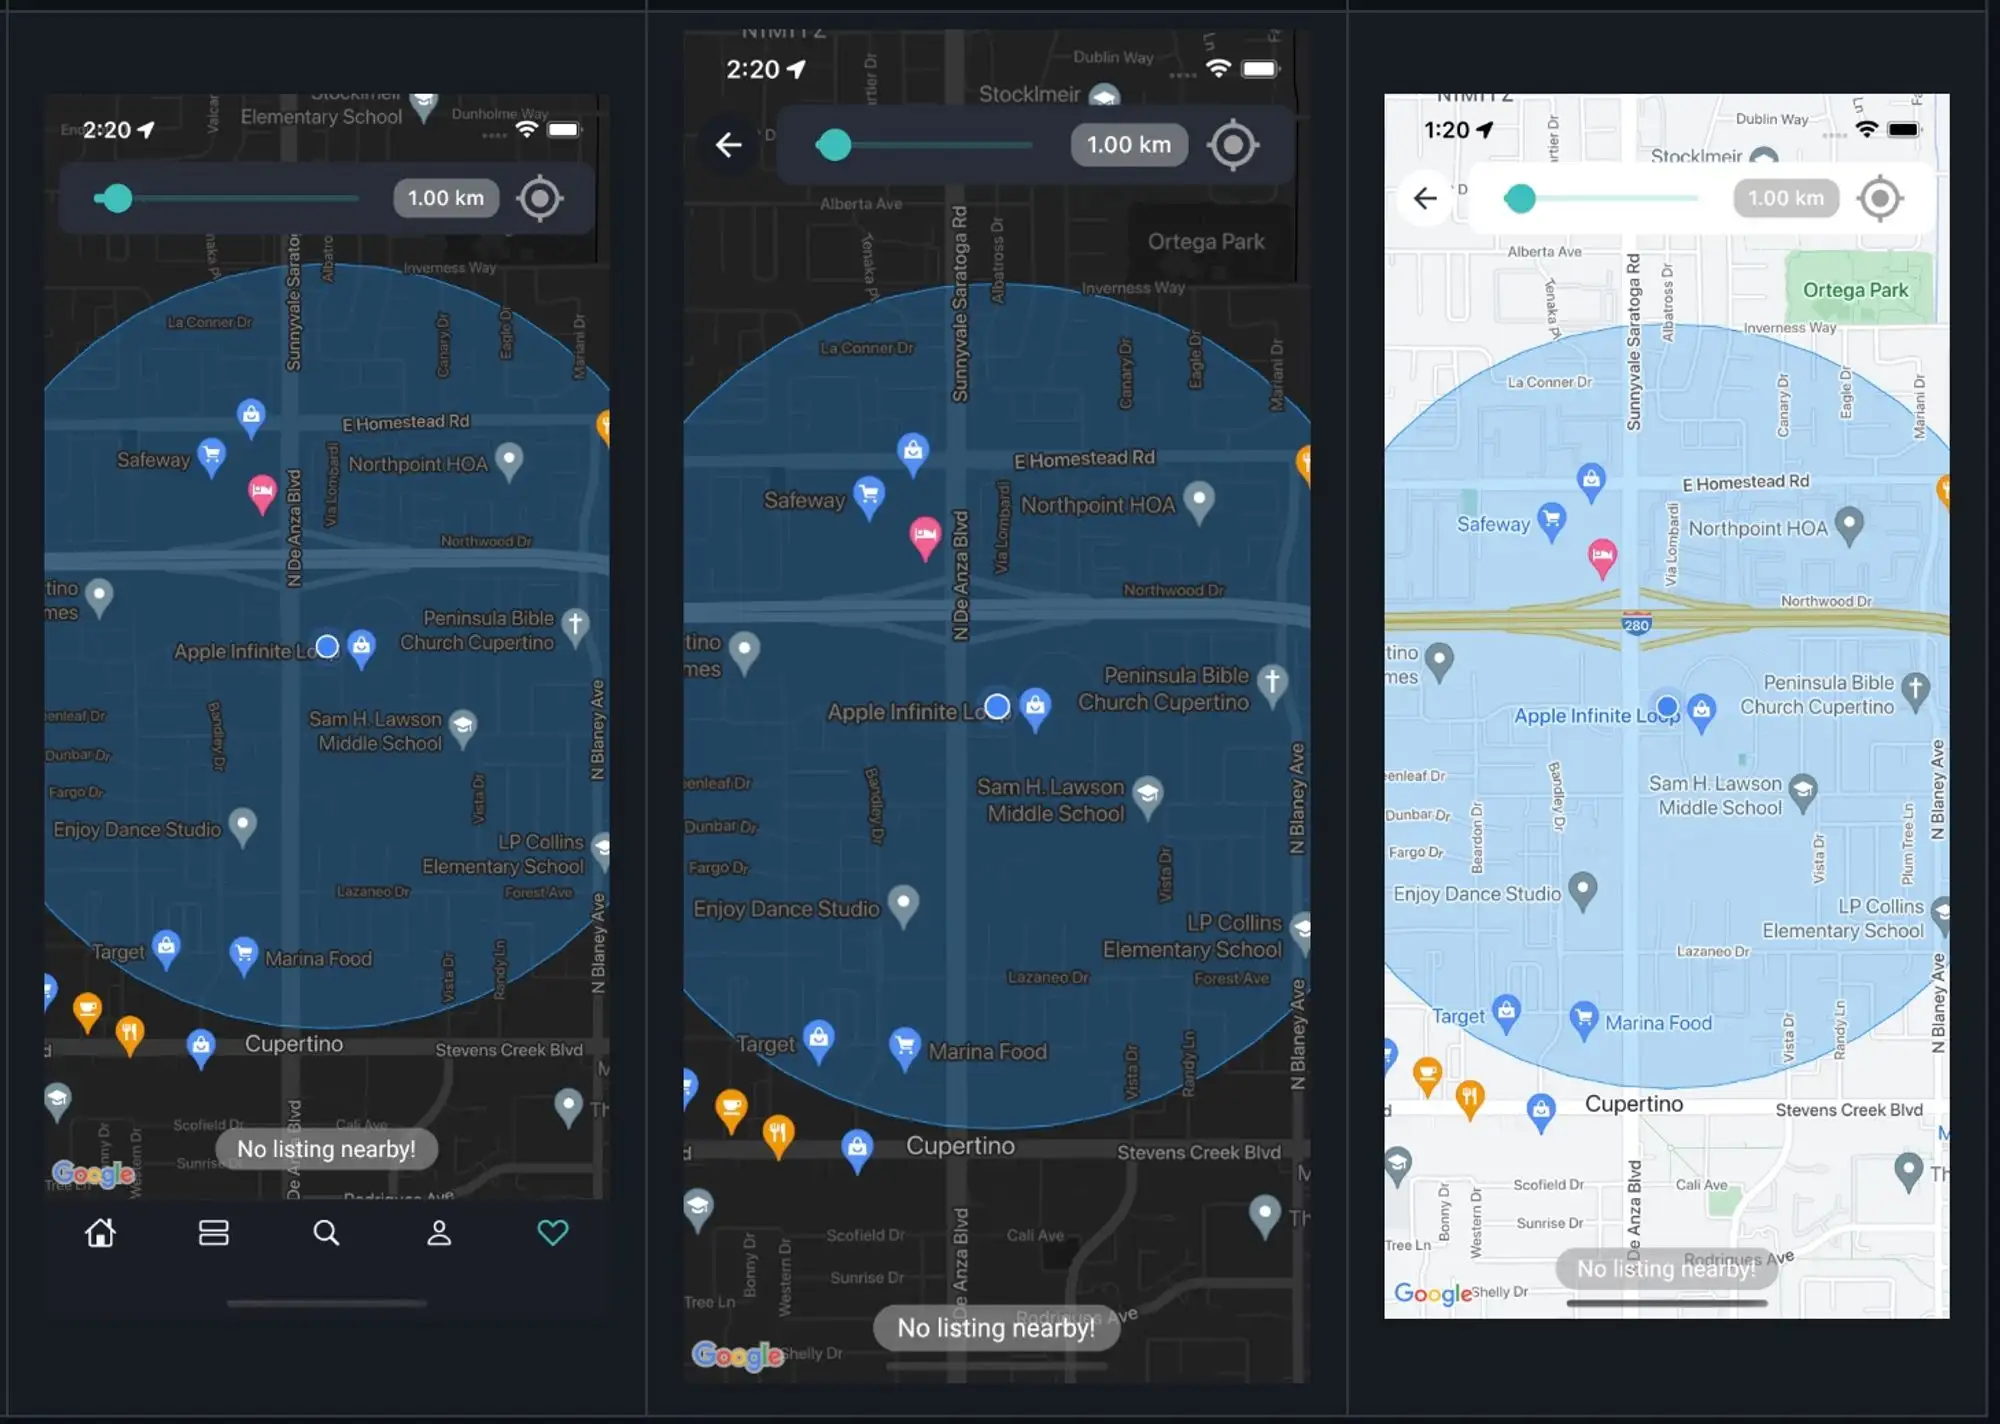
- Google Map in Product Detail screen of Listing apps:
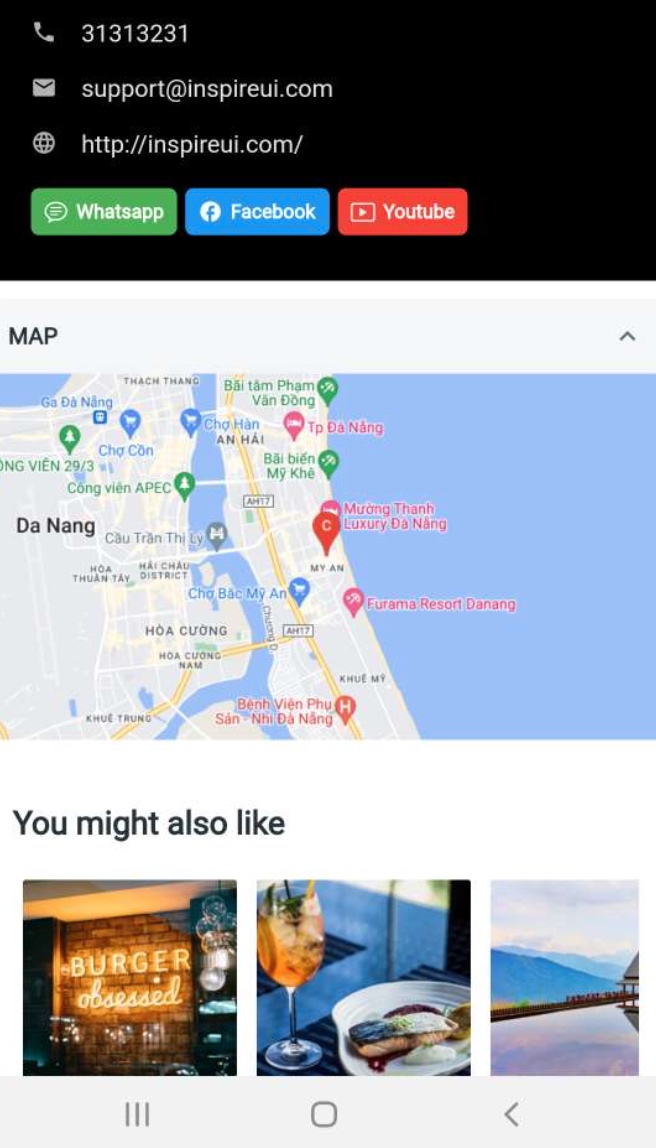
- Google Map in Store Settings of Manager (Vendor) or Delivery Boy apps.
To create a Google Map API Key, follow steps below:
Step 1: Create Google API Key
1. Manual Guide
If you have not got an API key yet:
- Get an API key at https://cloud.google.com/maps-platform/ > select Get Started
- On Google Map Platform, open Credentials page and select CREATE CREDENTIALS option.
- After clicking API Key, the API Key Created dialog will display with the API Key which has been created automatically.
- Copy Your API Key and go to Step 2: Edit on FluxBuilder below.
2. Important to do
You need to enable Billing on the Google Cloud Project at https://console.cloud.google.com/project/_/billing/enable to use the Maps feature. Learn more at https://developers.google.com/maps/gmp-get-started - If the map does not display, it's because of your billing.
You need to
enableMaps Static API: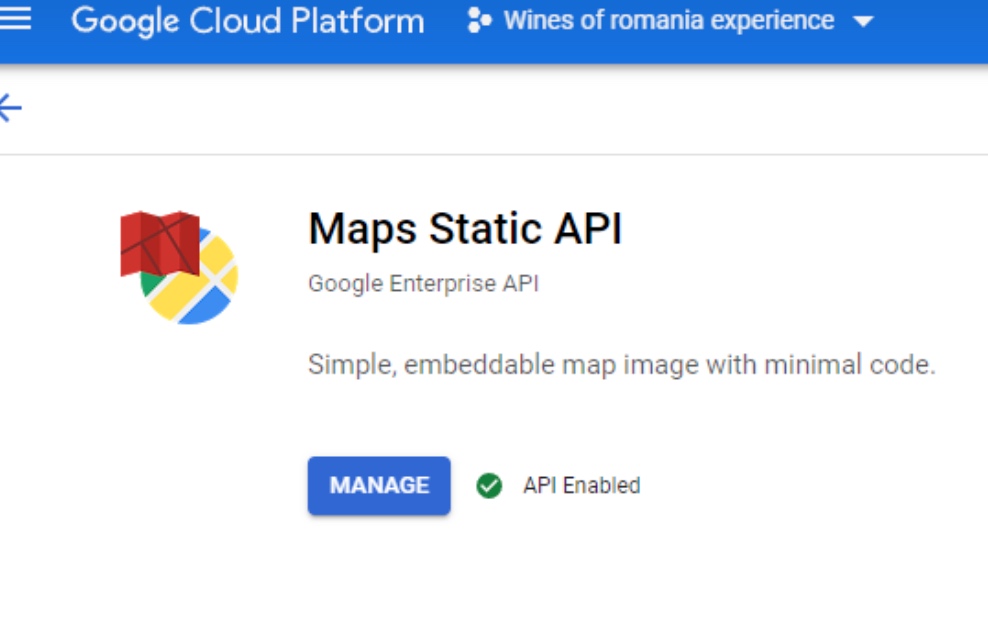
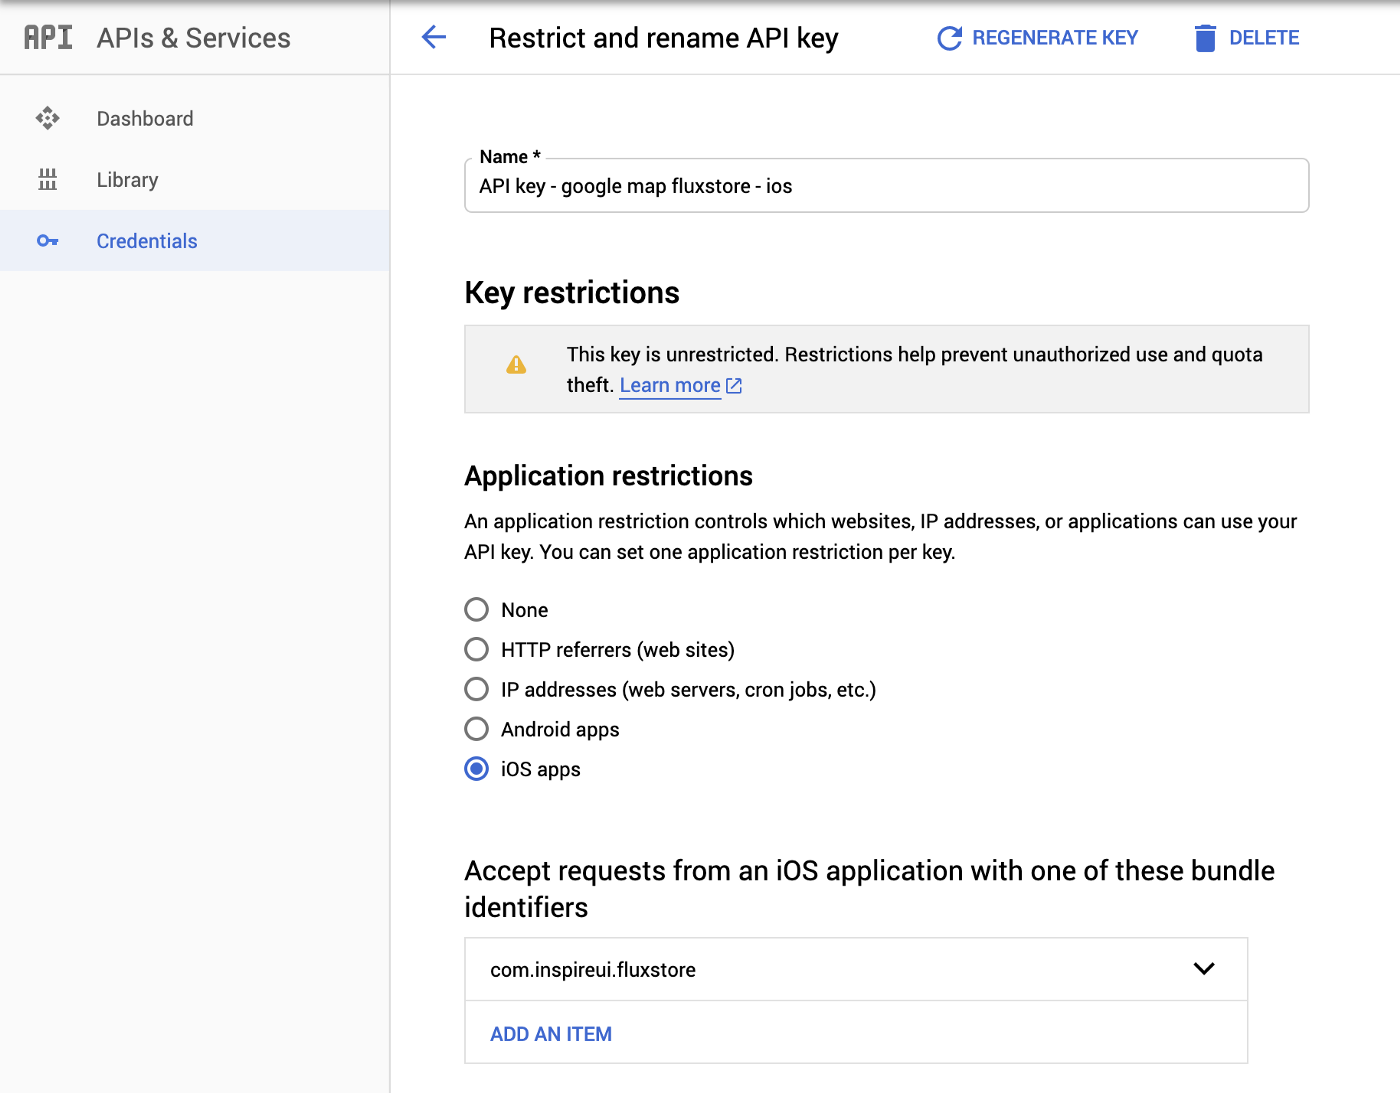
To protect your keys, log in to https://console.cloud.google.com/apis/credentials/key and manage the restrictions per-app bundle id:
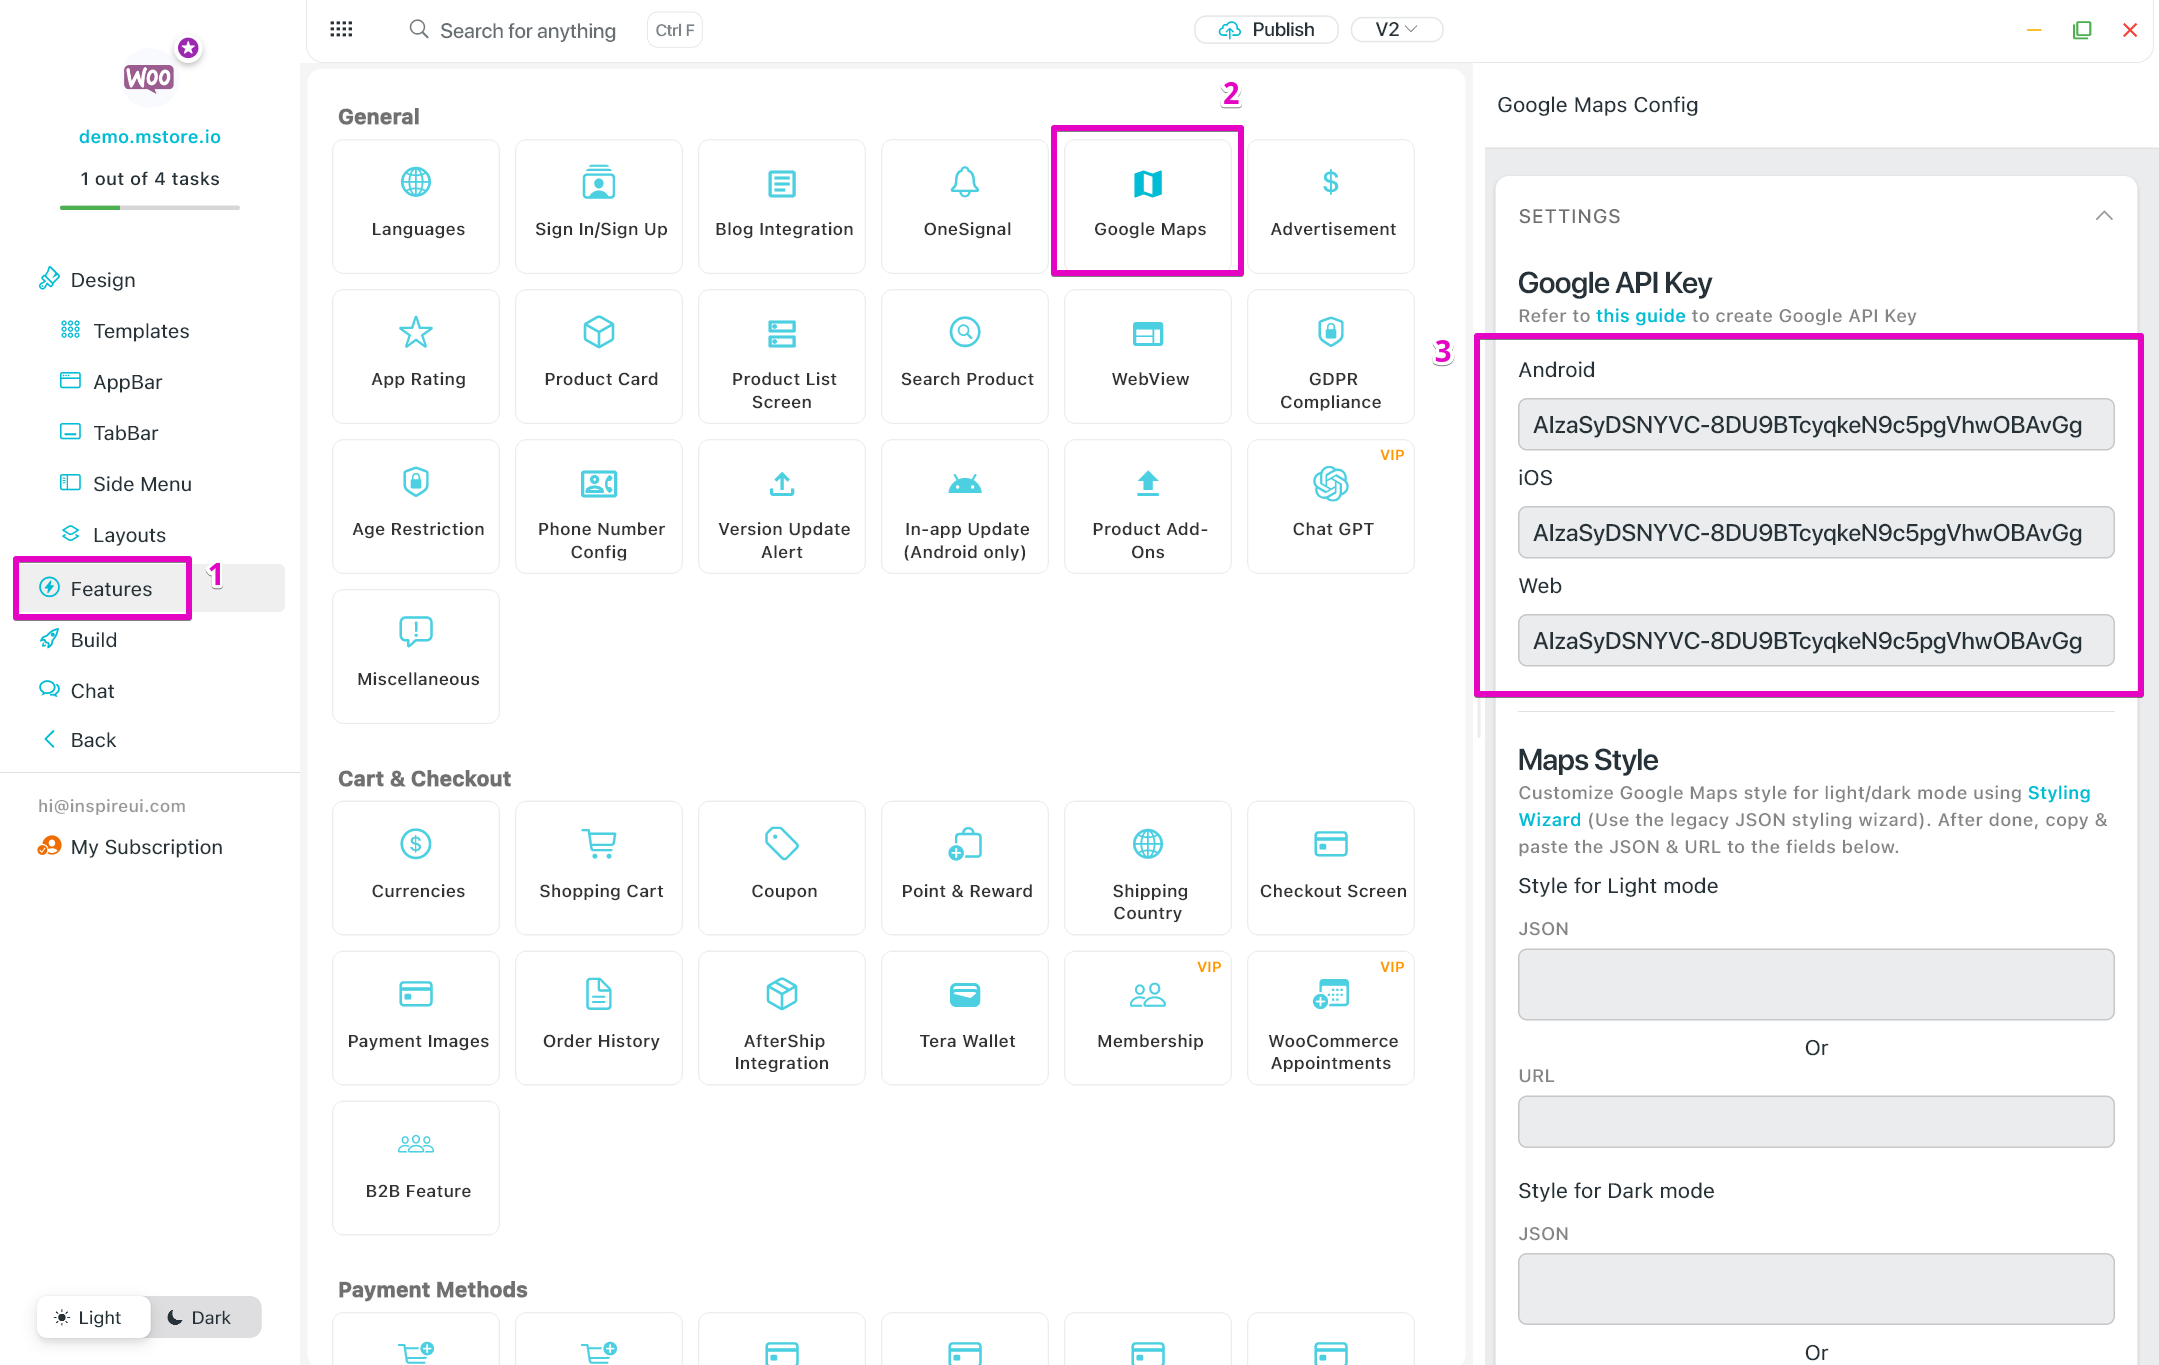
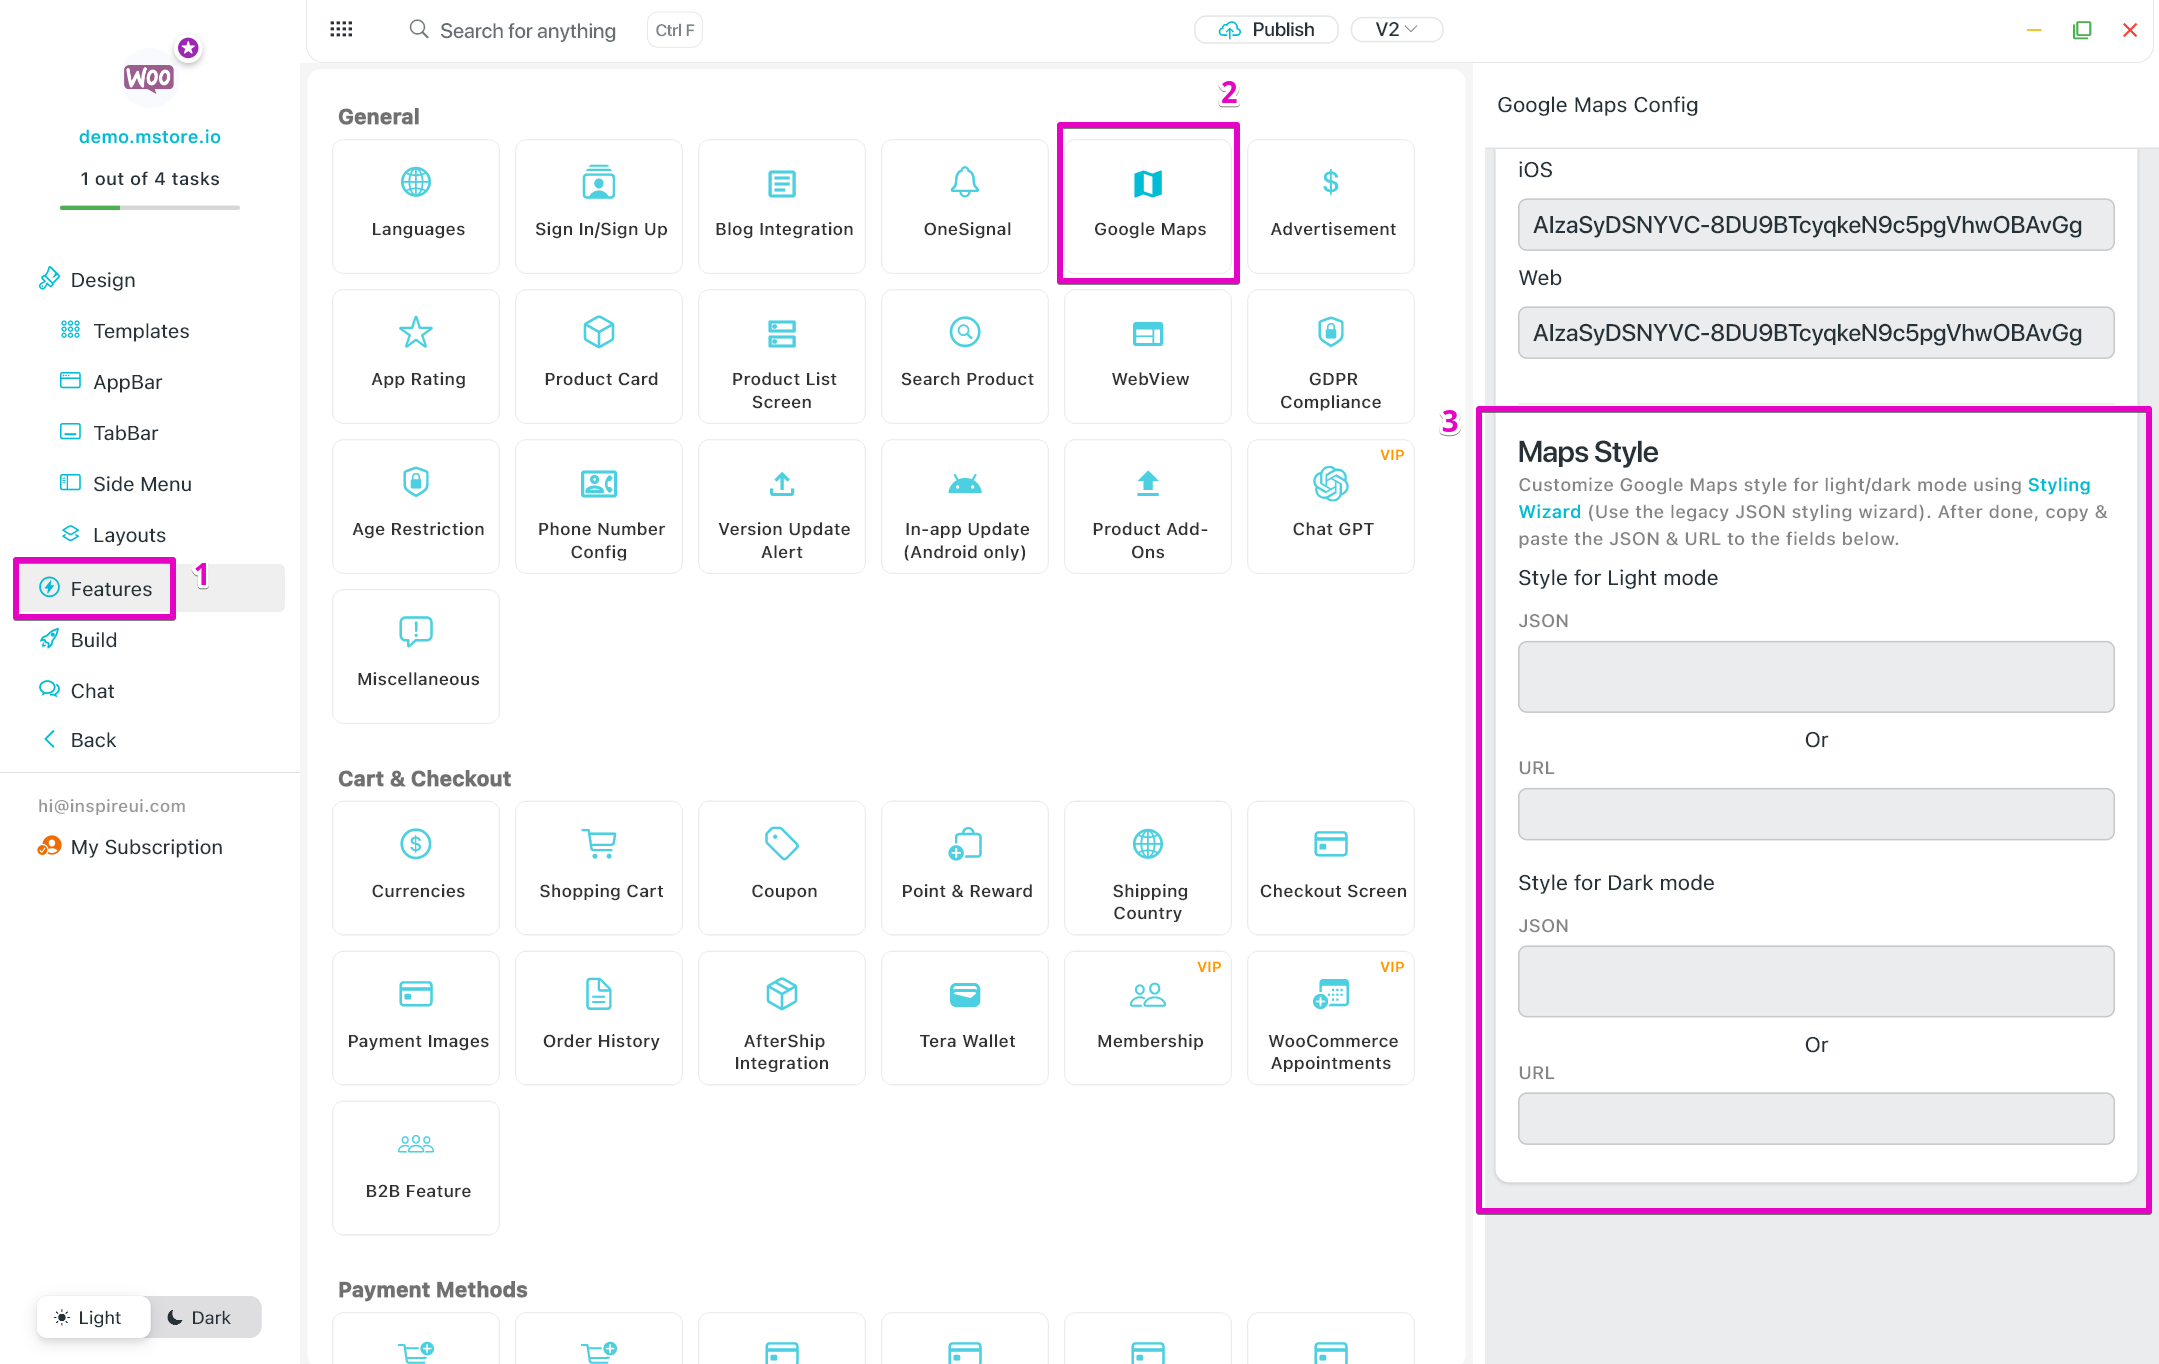
Step 2: Edit on FluxBuilder
Enter all information of Step 1 to the FluxBuilder:
Step 3: Configure Maps Style
The app has the ability to customize Google Map Styles to be different between Dark and White modes.
There are more than 250 advanced customizations, and elegant Cloud-based maps styling to save development time and resources.
1️⃣ First, you should customize the map style as the steps below:
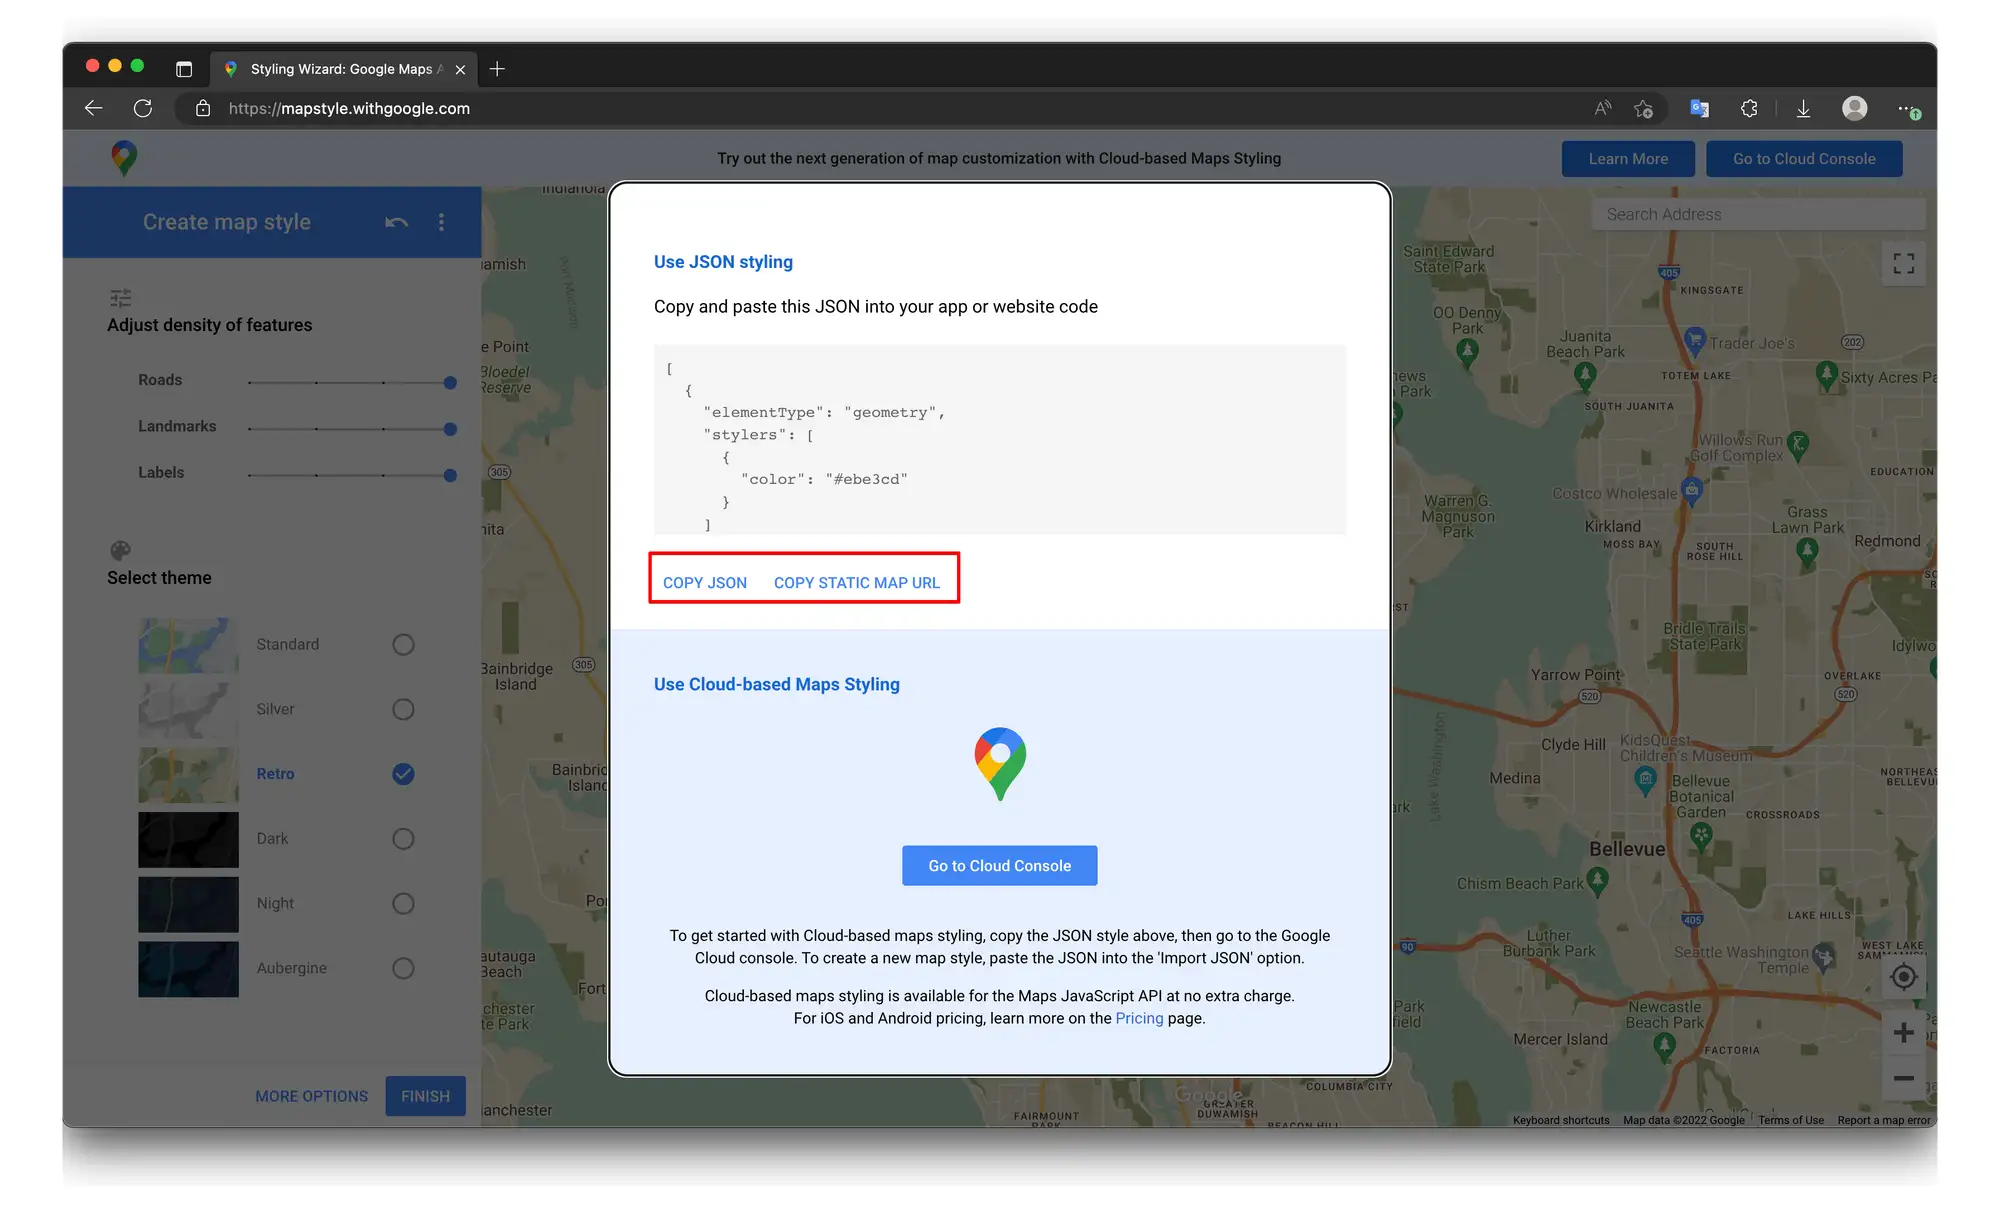
Click
Use the legacy Json styling wizard.Select or customize the map style.
Click FINISH.
Click COPY JSON and save it for later use.
Click COPY STATIC MAP URL and save it for later use.
2️⃣ Second, config the map style on FluxBuilder.
Steps:
- Open your app
- Go to Features > Google Maps.
- Input your Google API Key (refer to Step 1: Create Google API Key).
- In the Maps Style, input the copied JSON and URL for Style for Light Mode and Style for Dark Mode.
That’s all :)